Pfsense Community Edition Minimum Requirements
- 64-bit amd64 (x86-64) compatible CPU
- 1GB or more RAM
- 8 GB or larger disk drive (SSD, HDD, etc)
- One or more compatible network interface cards
- Bootable USB drive or high capacity optical drive (DVD or BD) for initial installation
Click Create a New Virtual Machine
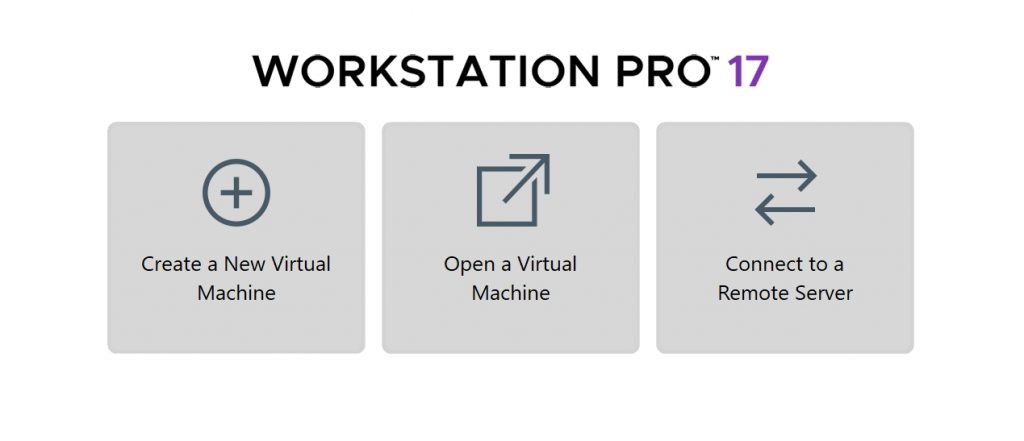
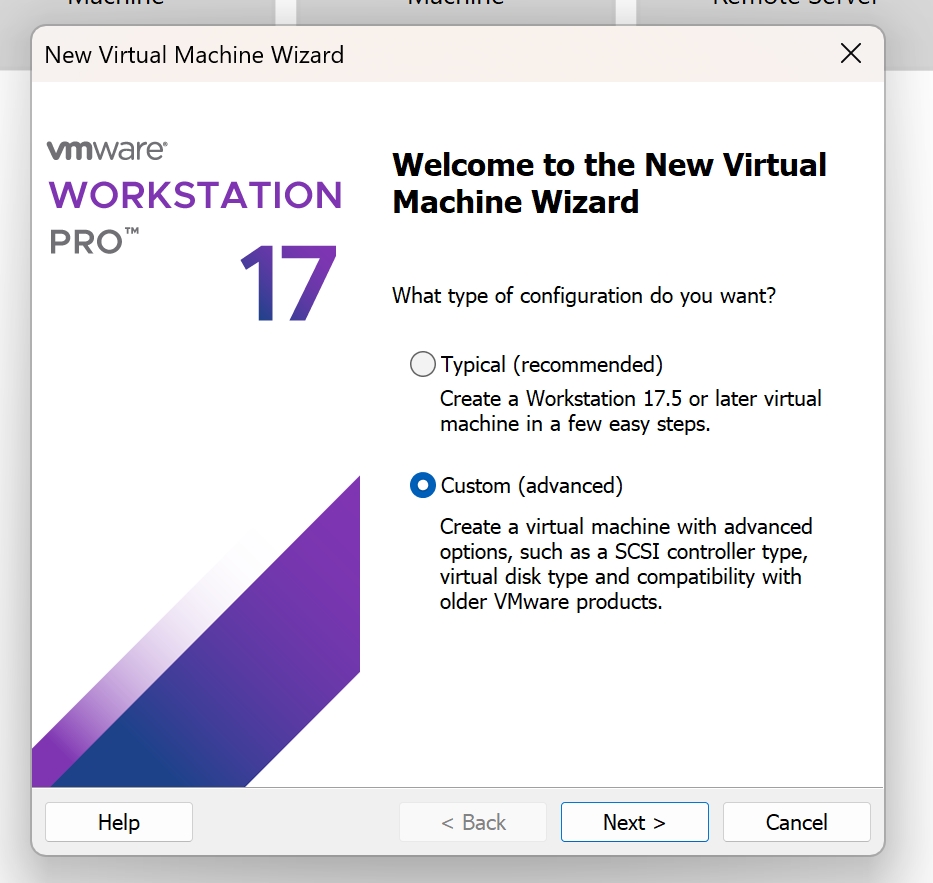
Select Custom(advance) and click Next
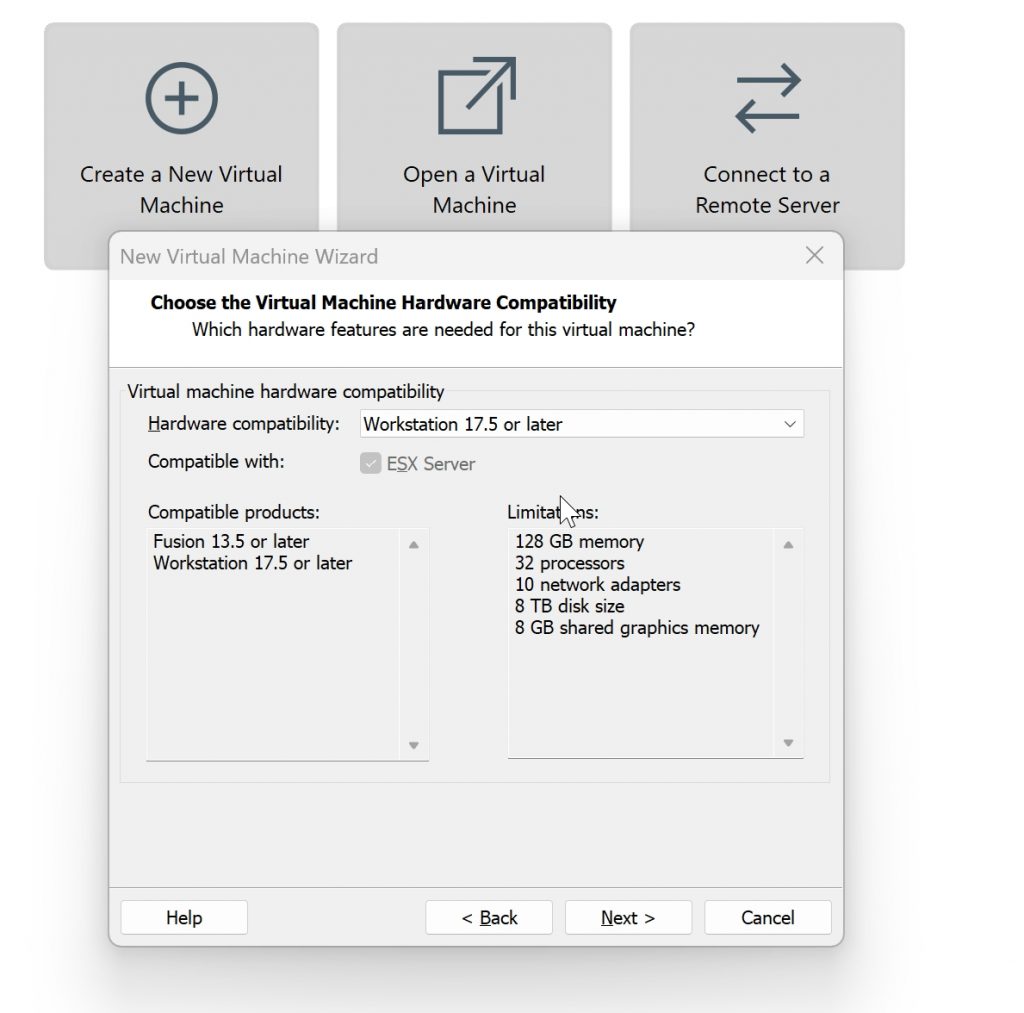
Hardware Compatibility: Select Workstation 17.5 or later(Or 16 if you have not upgraded)
Click Next
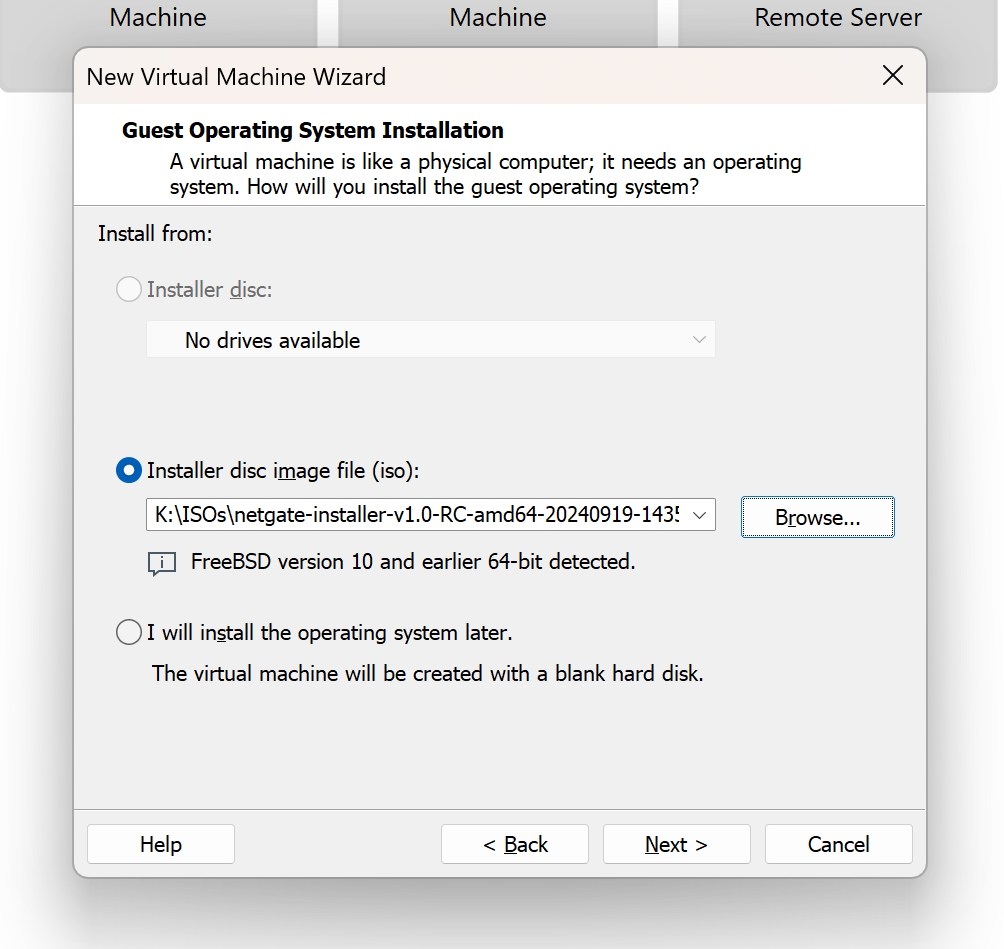
Guest Operating System Installation: Select “Installer disk image file (iso)
Browse for the extracted netgate installer iso. Note you will see that FreeBSD version 10 is detected
Click Next
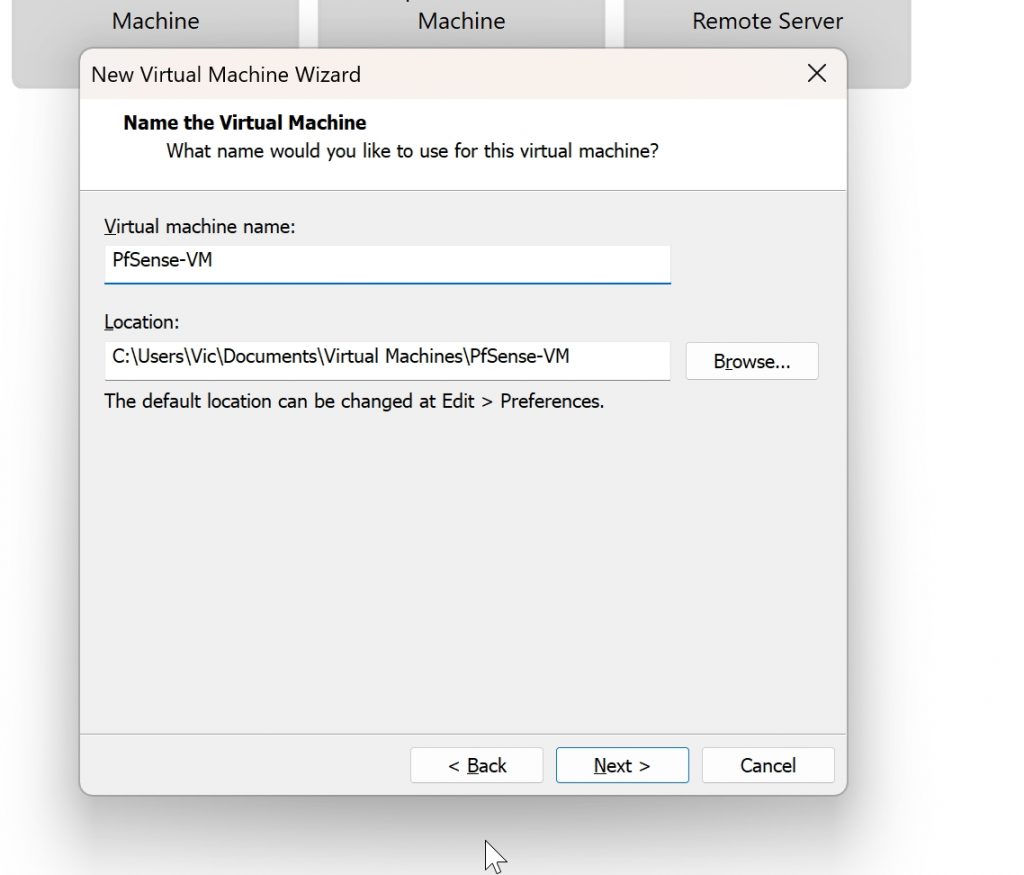
Name the Virtual Machine: Name whatever you prefer here. This is the name you will see in Vmware VM list.
Click Next
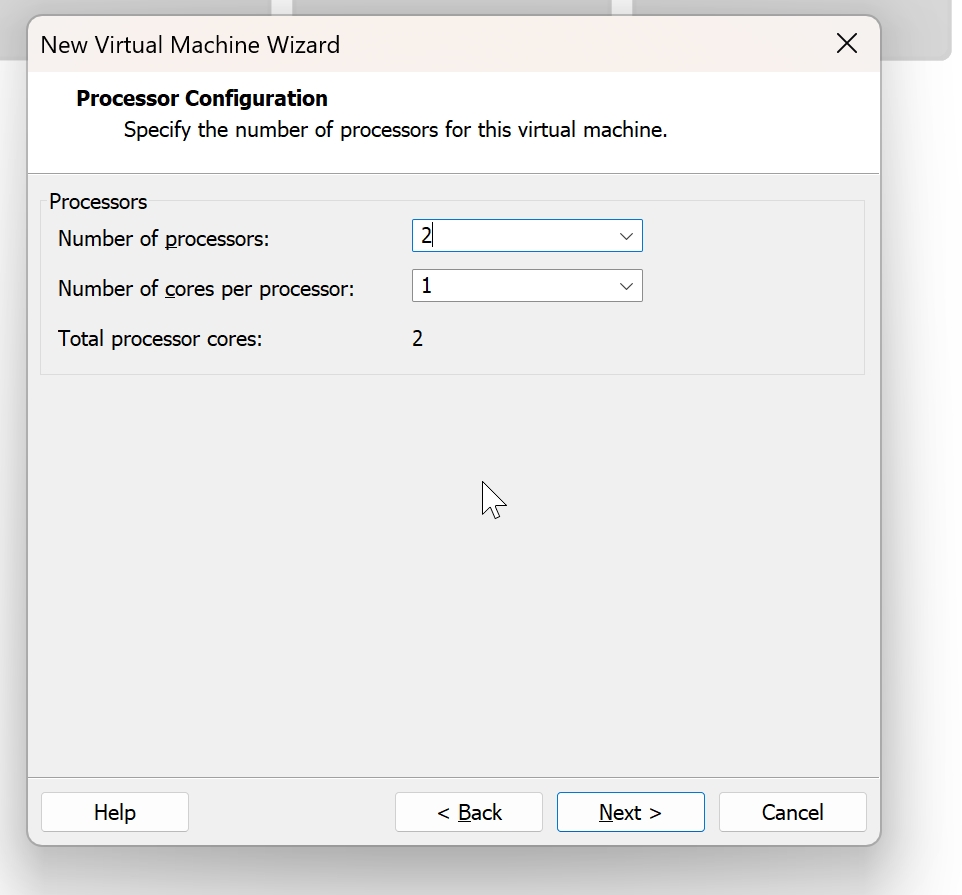
Processor Configuration: You can do this with 1 processor core for home lab. In this example I chose 2/1 setup.
Click Next after Processor config has been set
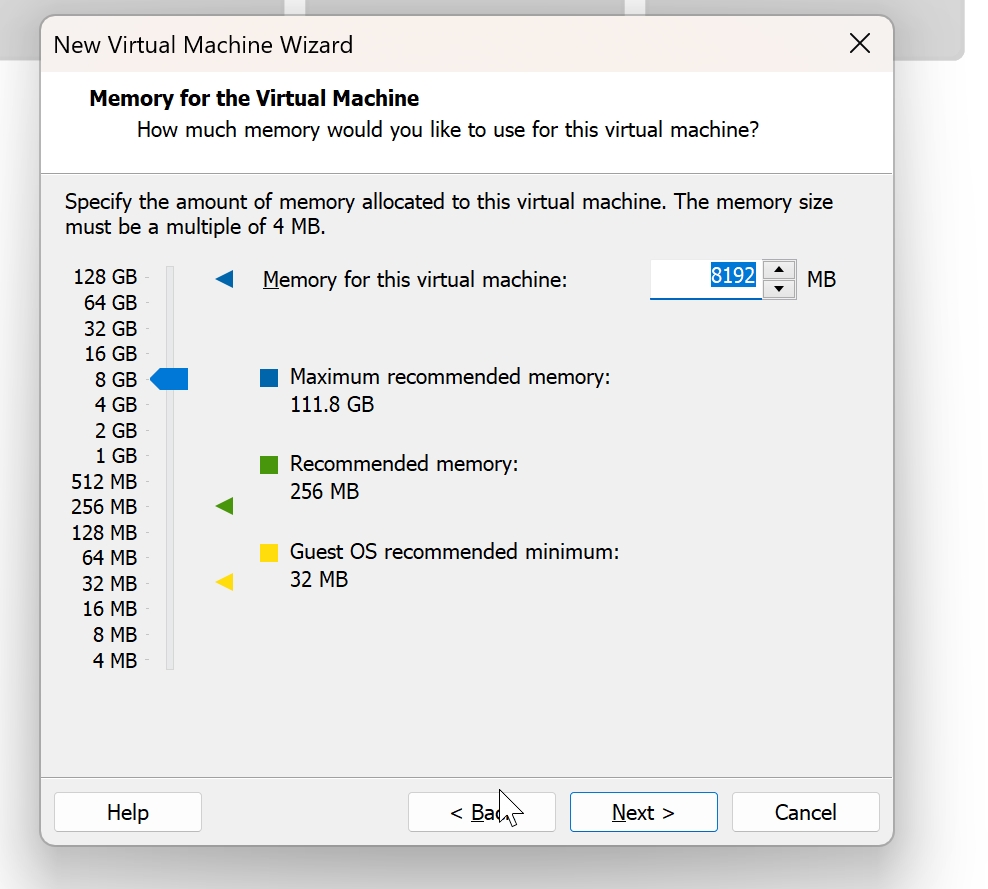
Memory Configuration: Minimum is 1GB for Pfsense to run, personally I like to choose 8gb. This is all going to depend on how much RAM you have available on the host machine.
Click Next after setting RAM
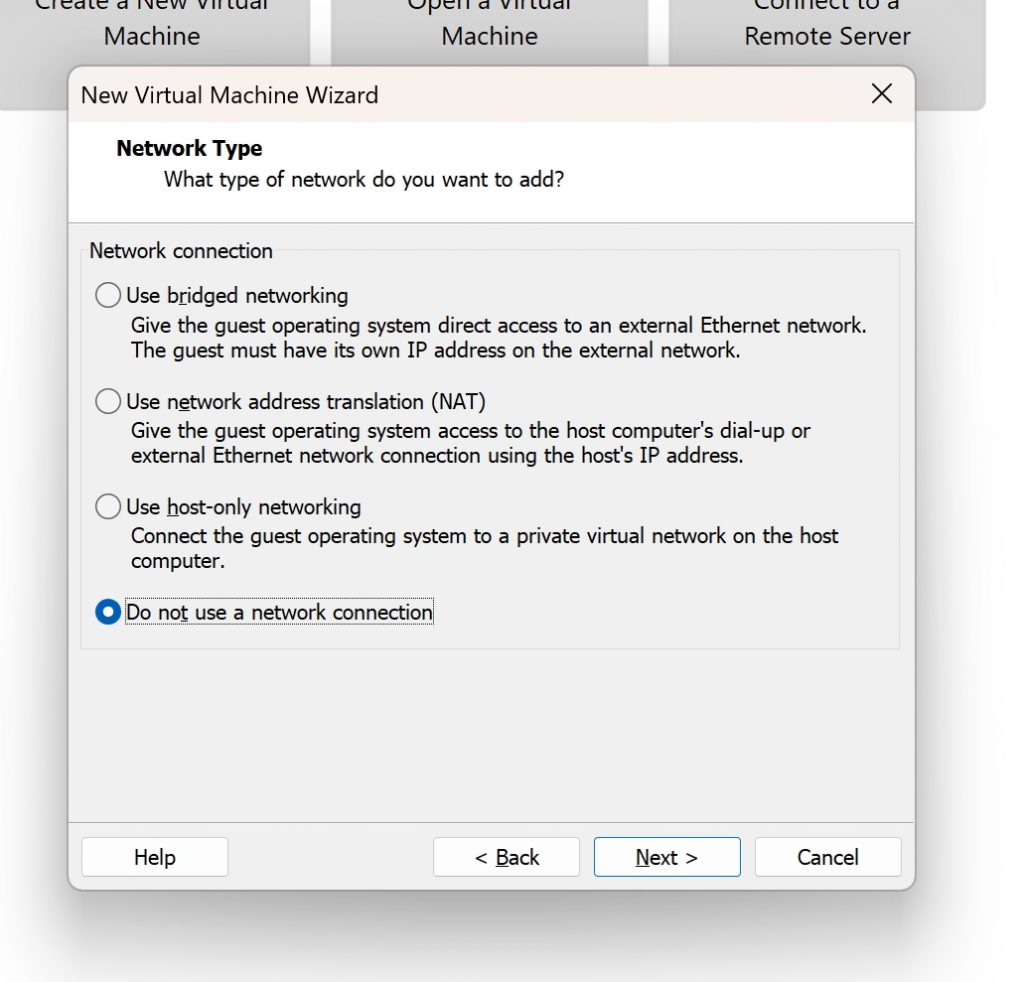
For the Network Type, Select “Do Not use a network connection”
Click Next
We will configure this later using our custom network connections.
Please see my guide: Vmware Network Configuration
Optionally you can also use bridge networking, but for a home lab it might not be useful.
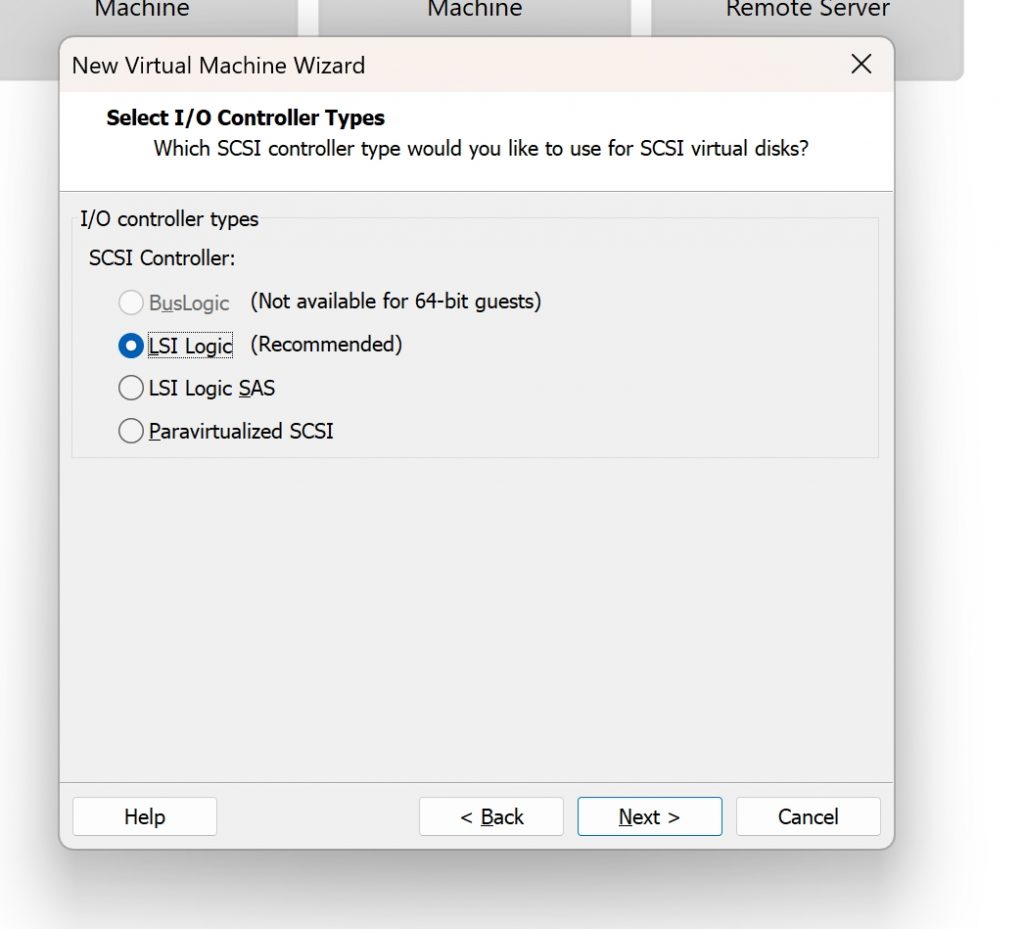
Use recommended settings for I/O controller types (LSI Logic)
Click Next
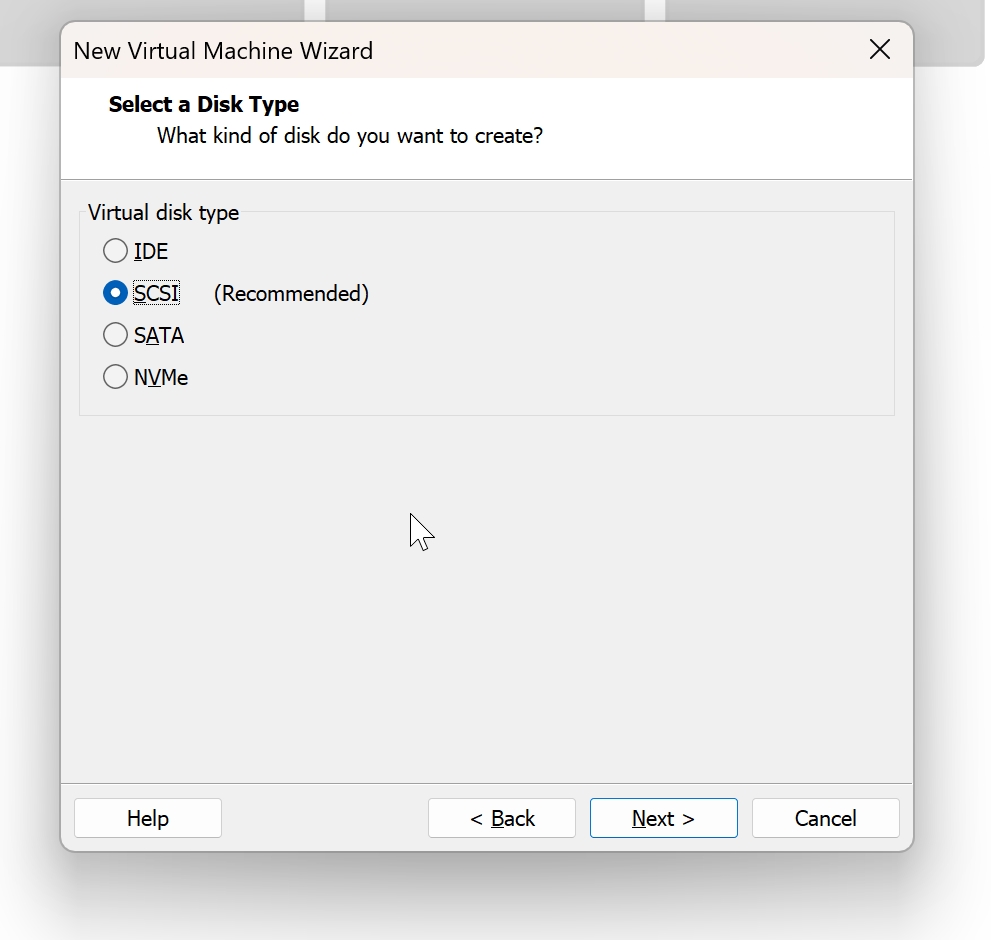
Disk Type: select Recommended
Click Next
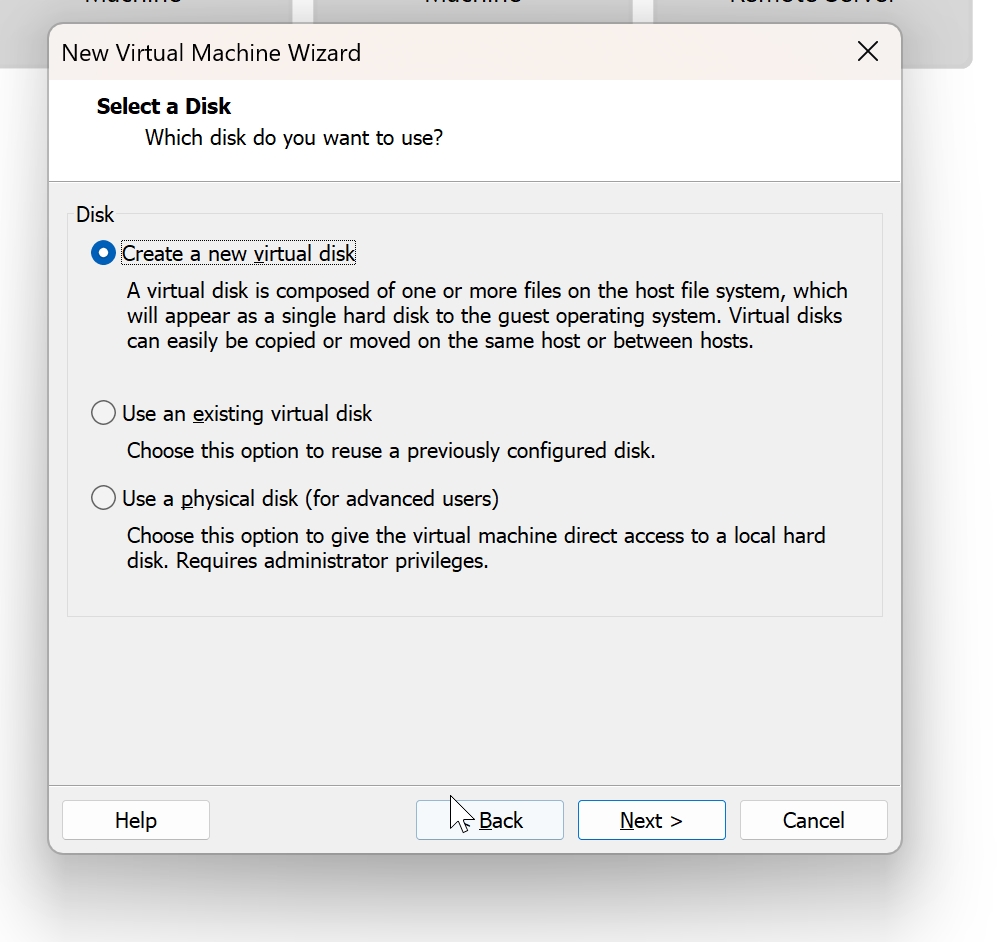
Select a Disk: For this lab we will be creating a new virtual disk.
Click Next
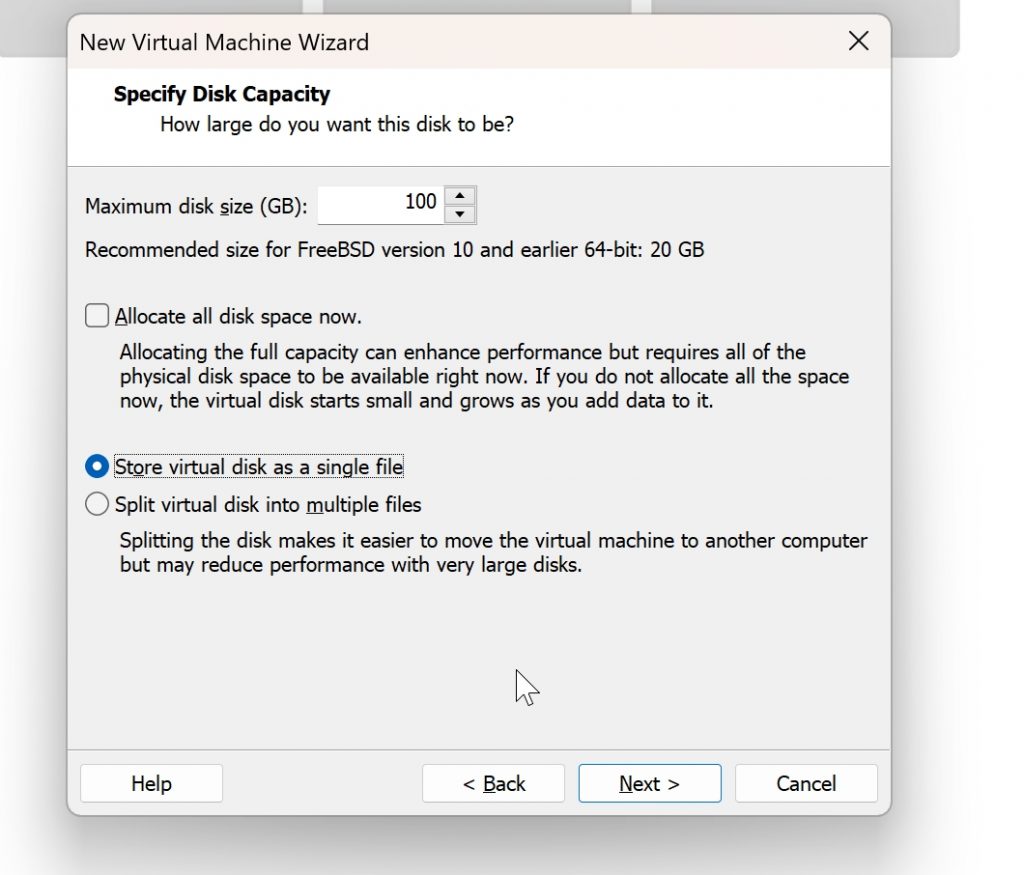
Specify Disk Capacity : Remember Minimum 8GB is required. Please consider how much available storage you have on your host machine.
Select Store virtual disk as a single file
Click Next
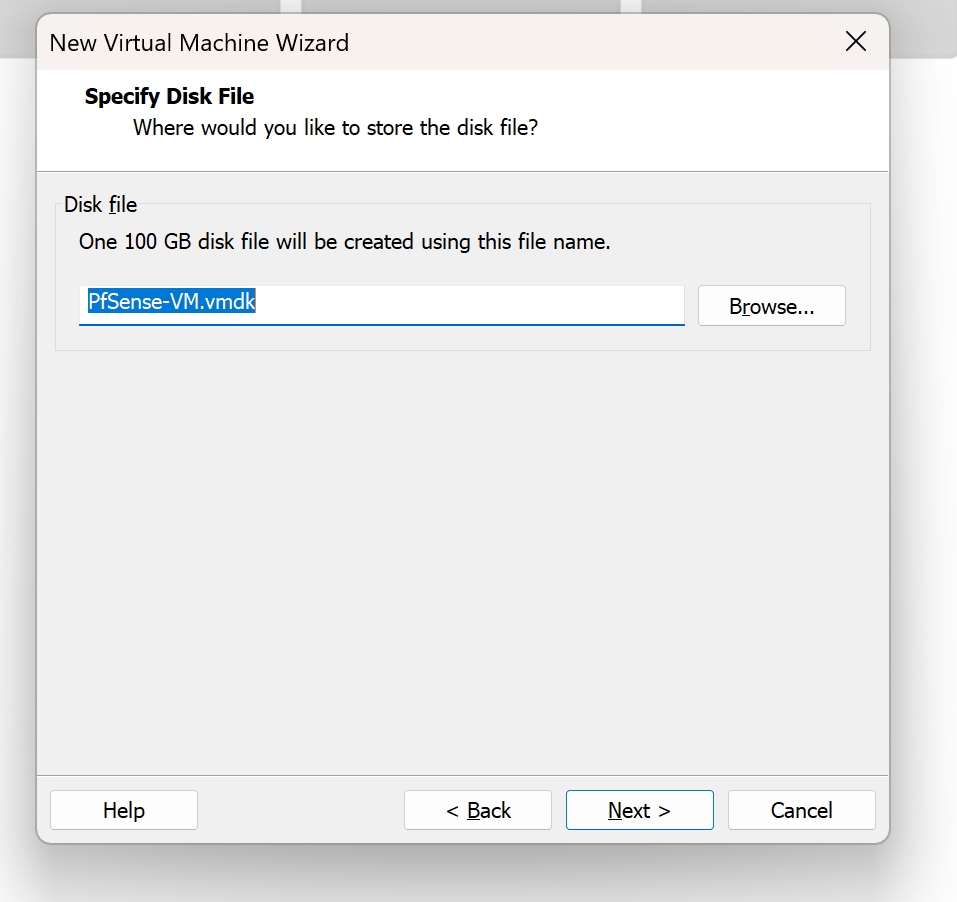
Specify Disk File: You can rename if desired
Click Next
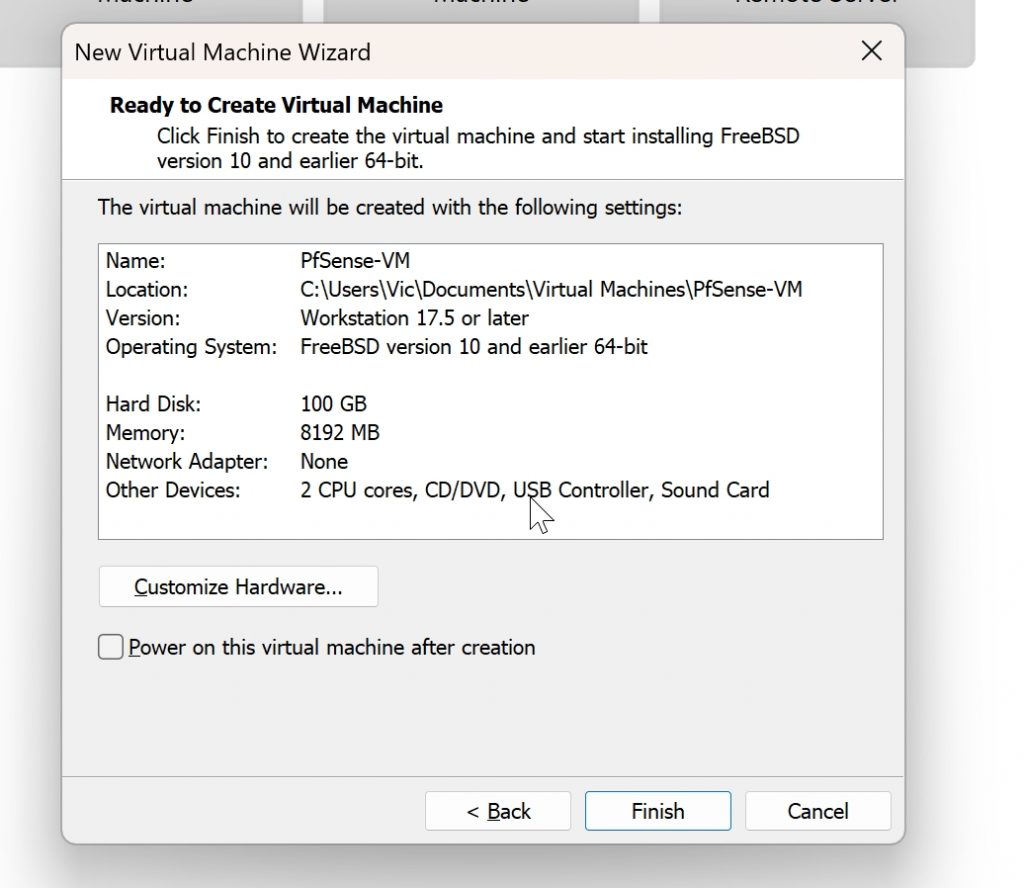
Ready to Create VM?
This will give you a brief summary. If all looks good
Uncheck “Power on this virtual machine after created”
We are going to make additional configurations before we power on
Click Finish
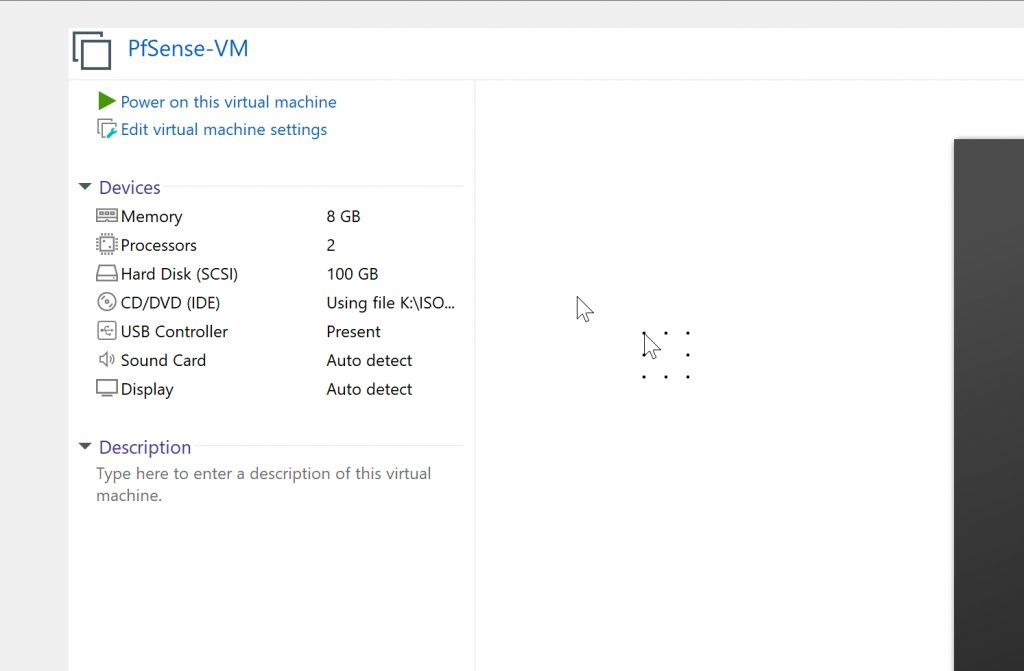
Once finished the VM screen will open,
Click on Edit virtual machine settings
Virtual Machine Settings: Click on Add
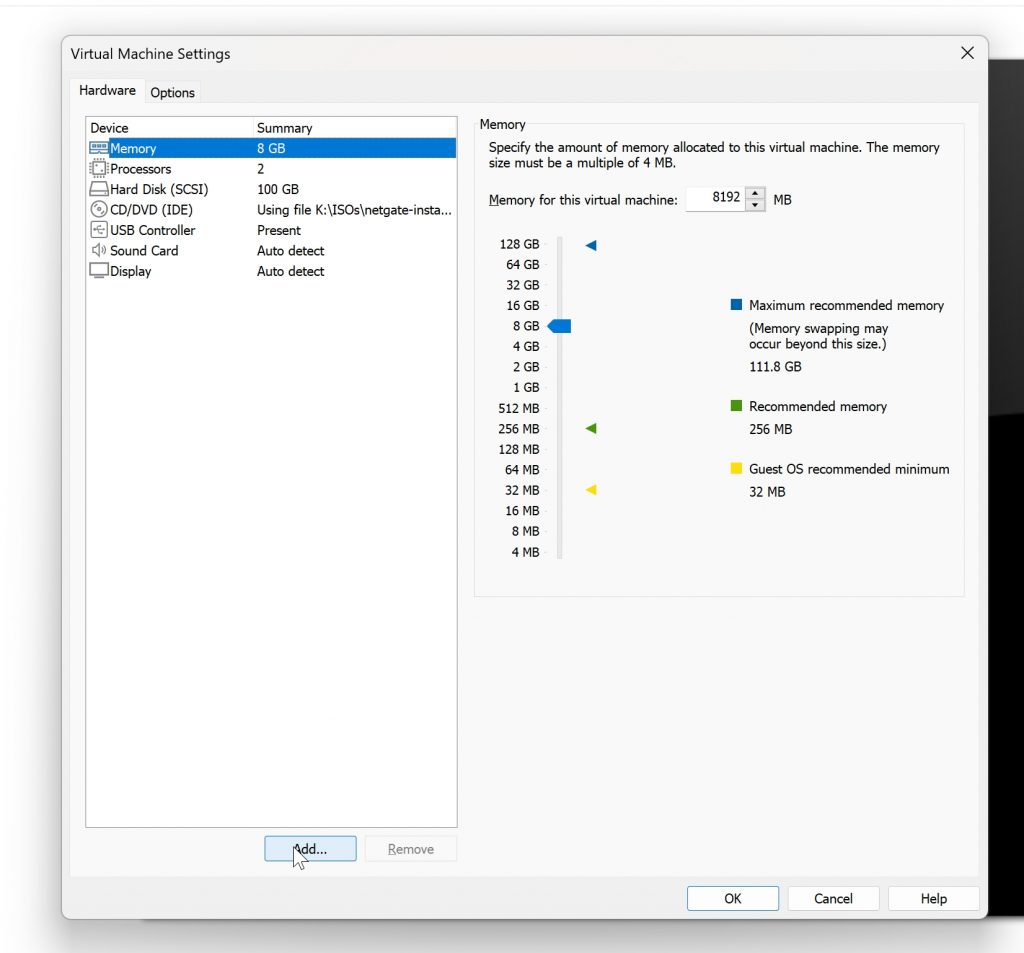
Select Network Adapter
Click Finish
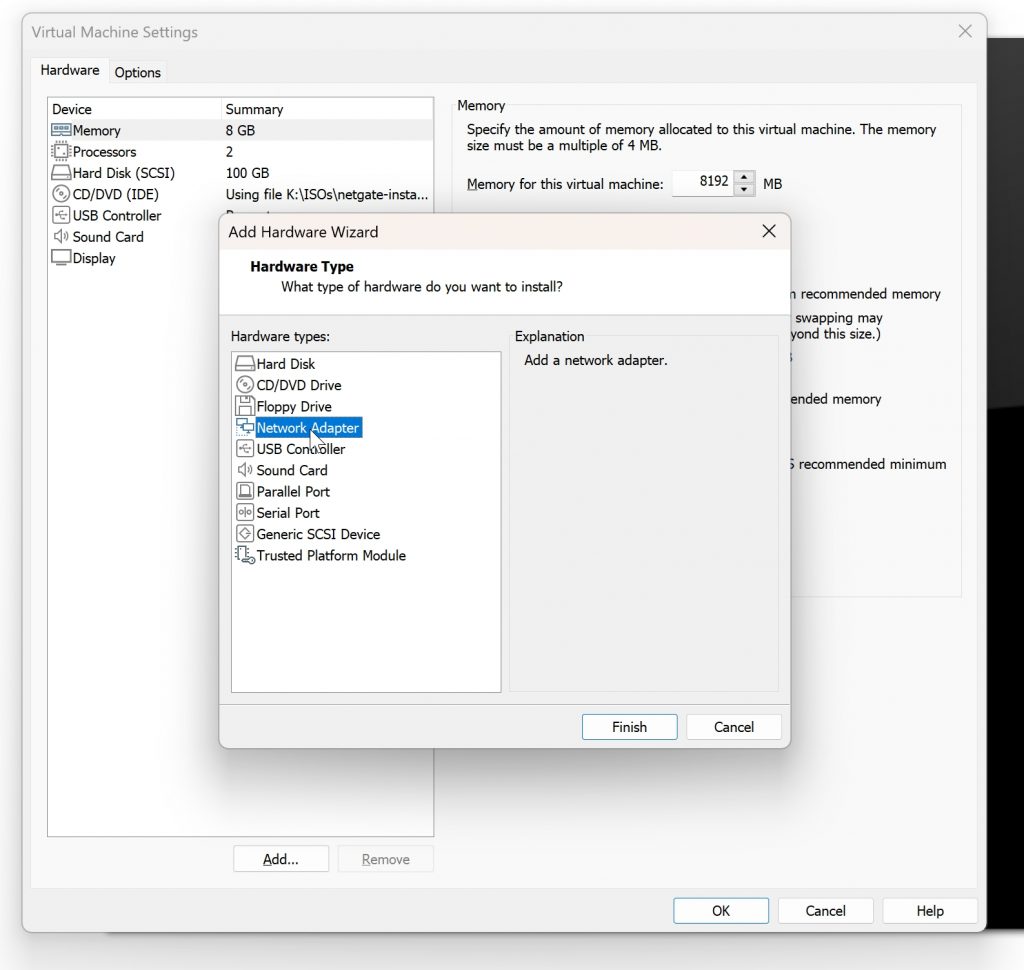
Repeat this step again to add an additional network adapter
Select the first Network Adapter(PentestNet or your configured home lab network)
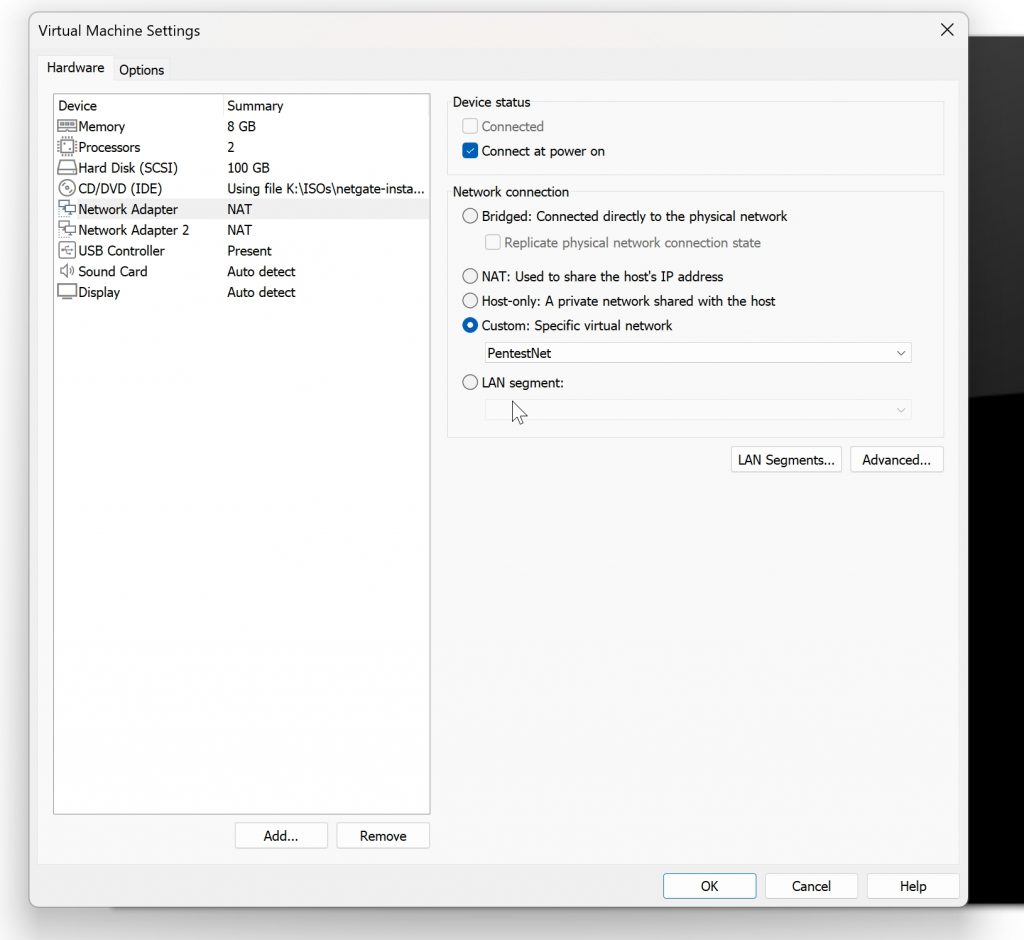
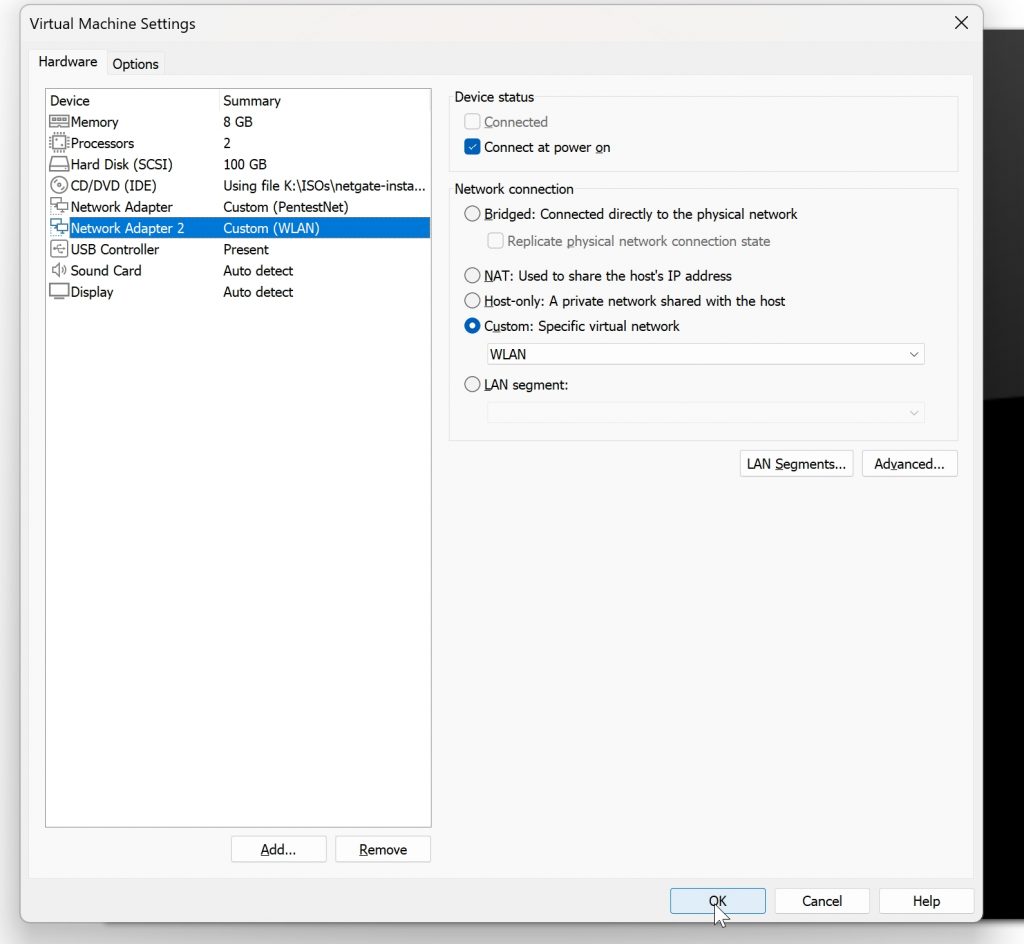
Repeat this for the second Network adapter
For my Lab I have chosen the WLAN(my wireless network)
Click Ok When Done
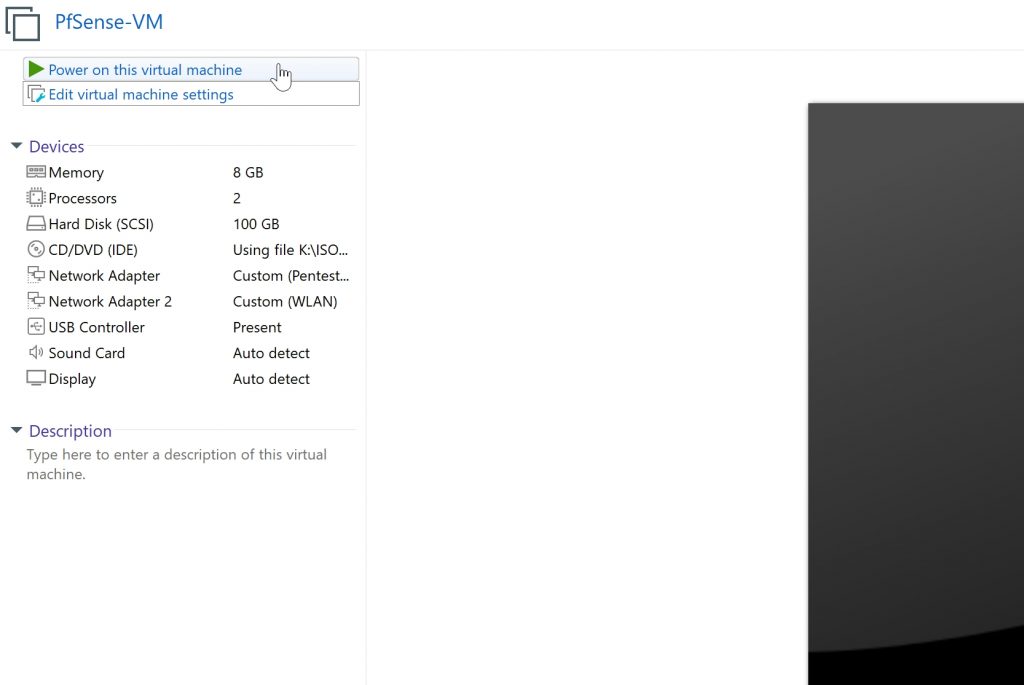
Now we can power on the virtual machine
On boot, you should see the pfSense splash screen followed by the Copyright and Trademark notice that must be accepted.
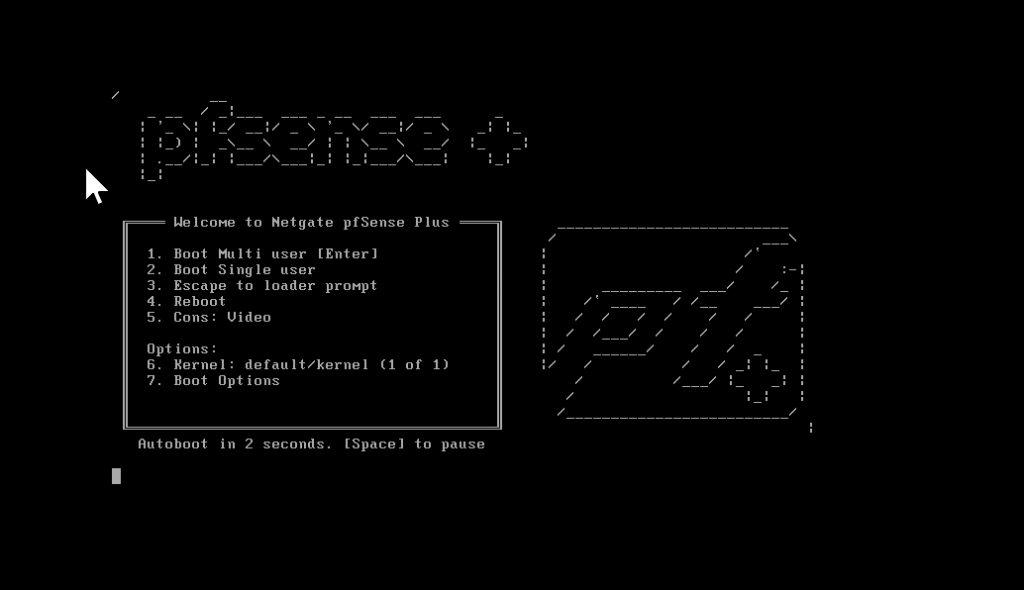
Select Accept > Hit Enter
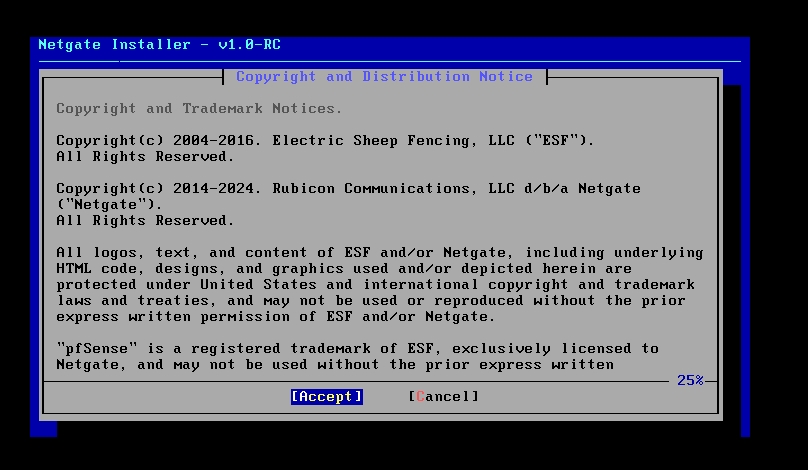
Make sure Install is selected (highlighted)
Select OK > Hit Enter
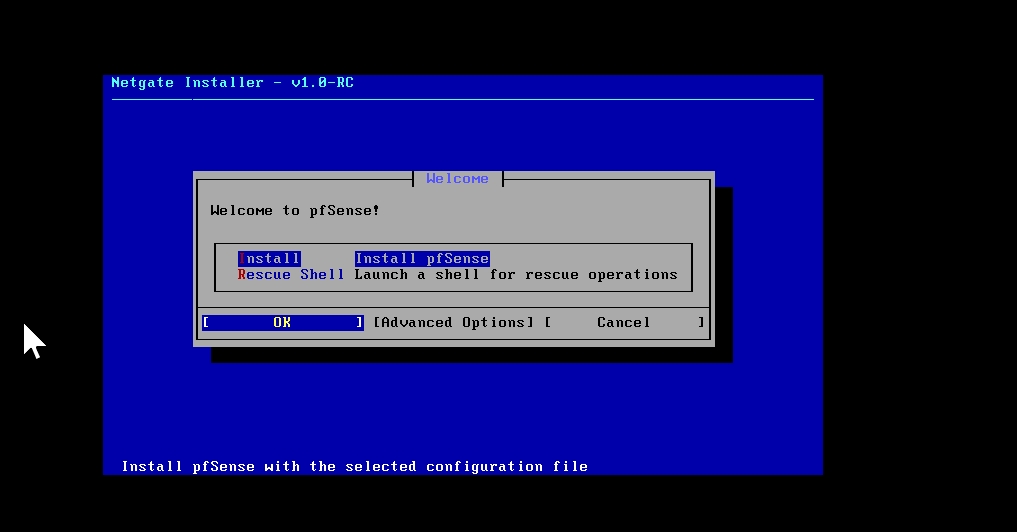
On the Network Installation prompt: Select OK > Hit Enter
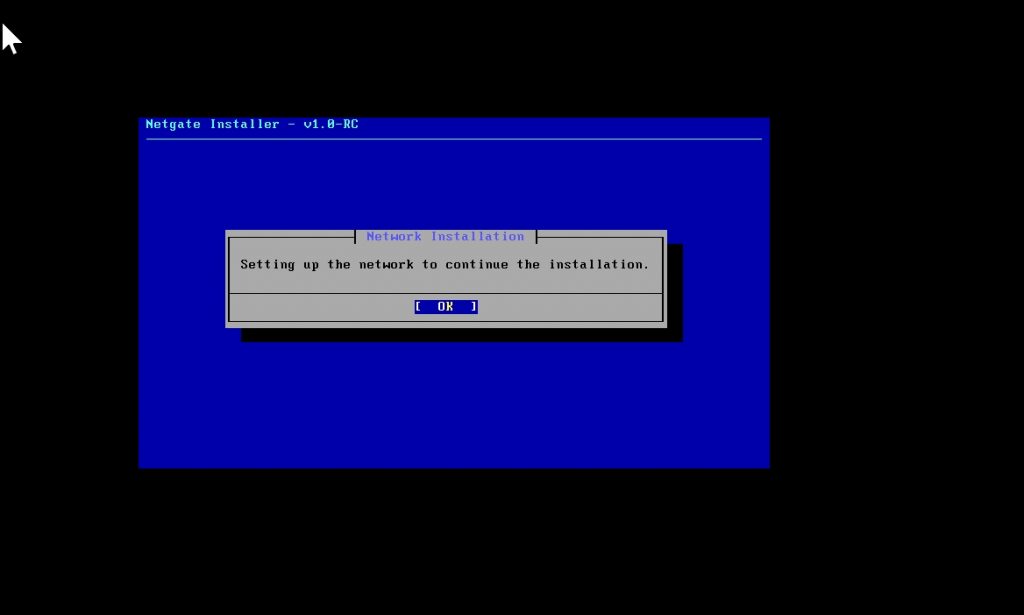
On the next screen we will need to select the WAN (Wide Area Network) interface.
This is the interface that will act like the WAN interface in our home lab setup.
For this we will select the PentestNet interface and will need to verify the MAC address of our Virtual interface.
Press CTRL + ALT to gain control of the host, this quickly exits control of the Virtual Machine
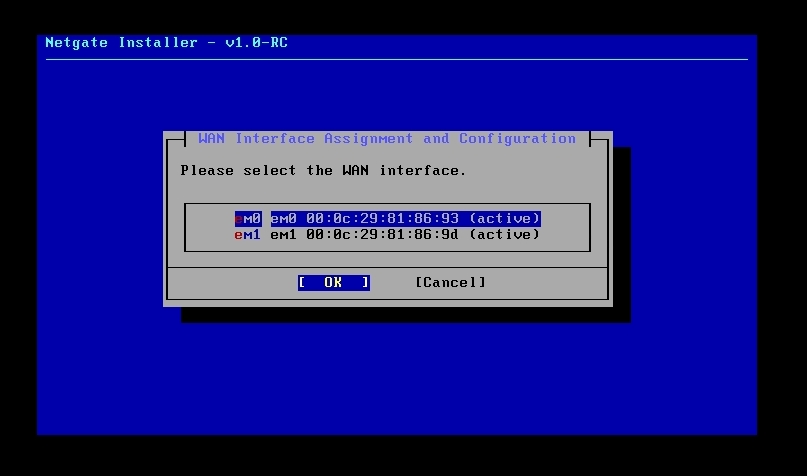
Right Click the Virtual Machine Tab (PfSense-VM) > Click Settings
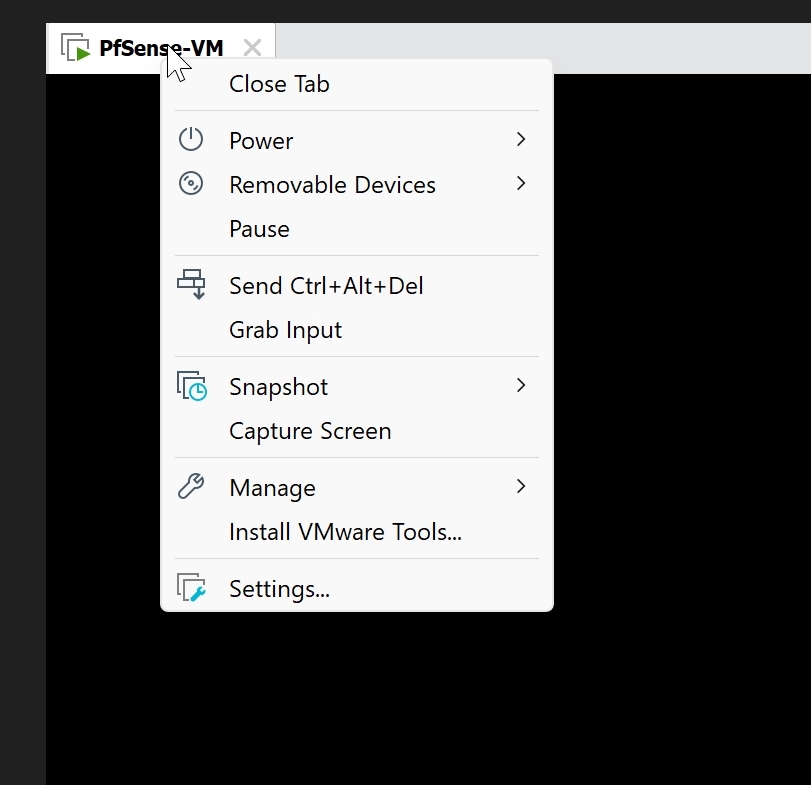
This screen should be familiar by now.
Select the Network Adapter Customer(PentestNet) or whichever you created as your home lab network
Click Advance
On the Network Adapter Advance settings screen you will see the Mac Address below.
Take a screenshot or jot down a note so that you have this handy.
Repeat for any other Virtual Network adapters you have as they will be helpful to have documented.
Click Ok and Ok again to exit the settings
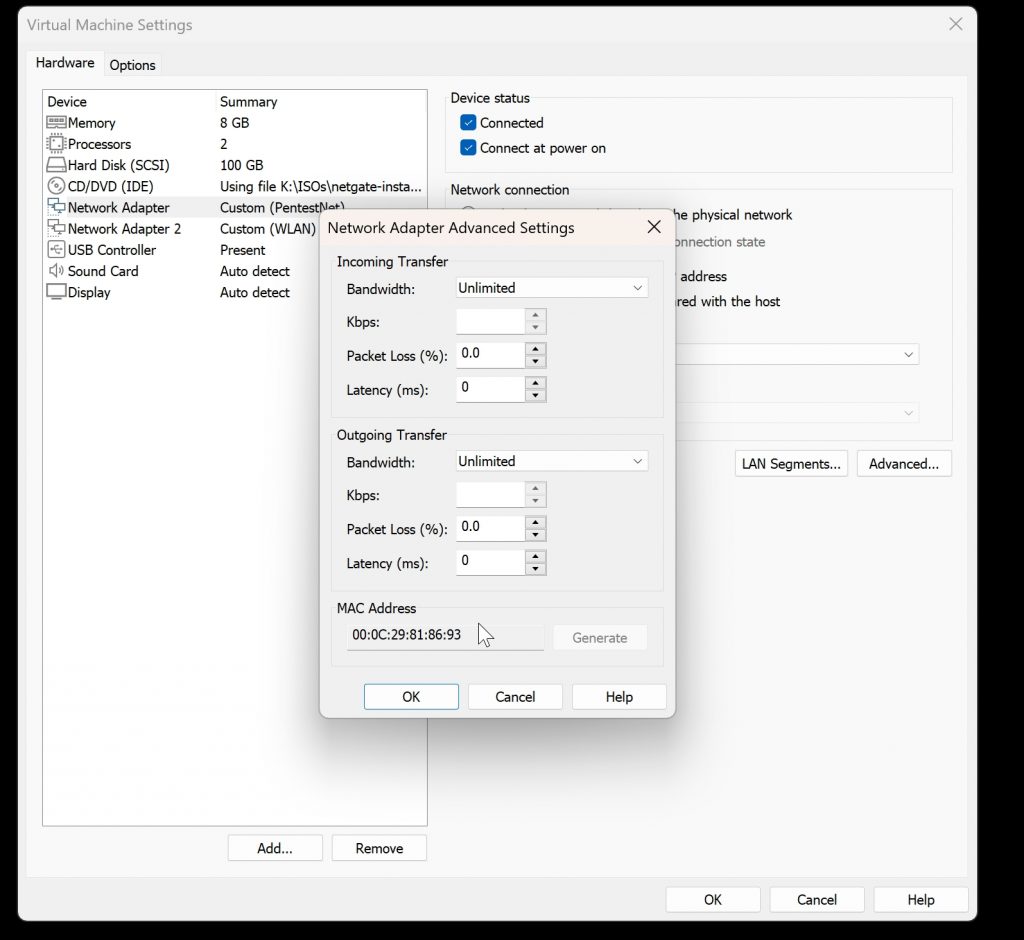
Click back into the Virtual Machine and select the PentestNet interface
In my lab this is em0.
Select the interface > OK > Hit Enter
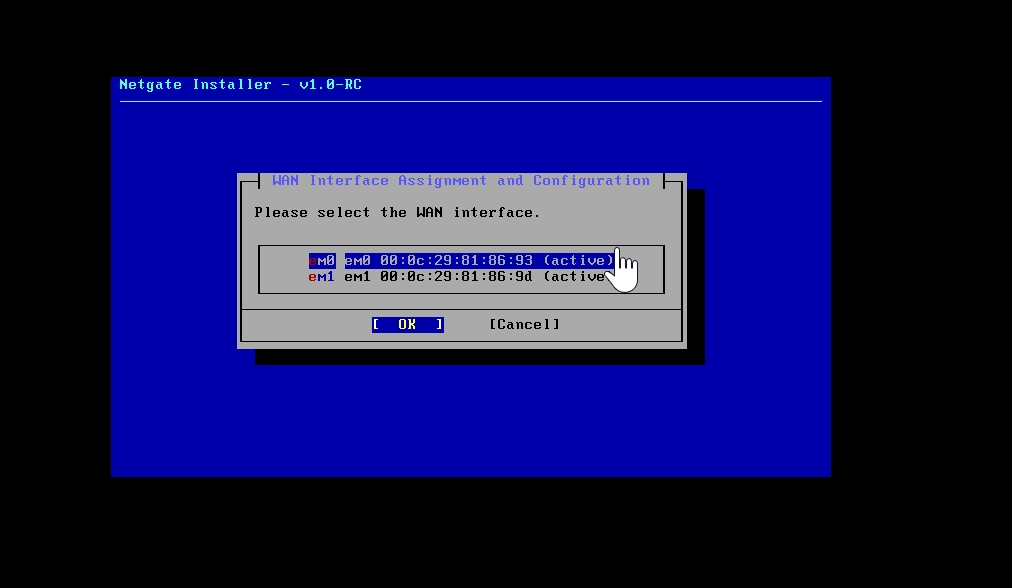
On the Next screen Select Continue Proceed with the installation > Select OK >Hit Enter
This will begin the installation process
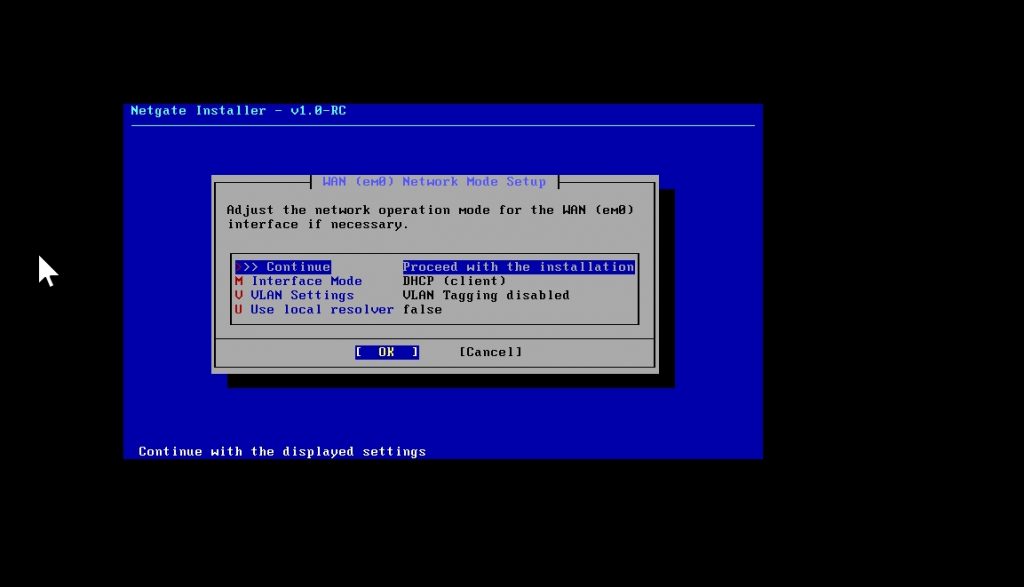
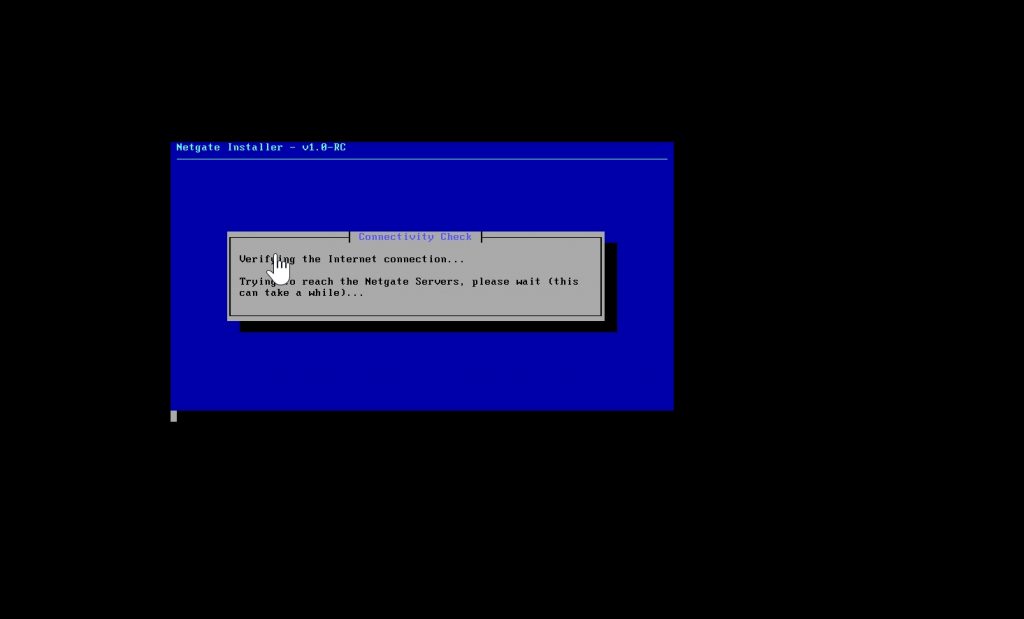
If you are stuck at the connectivity check, please ensure you virtual network interface has access to internet and connections on host machine are properly connected.
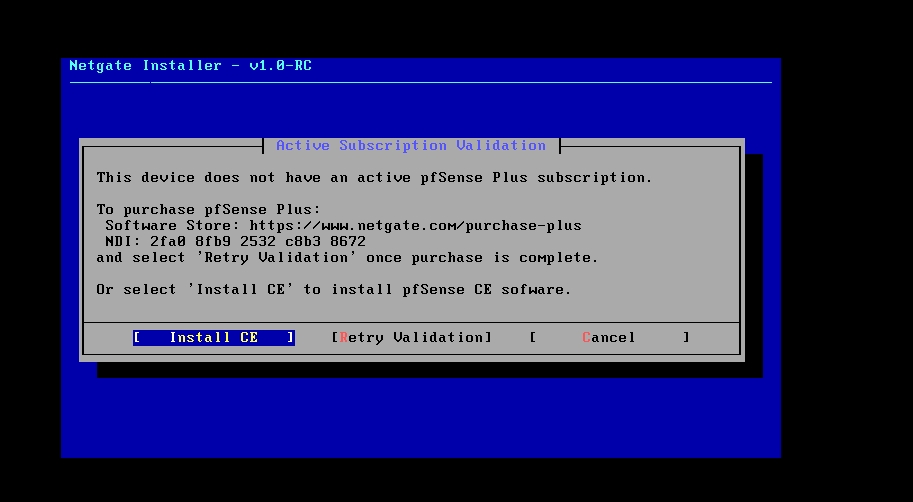
Since we will not be purchasing a pfSense Plus license we will install the Community Edition of pfSense
Select Install CE > Hit Enter
Select Continue Proceed with the installation > Select OK > Hit Enter
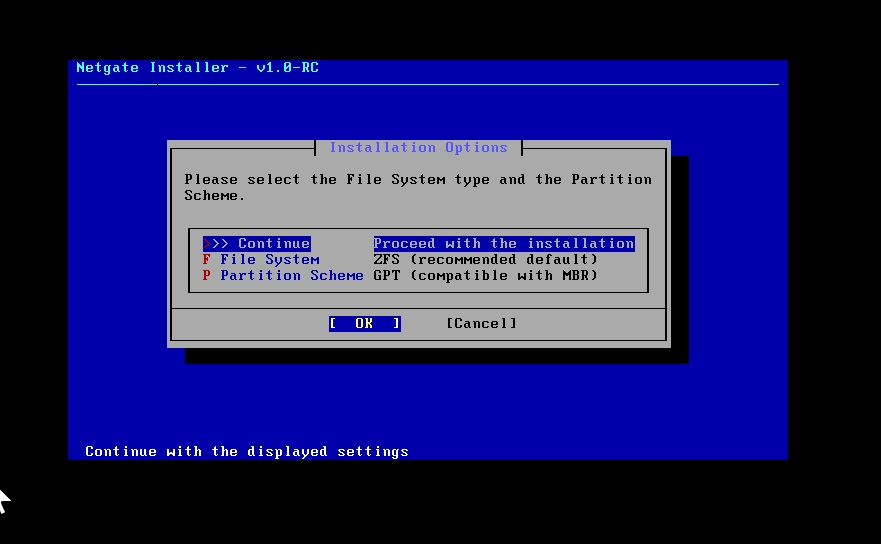
On the next screen, Keep defaults > Select OK >Hit Enter
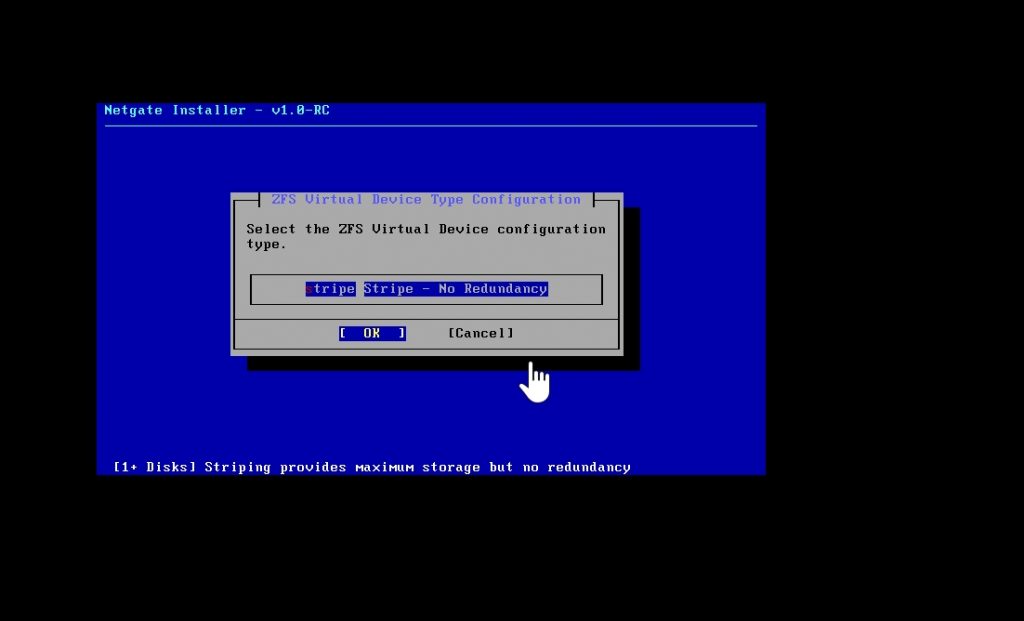
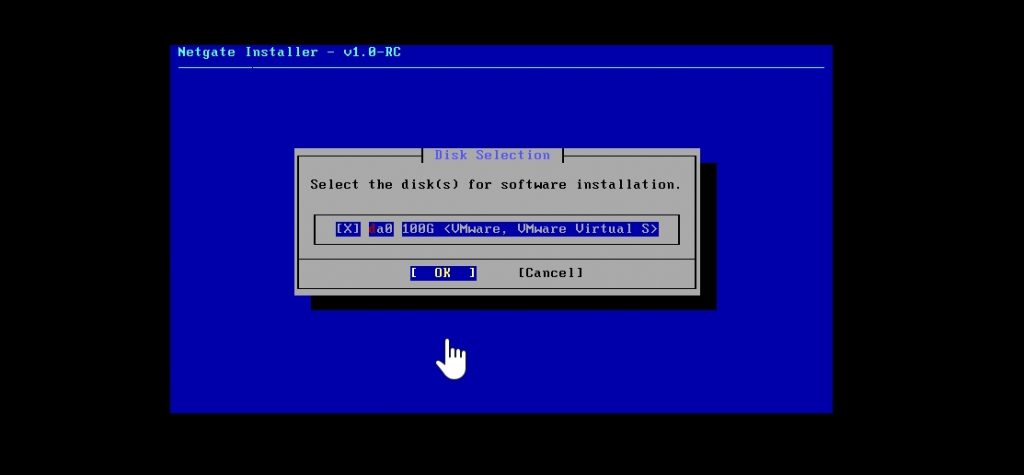
The next screen will allow us to select the disk to Install on:
Select the only disk available > OK > Hit Enter
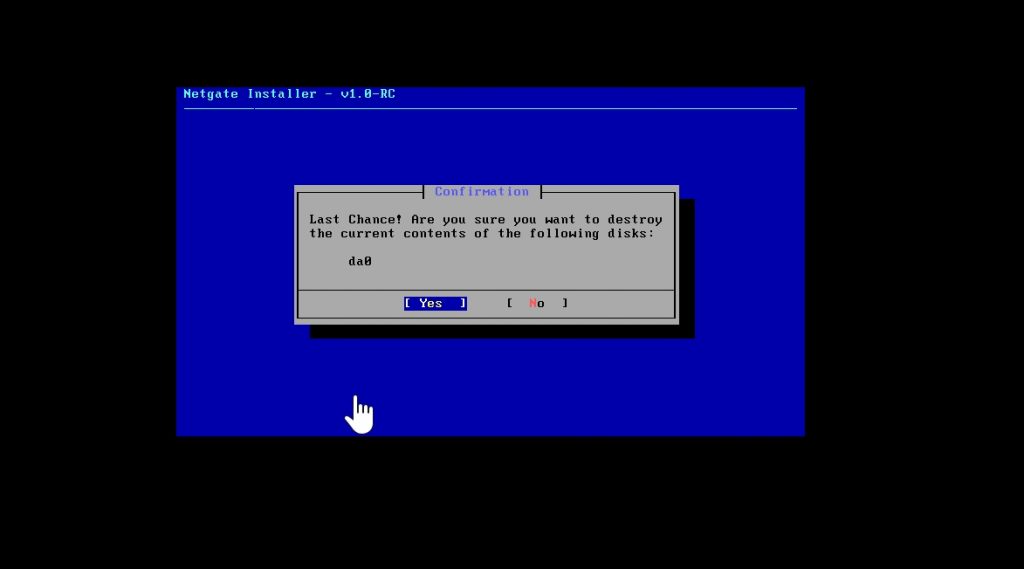
The next screen will warn you of data destroy on select disk
Select Yes > Hit Enter
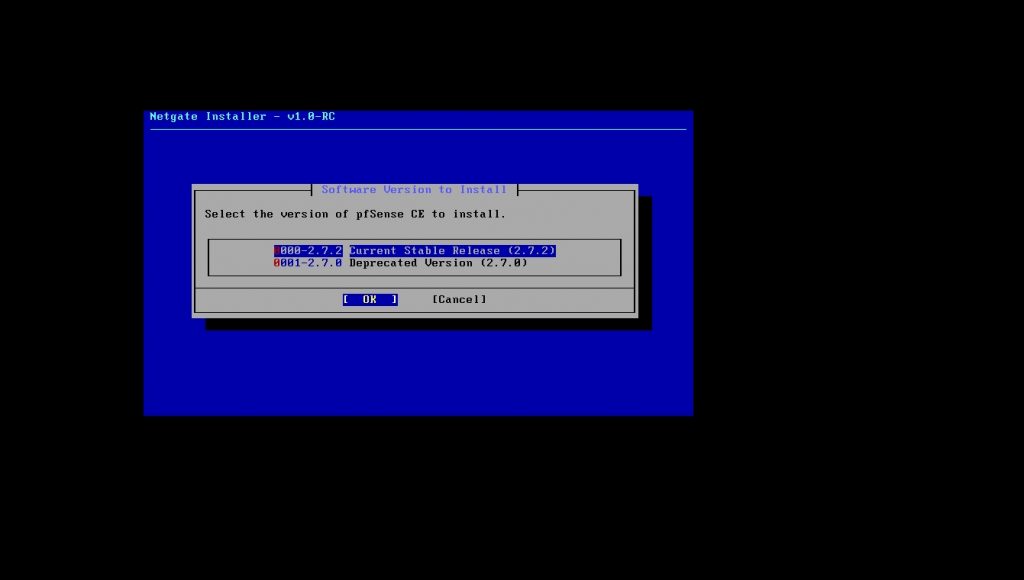
Select the Current Stable Release > Select OK > Hit Enter
You will get confirmation message, at this point pfSense is installed
Hit Enter
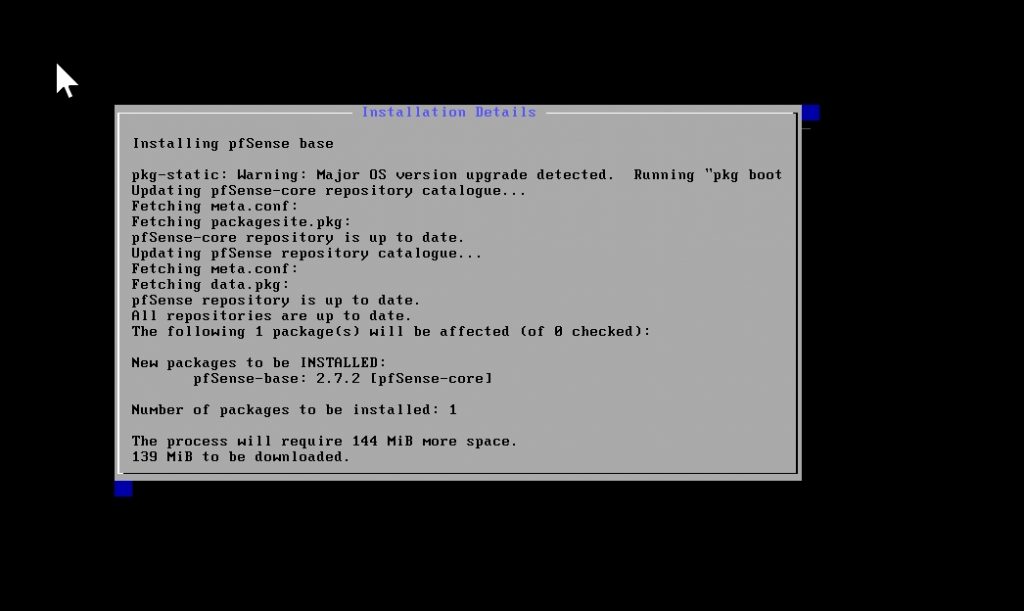
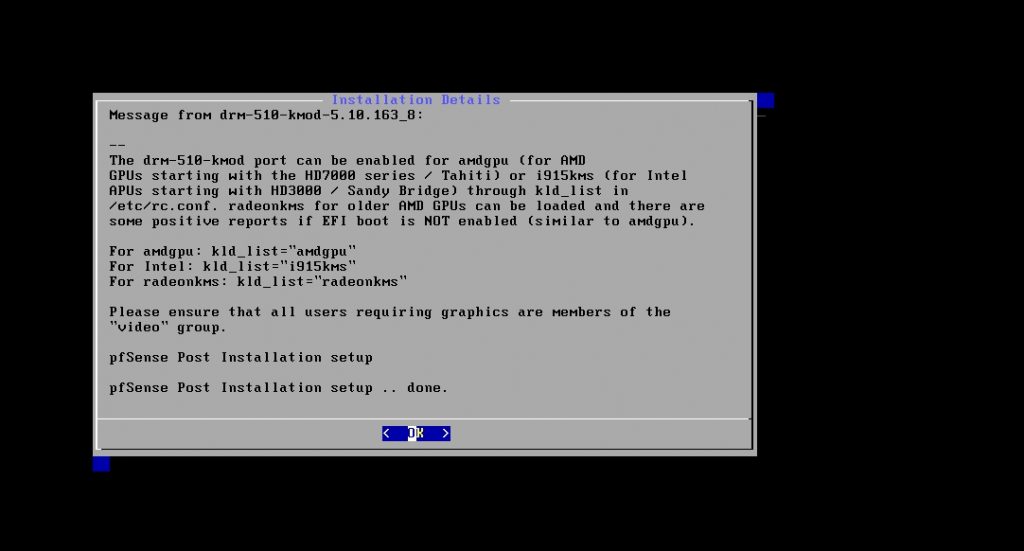
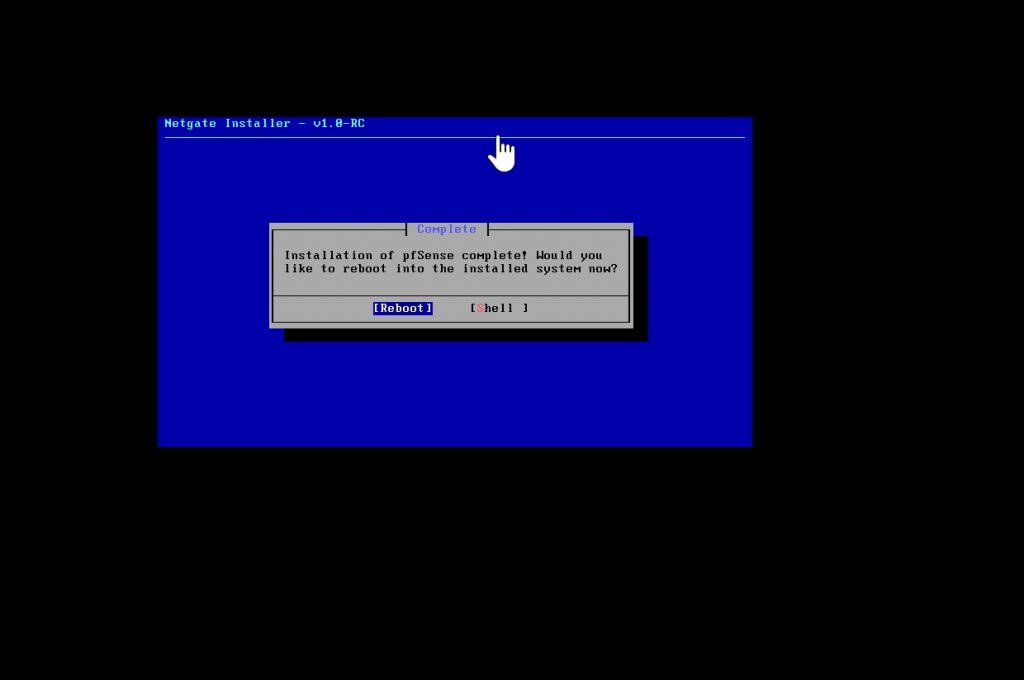
To wrap up the installation Select Reboot and Hit Enter
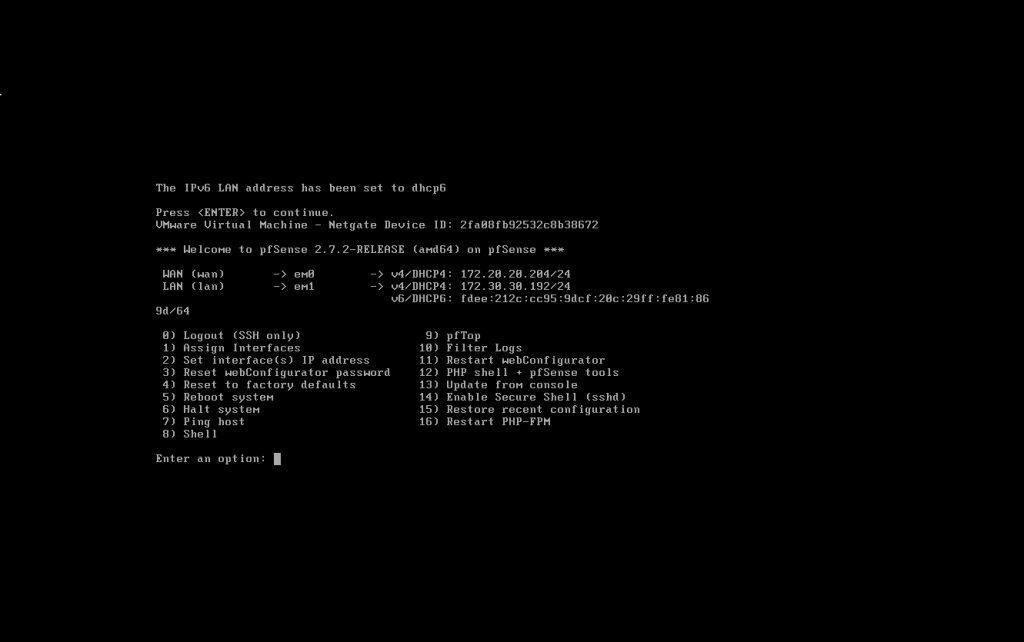
After reboot, we should see the pfSense splash screen and option screen:
Take note of the WAN interface IP address: 172.20.20.204
This is the IP address from the “internet” think of it as the public IP address in our Home lab setup
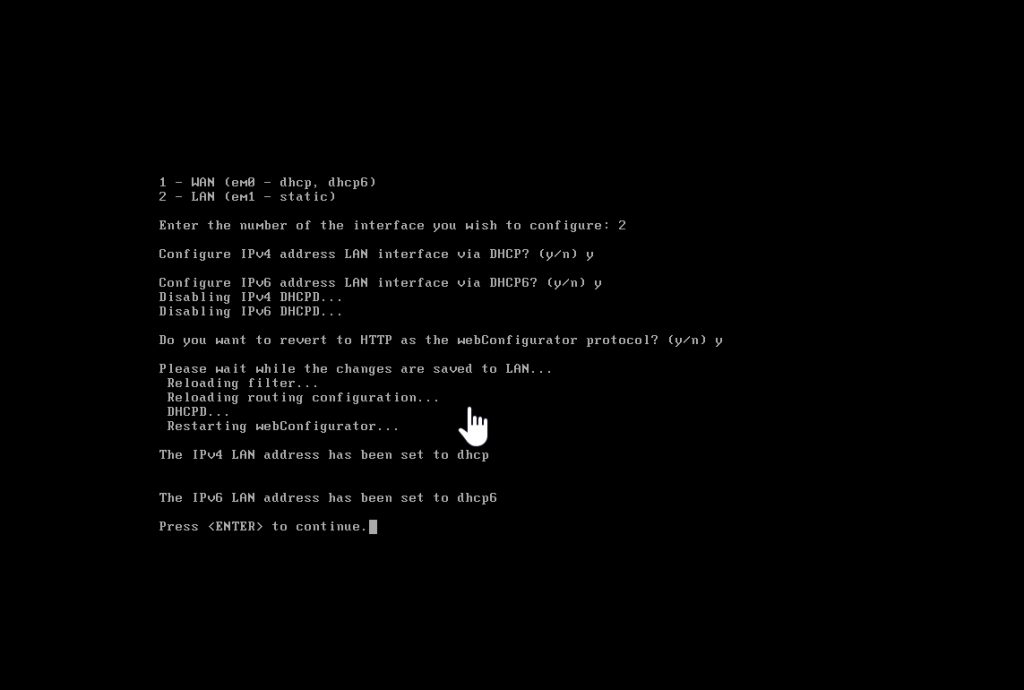
Enter Option 2 (assign interfaces)
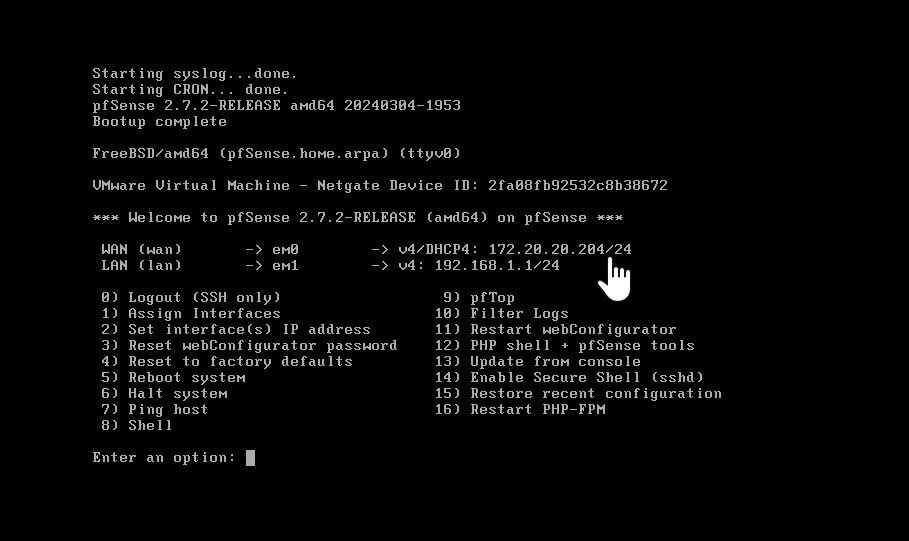
Enter 2 for the LAN interface
Hit Enter
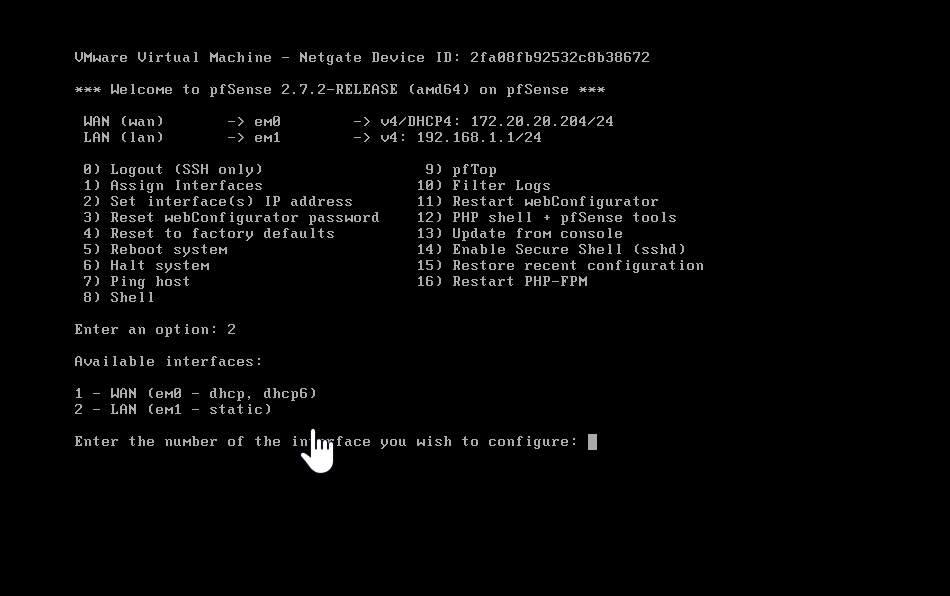
We will configure LAN interface via DHCP or if you have a static IP address you would like to assign Enter ‘n’.
For this LAB setup Enter ‘y’ for both IPv4 and IPv6
press enter
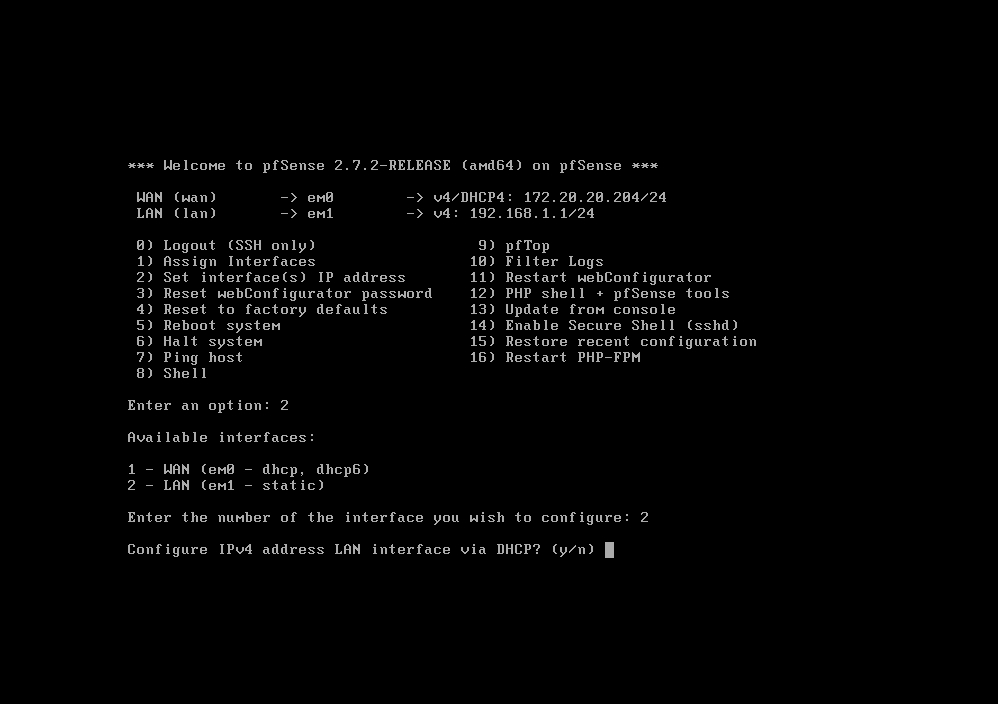
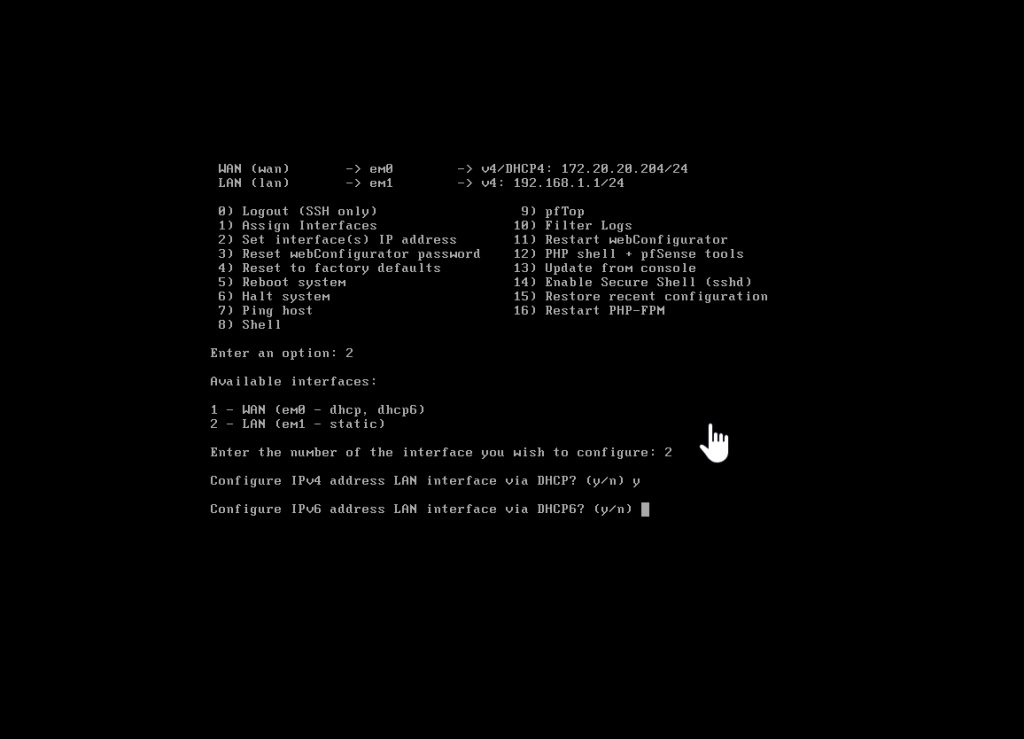
We will use HTTP for this setup, we can always migrate to HTTPS in GUI
Enter y > Press Enter
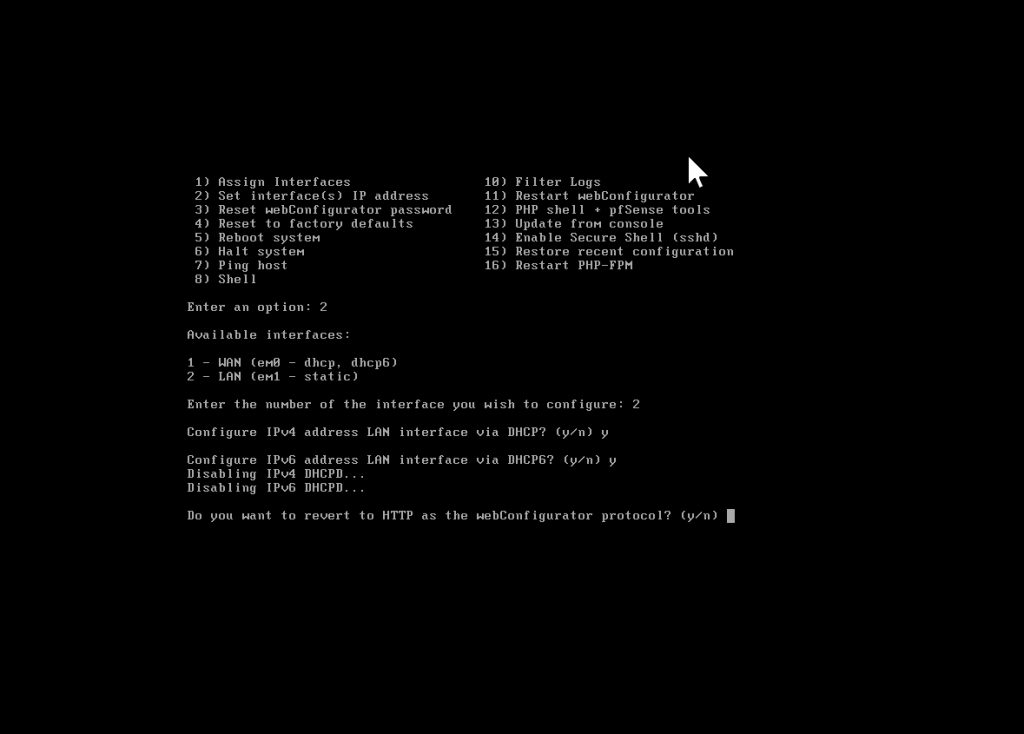
We should see confirmations that the LAN IPv4 and IPv6 addresses has been set to dhcp
Press Enter
Take note of the LAN interface IP address: 172.30.30.192 this is what we will use to access GUI
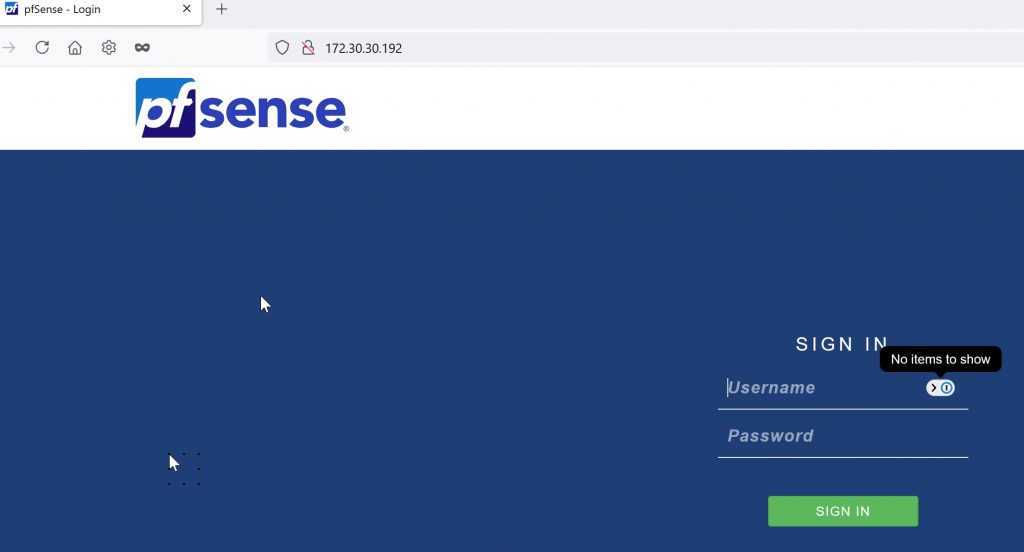
In your web browser, type the IP address of the LAN interface in address bar and you should see the pfSense sign in page
The default username:password for pfSense is “admin:pfSense”
Please see my pfSense configuration guide to dive into the pfSense GUI!