SELKS Minimum Requirements
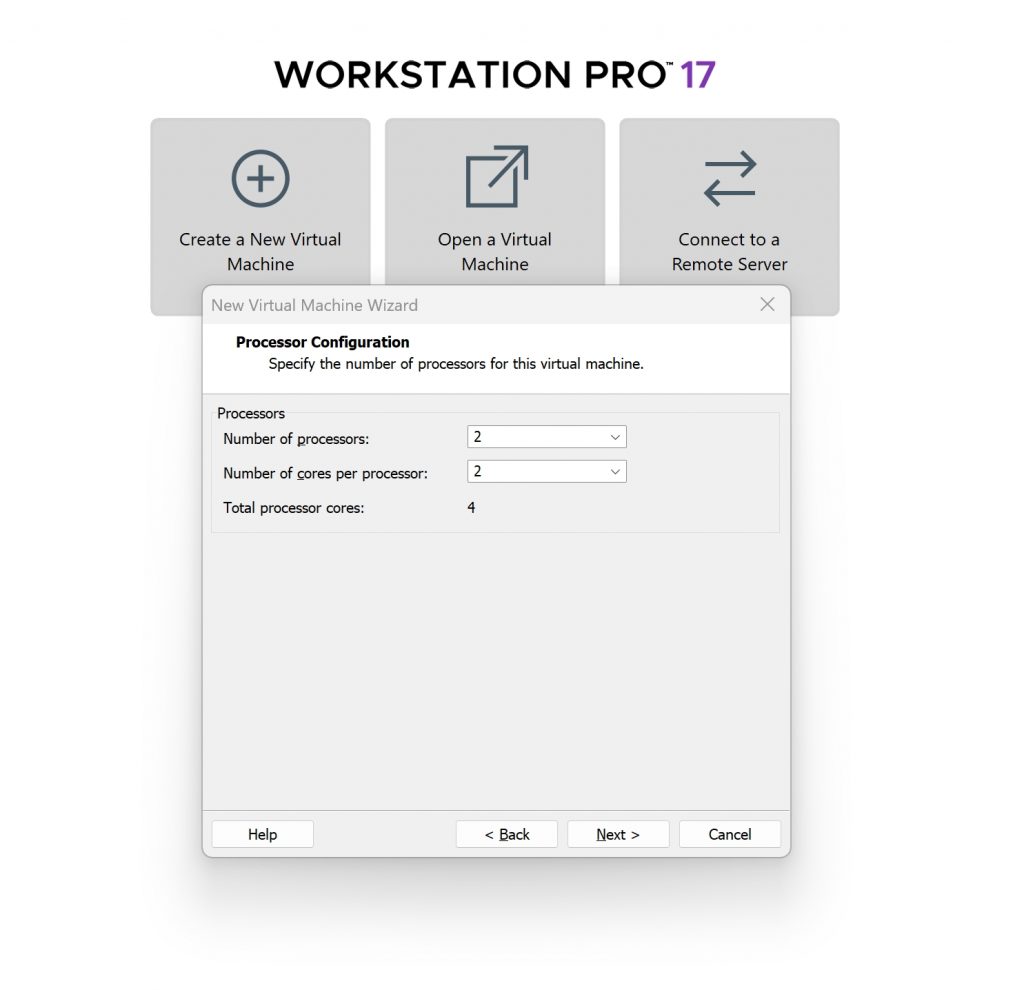
- 2 cores
- 8-10 GB of free RAM
- 100GB (10 GB for Docker package) of free disk space (high-performance SSD is recommended)
Installing SELKS
SELKS can be built from the ground up on Linux, I did this when I first started learning Linux. I figured if I attempted to install each component separately I could develop my Linux skills at the same time.
SELKS ISO
You can download the latest SELKS ISO here.
For this walkthrough we will be using the “complete image with no desktop” version.
Deploying Selks
Download ISO , In this guide we will be using the ISO with no desktop and only have access to the CLI.
Install using Vmware
Create an New Virtual Machine
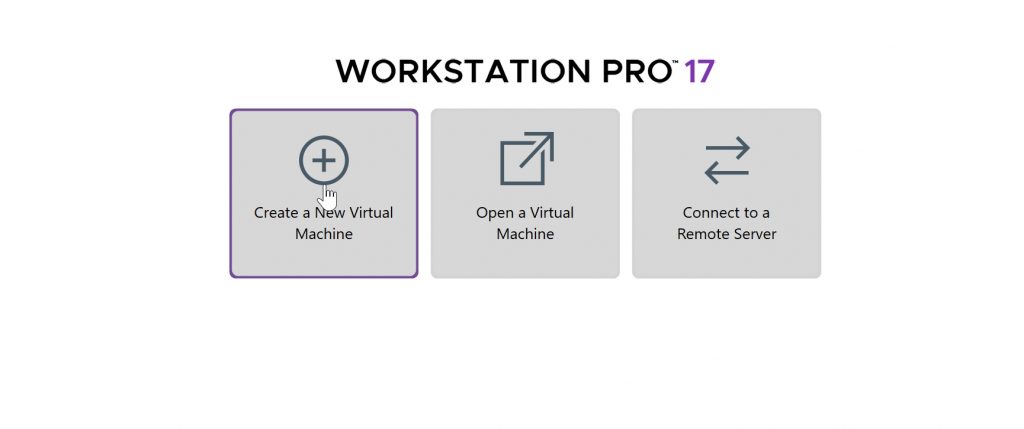
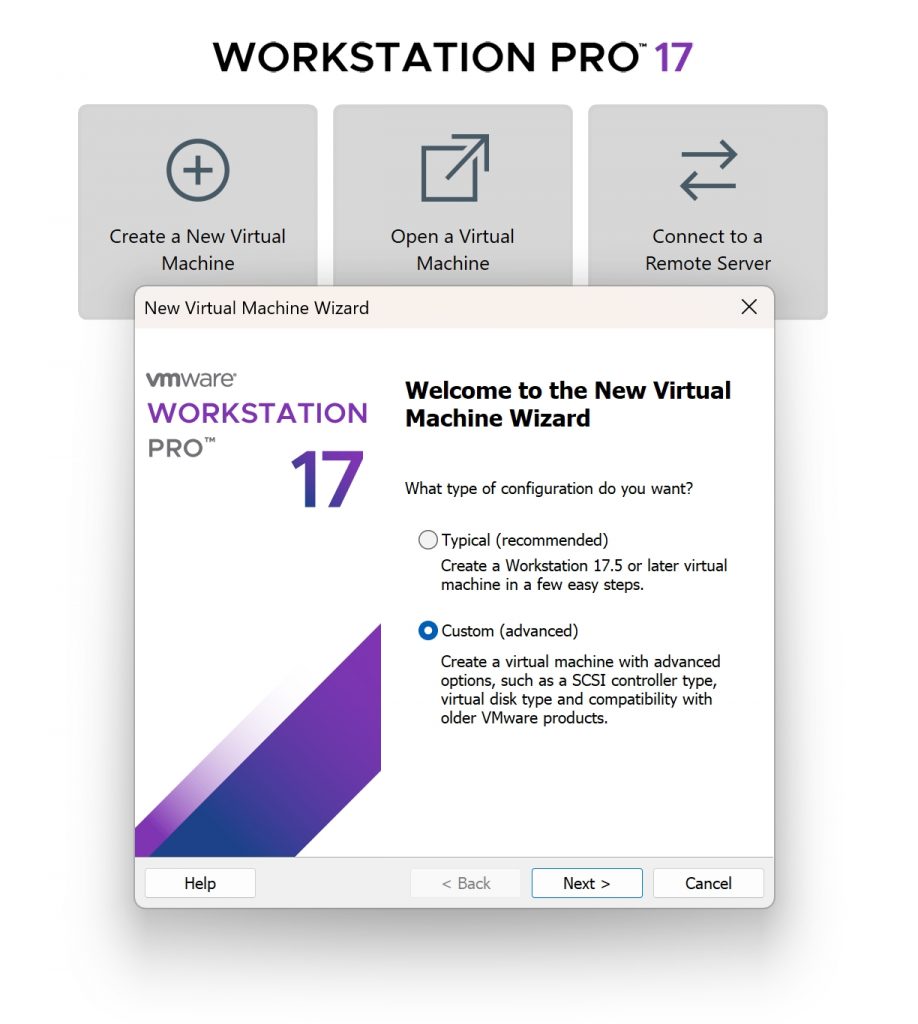
Choose Custom (advanced)
Click Next
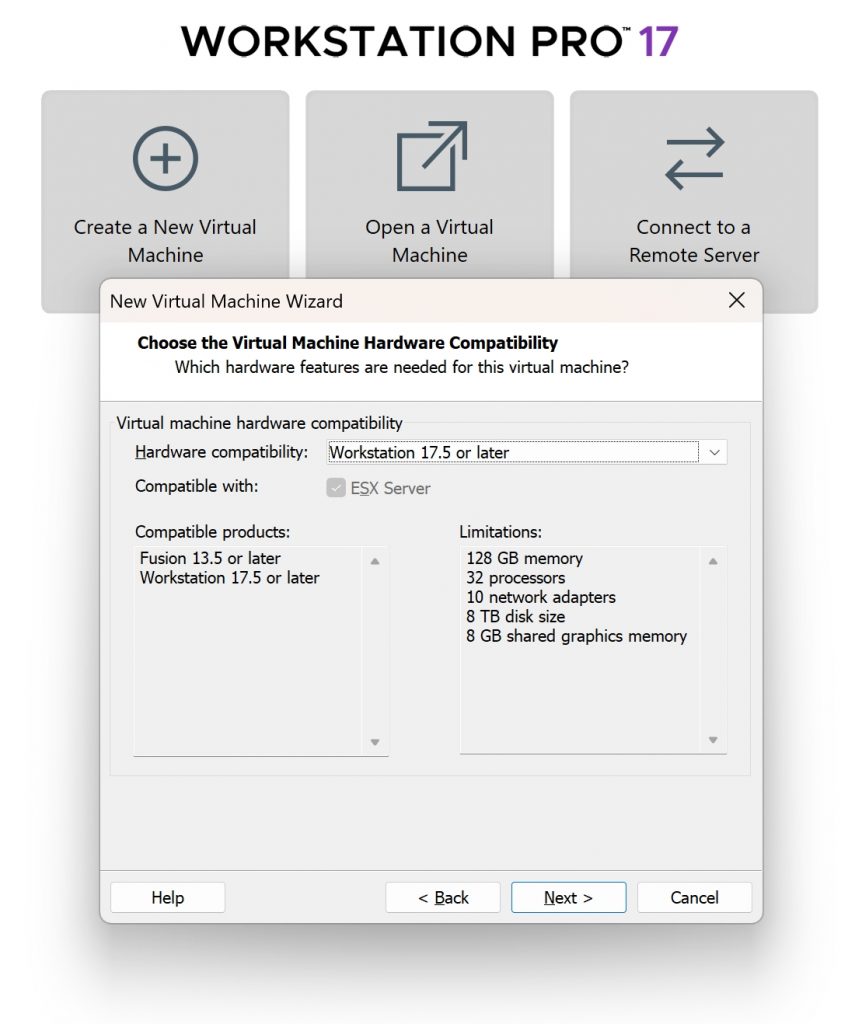
Hardware Compatibility: Workstation 17.5 or later
Click Next
Choose Installer disk image file (iso):
Click Browse > Select SELKS-10-no-desktop.iso
Click Next
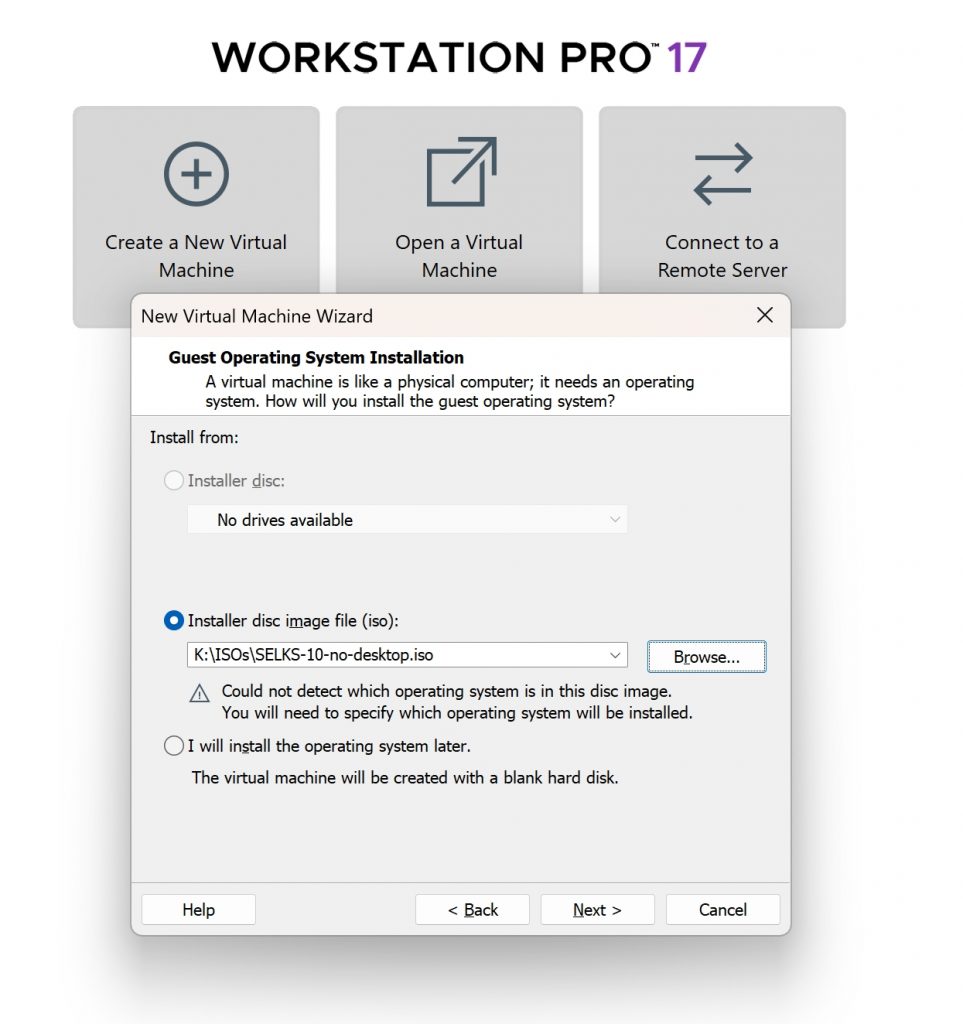
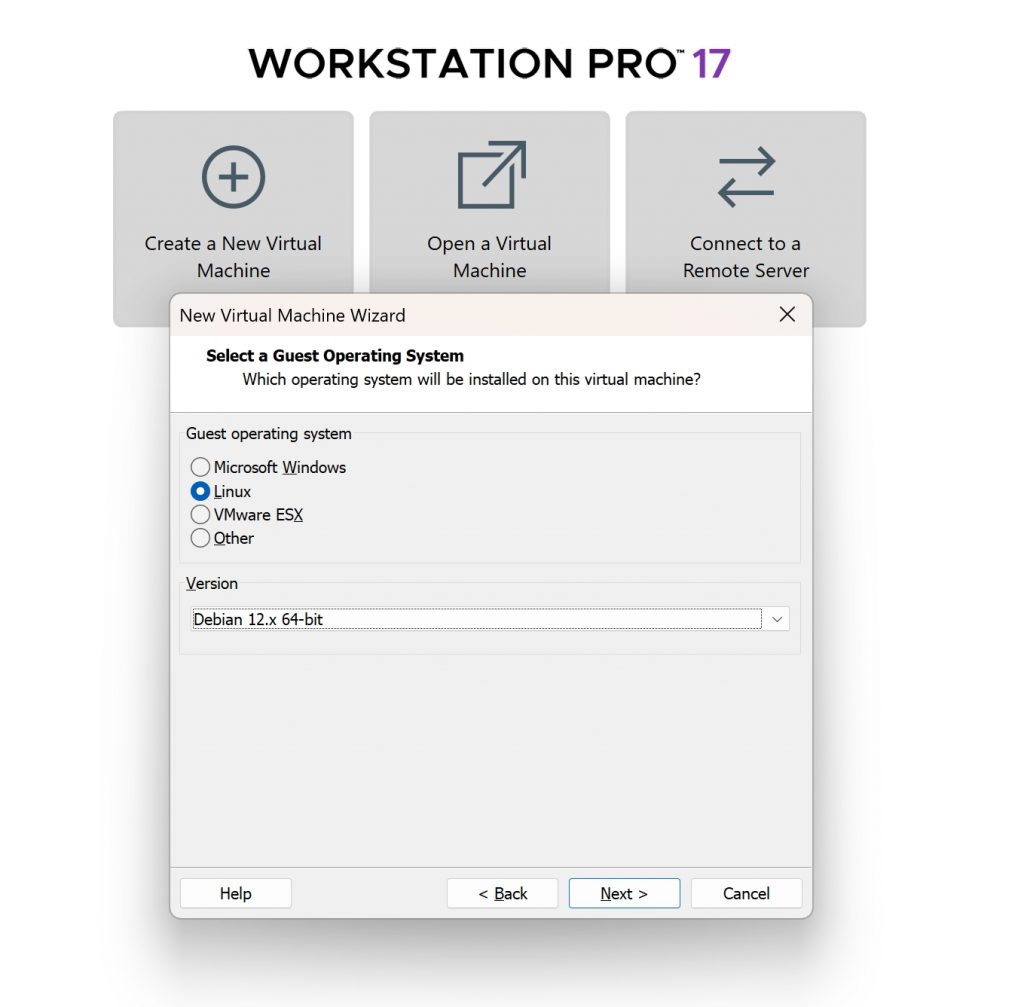
Guest Operating System:
Select Linux > Debian 12.x 64-bit
Click Next
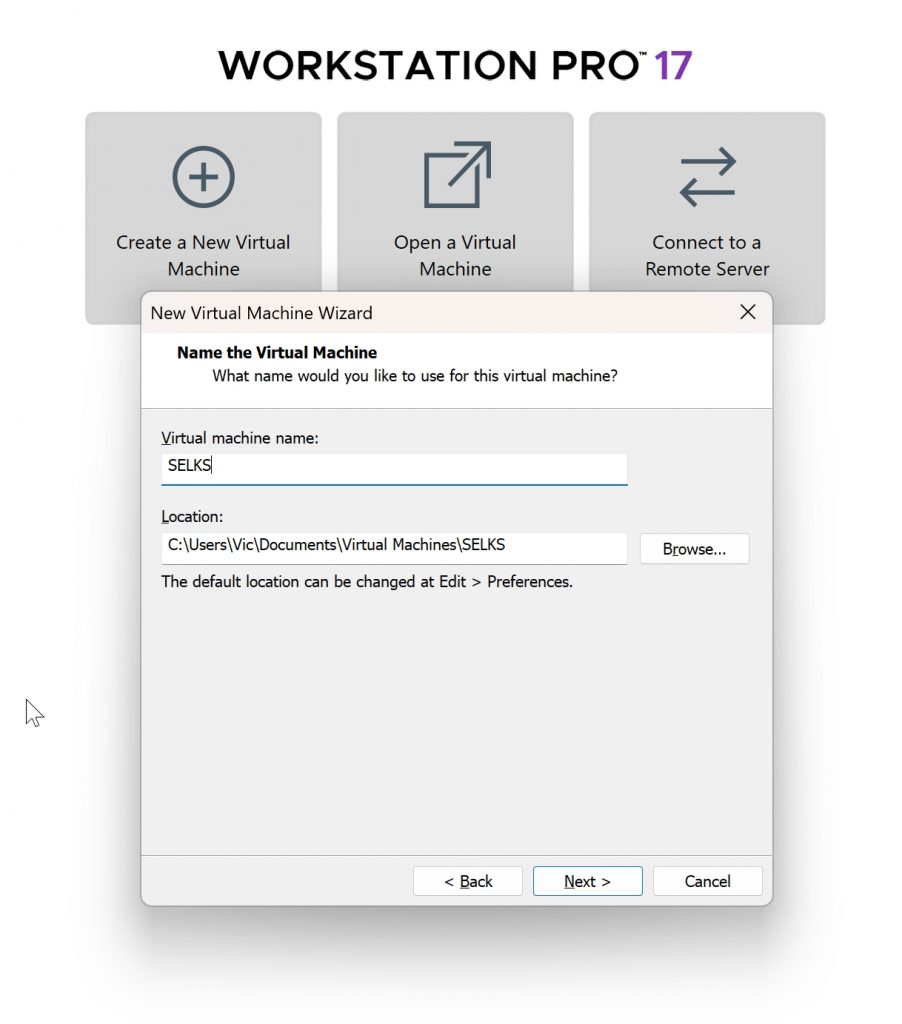
Name VM:
I prefer to name the VM based on the project: SELKS (you can name this whatever you like)
Click Next
Processor Configuration: Please take note of SELKS minimum requirements (2 cores)
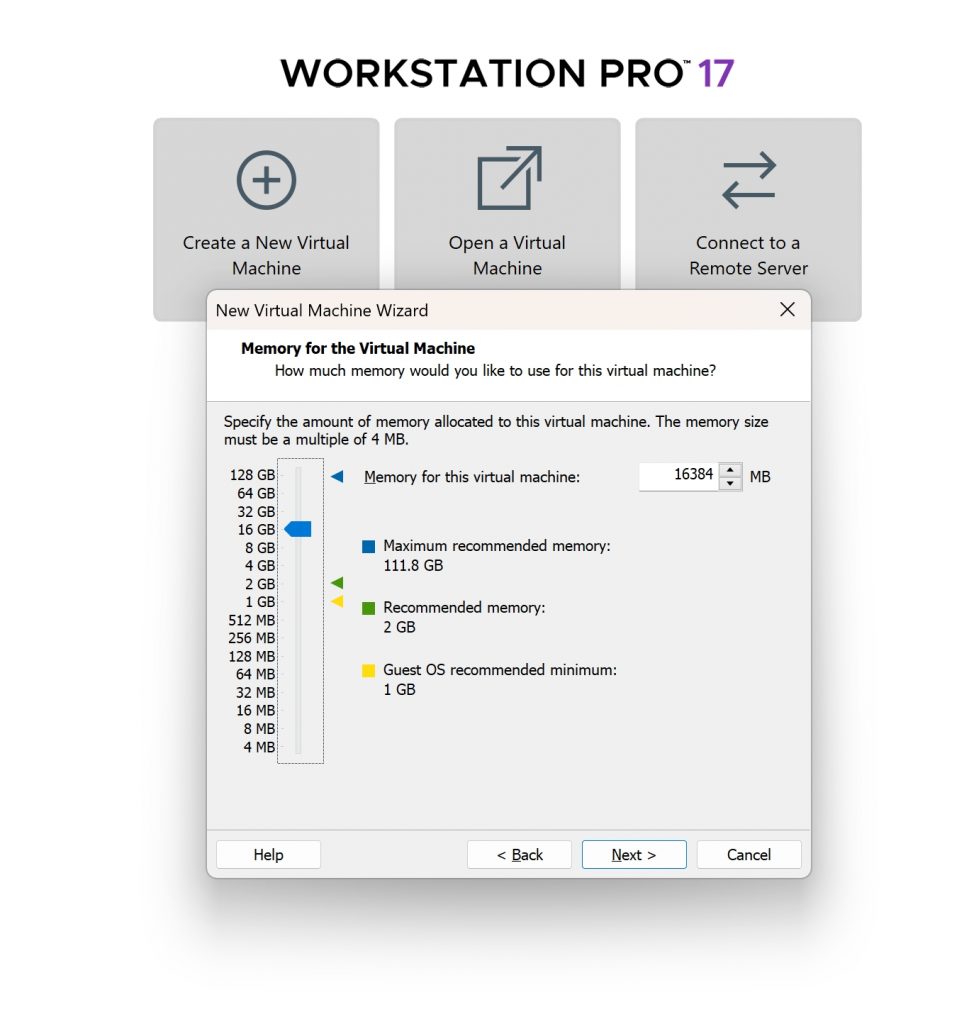
Memory configuration: Please take note of SELKS minimum configuration (8 – 10 GB of RAM)
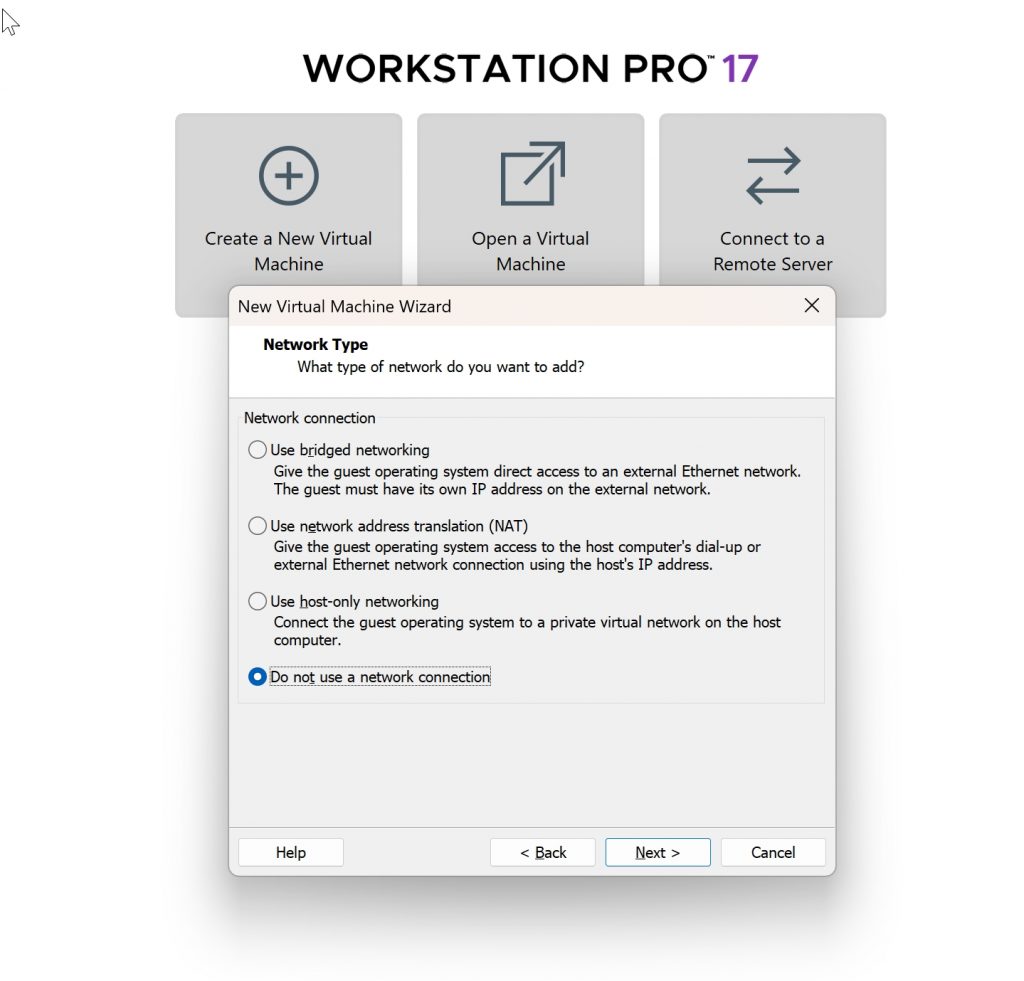
Network configuration ( we will configure this later)
Select Do not use a network connection
Click Next
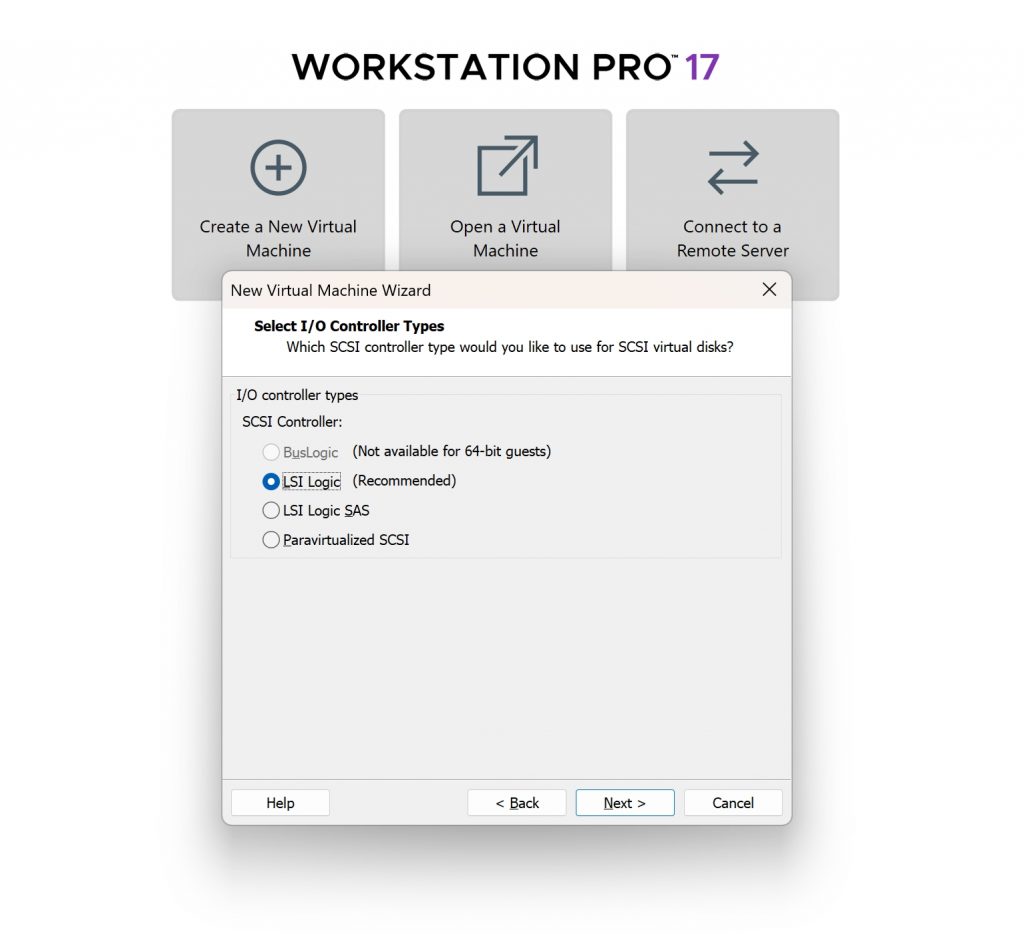
I/O Controller Types
Choose recommended (LSI Logic)
Click Next
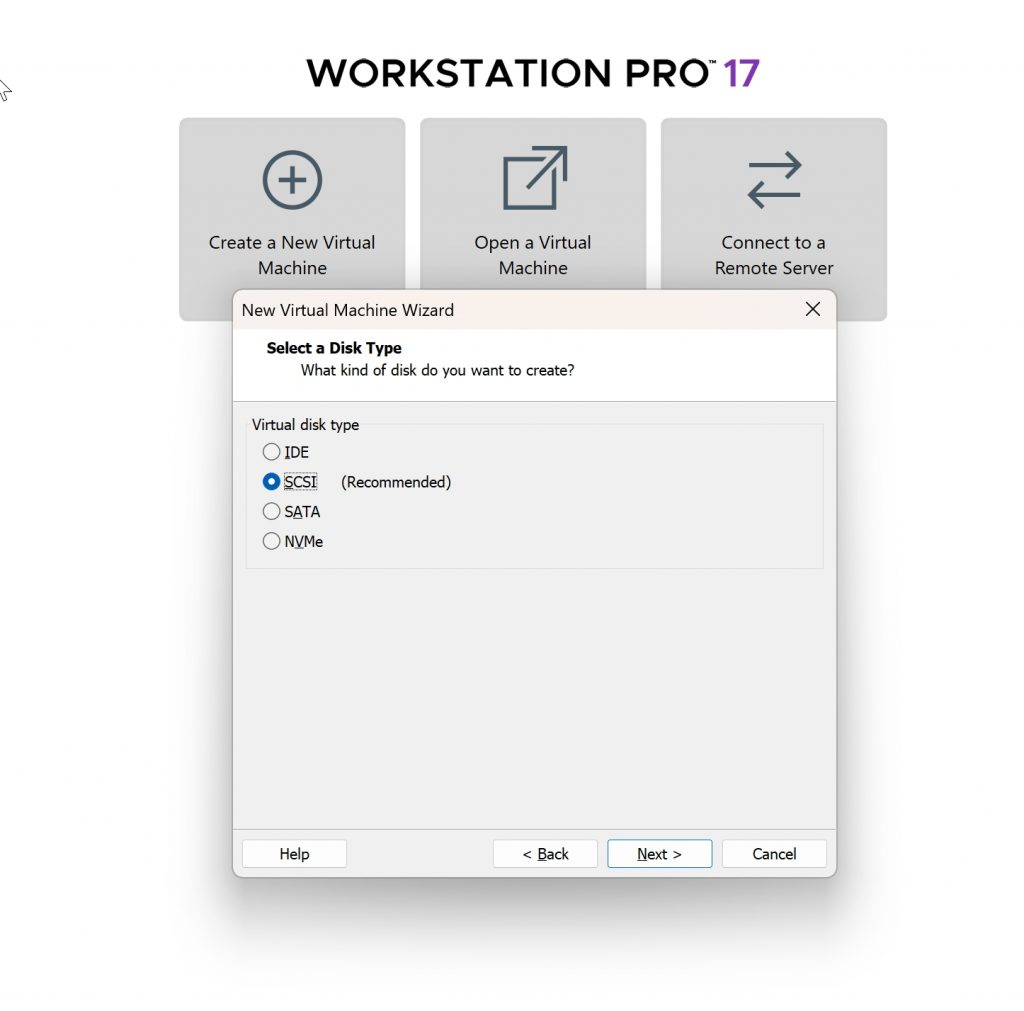
Disk Type: Choose Recommended (SCSI)
Click Next
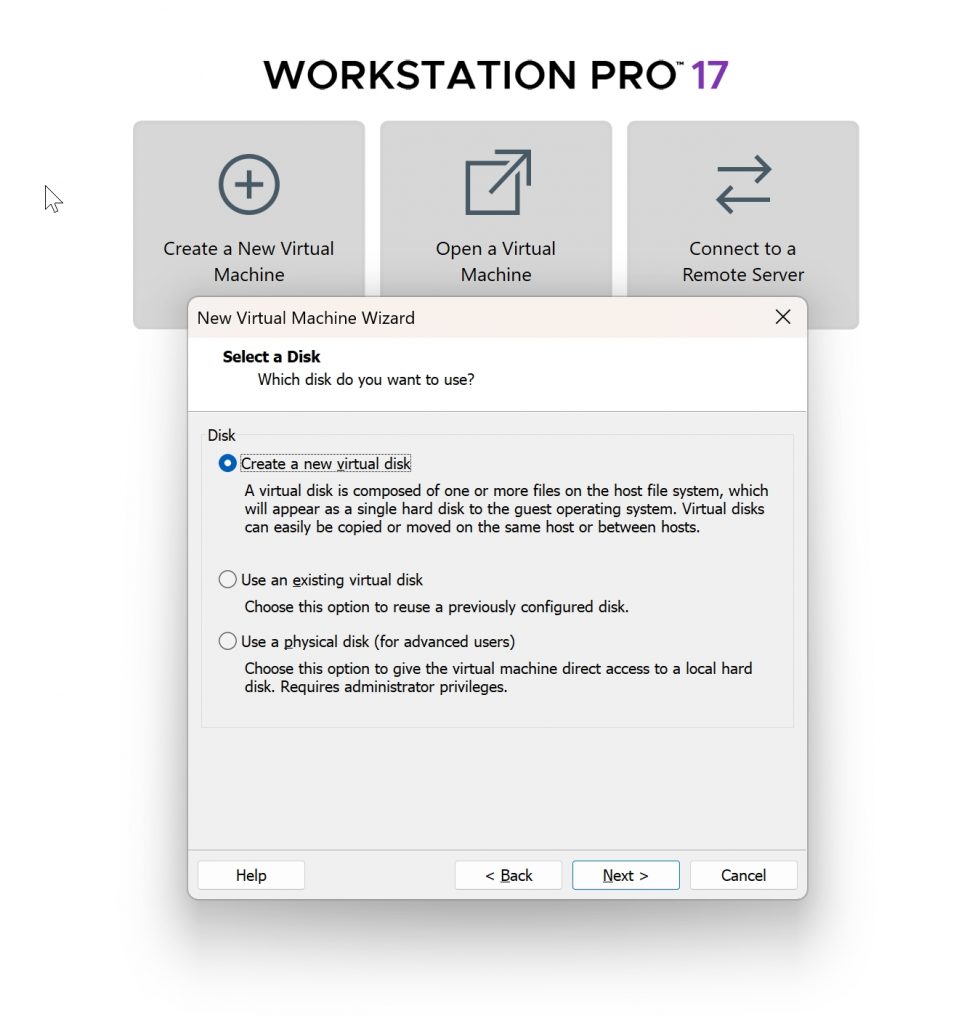
Select a Disk
Choose: Create a new virtual disk
Click Next
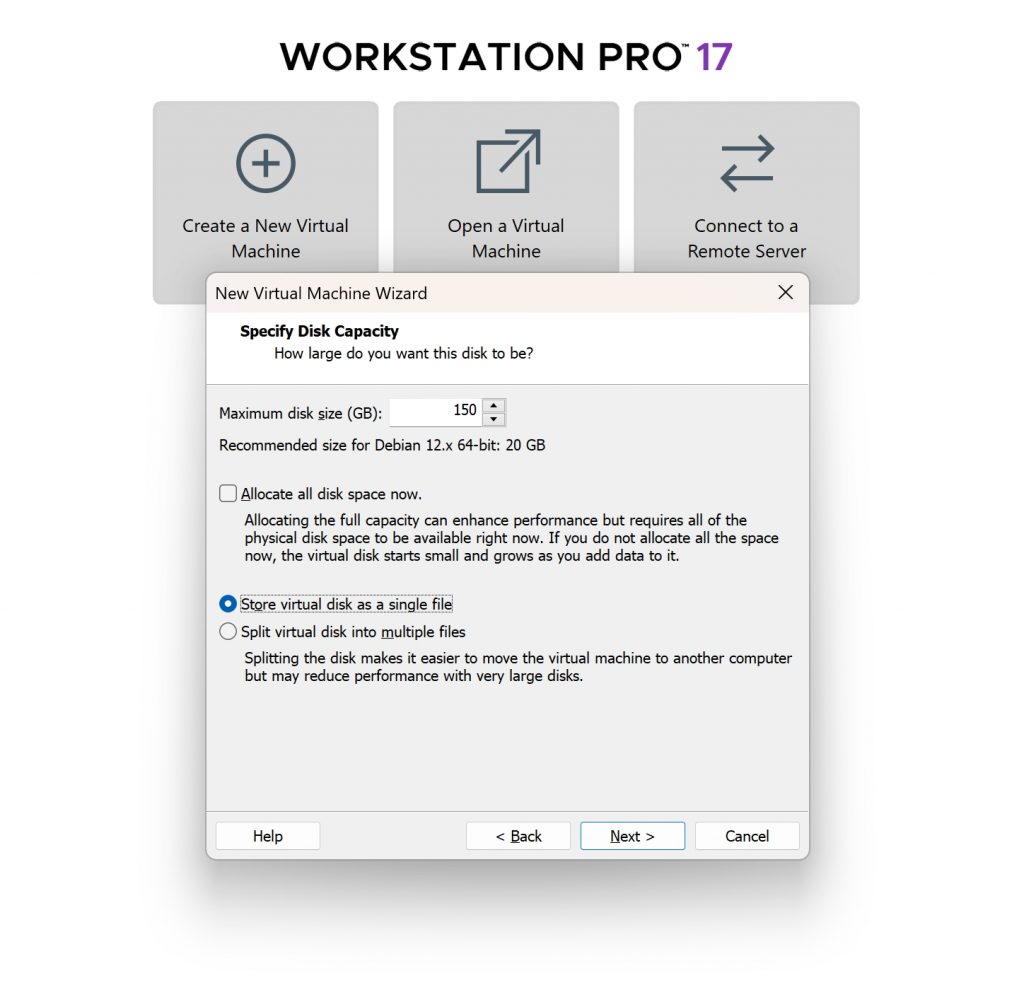
Disk Capacity: Please take note of the minimum requirements for SELKS (100GB)
Click Next
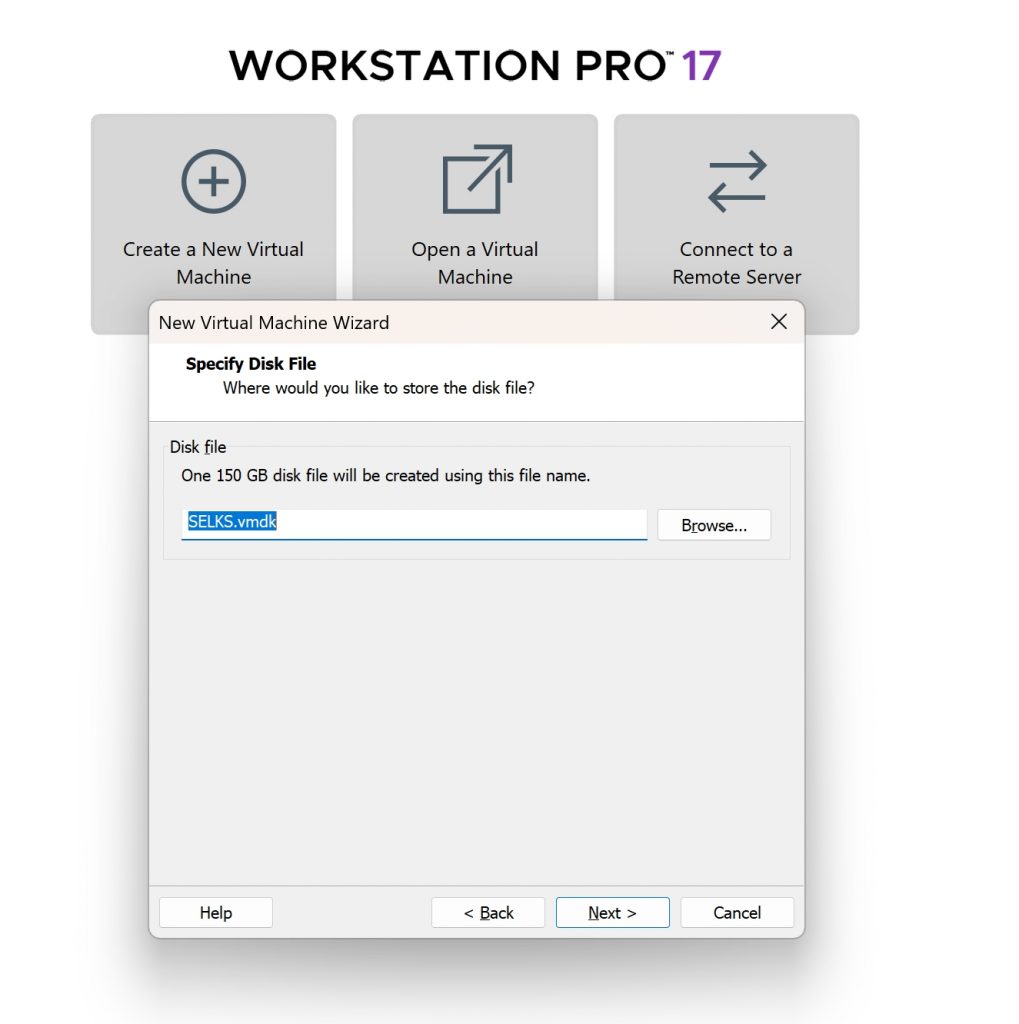
Specify Disk File:
Keep Default
Click Next
Ready To Create? Not yet
Click Customize Hardware:
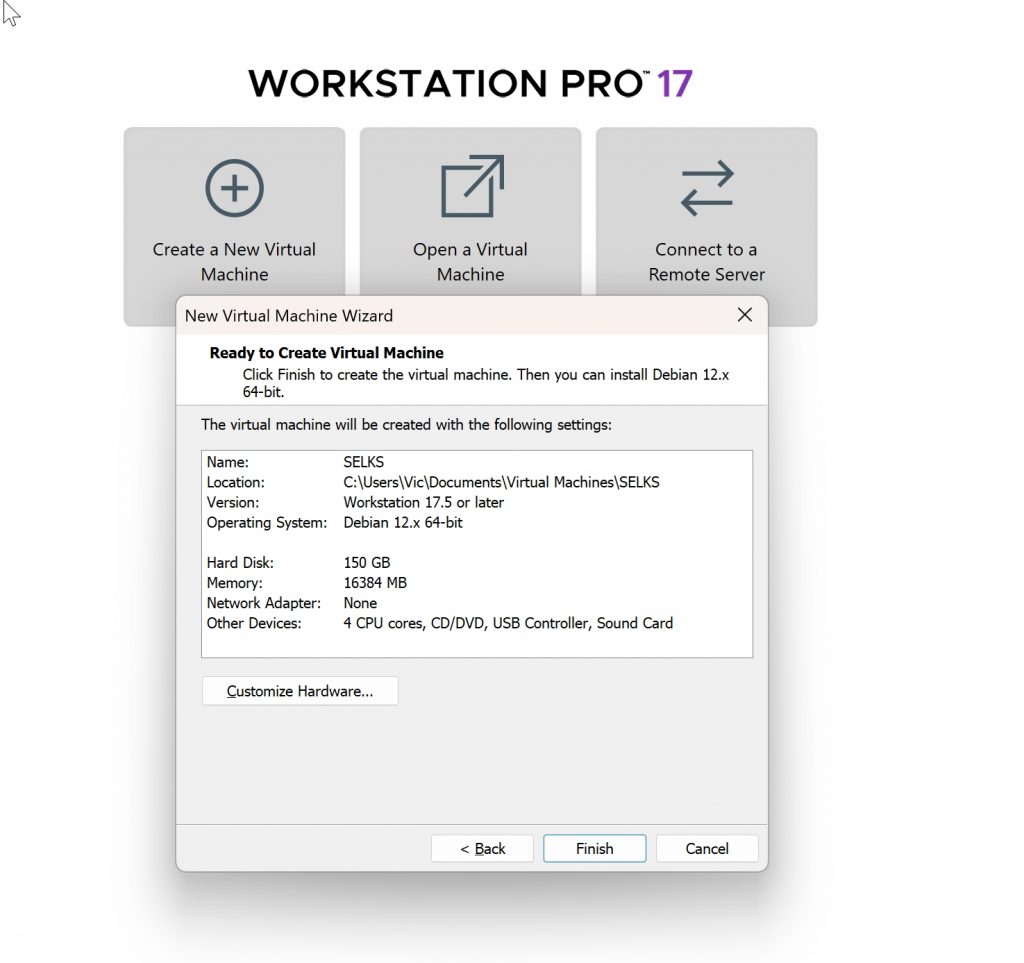
Click On Add
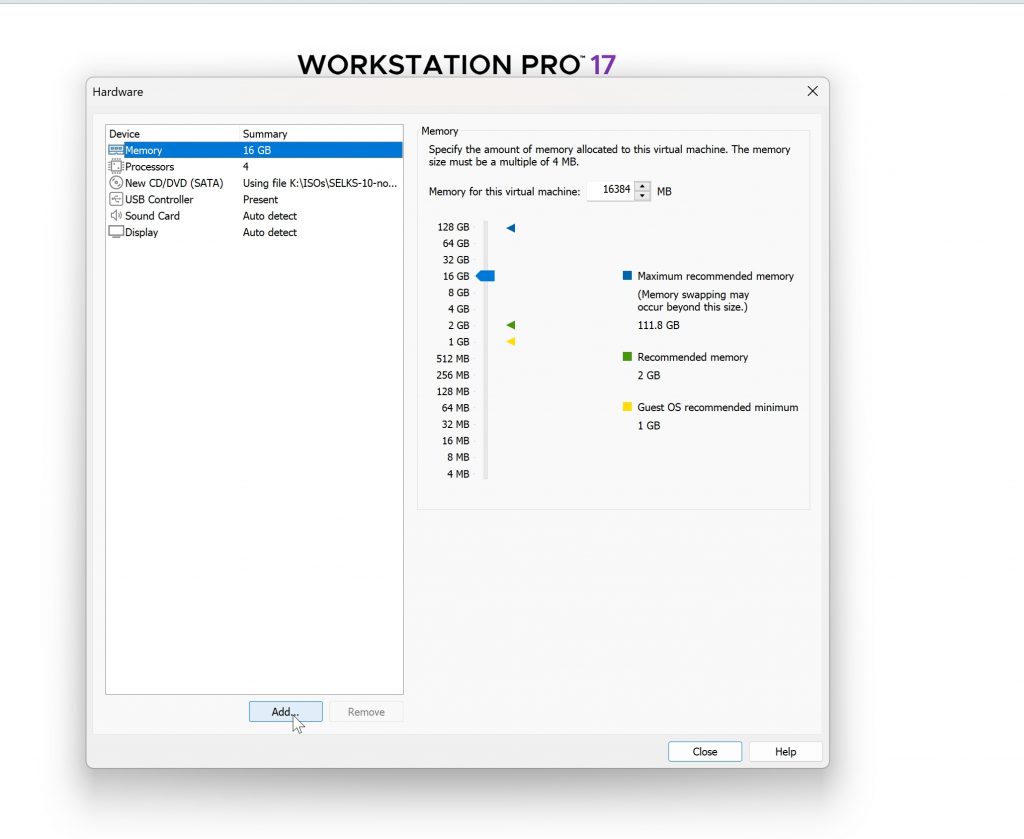
Select Network Adapter
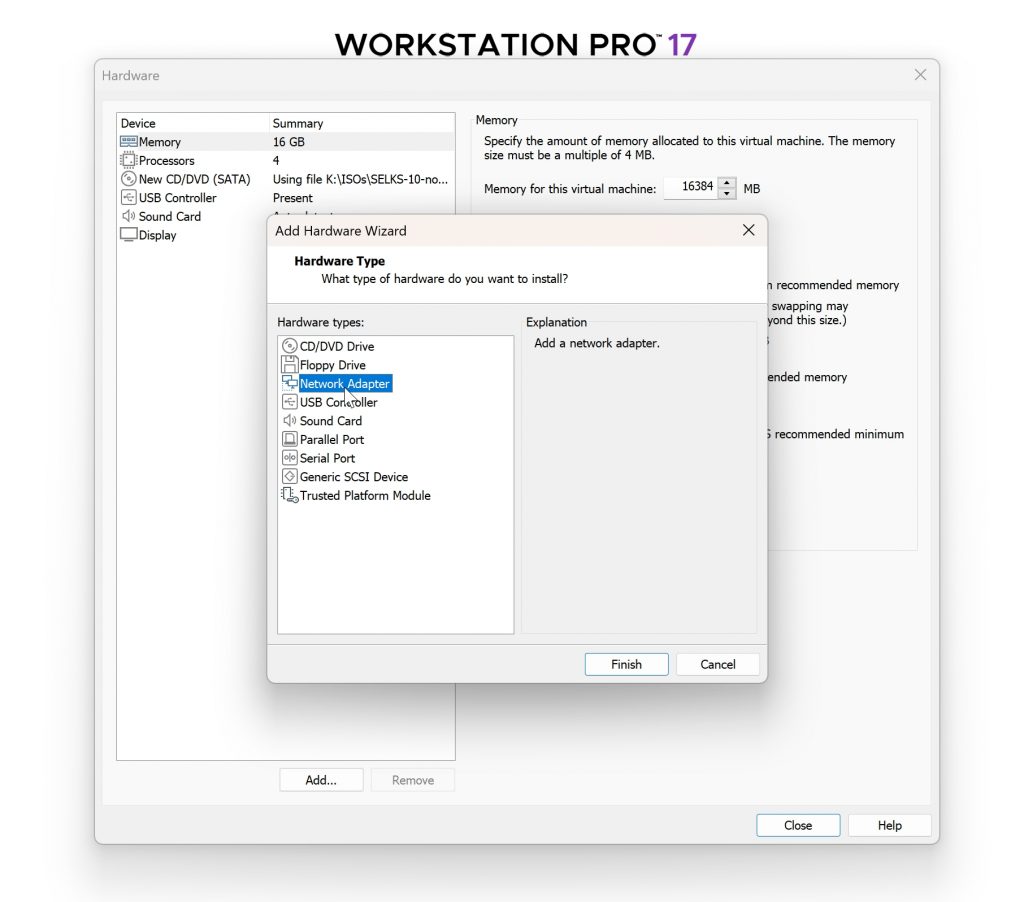
We will be choosing two of our configured adapters: PentestNet and MonitorNet
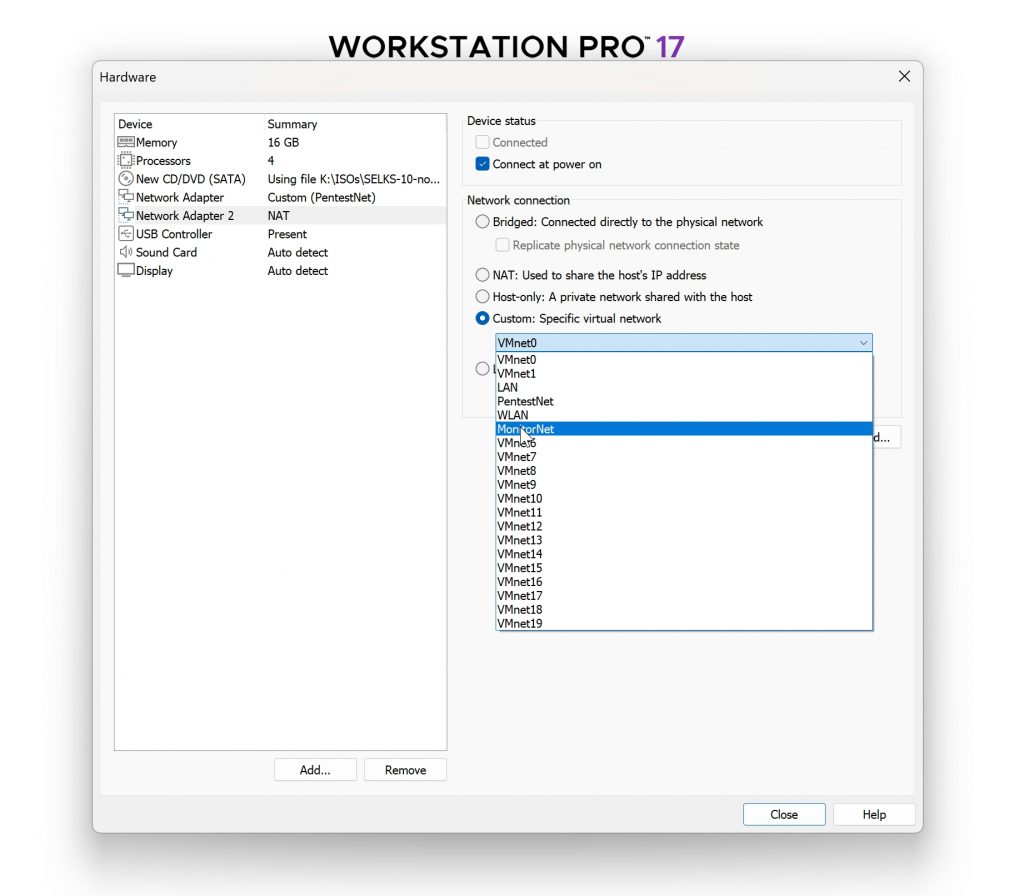
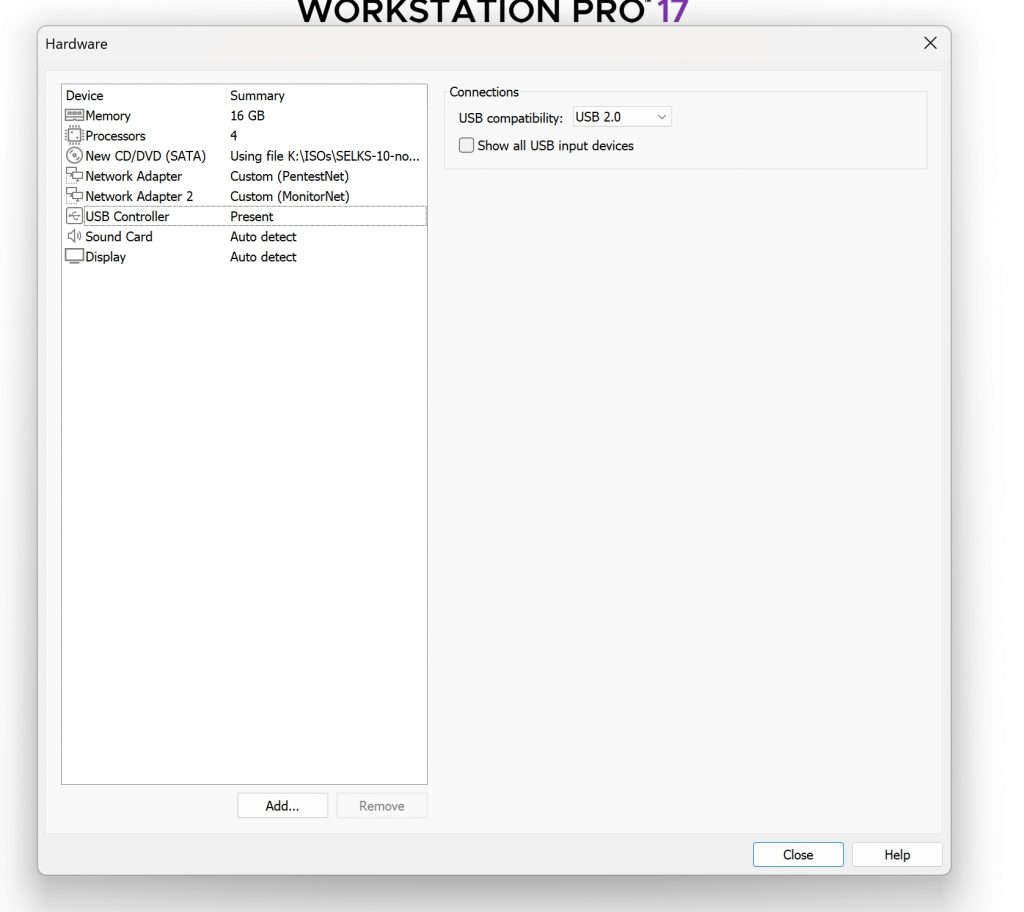
Repeat to add two separate network adapters, Your Hardware Summary will look something like this:
Click Close
Ready to Create Virtual Machine: Yes
Click Finish
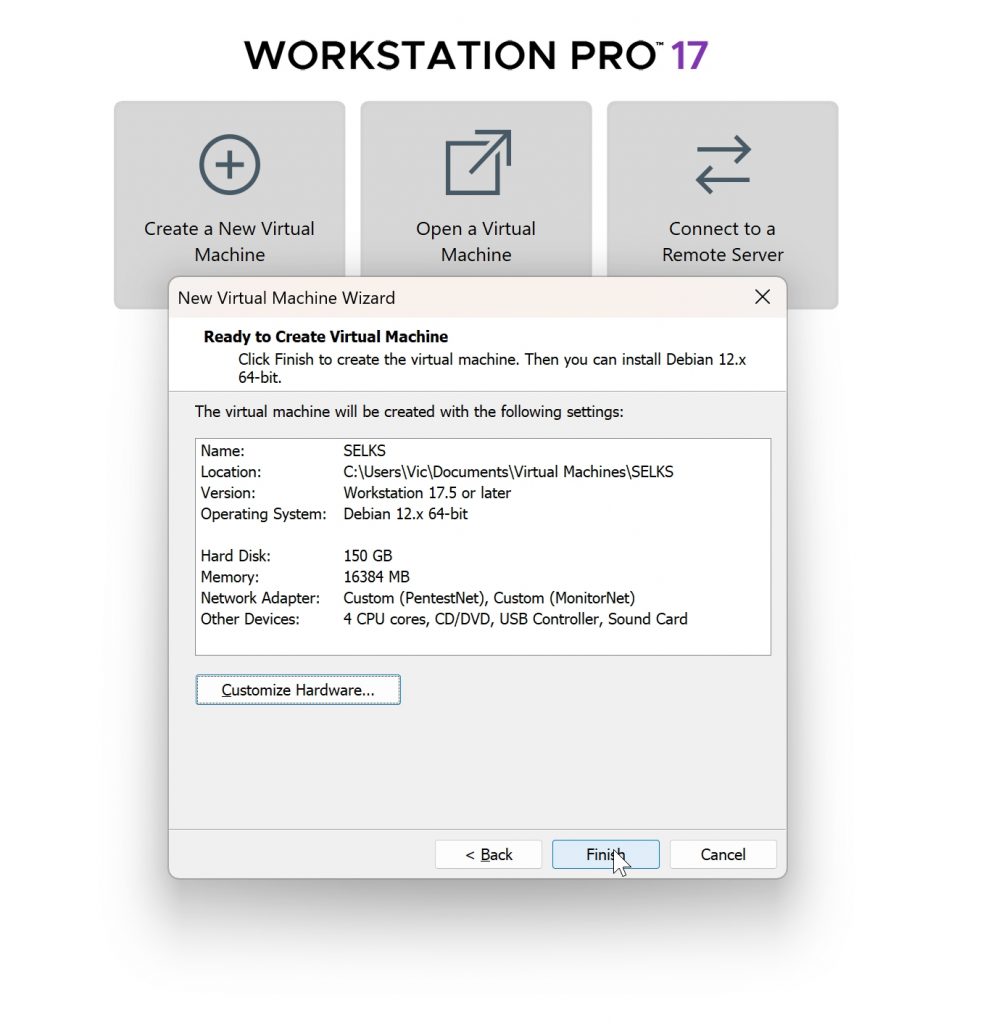
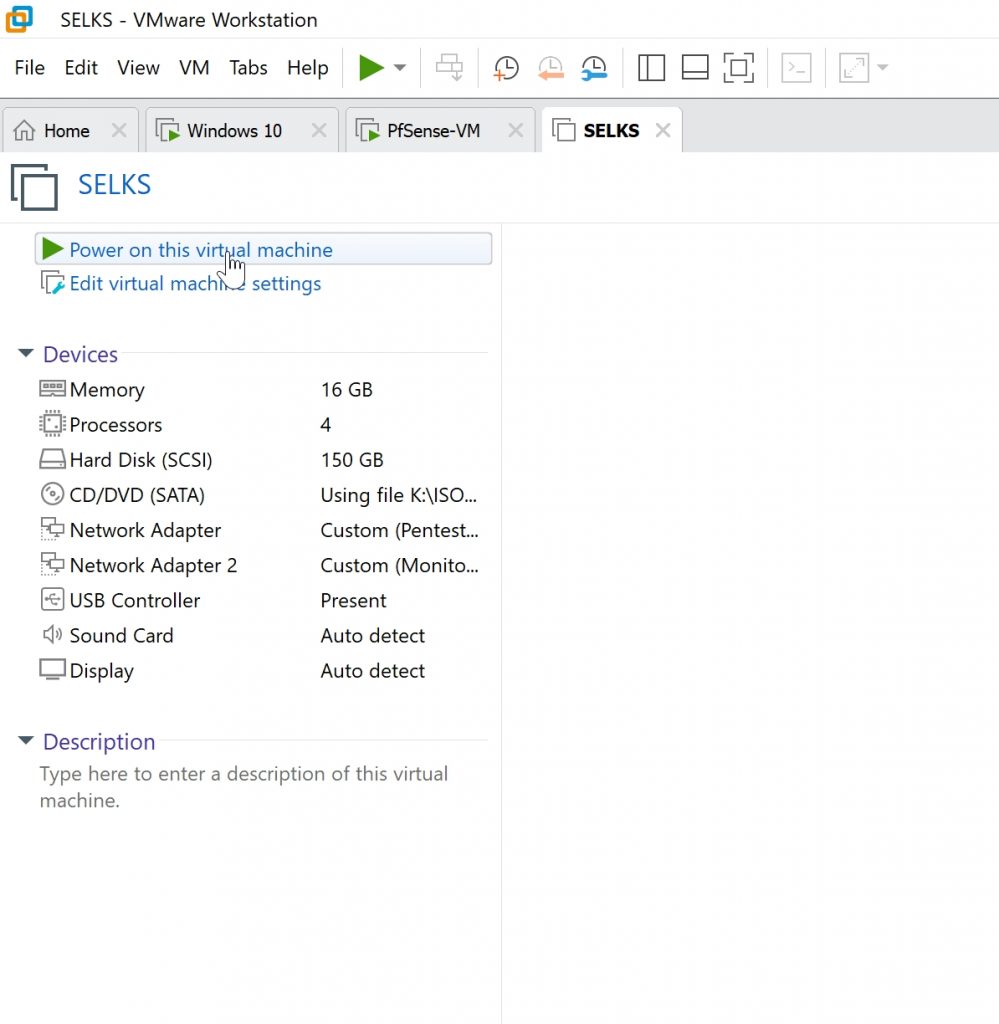
We are ready to power on this VM and get started with the SELKS installation
Click on Power on this Virtual Machine
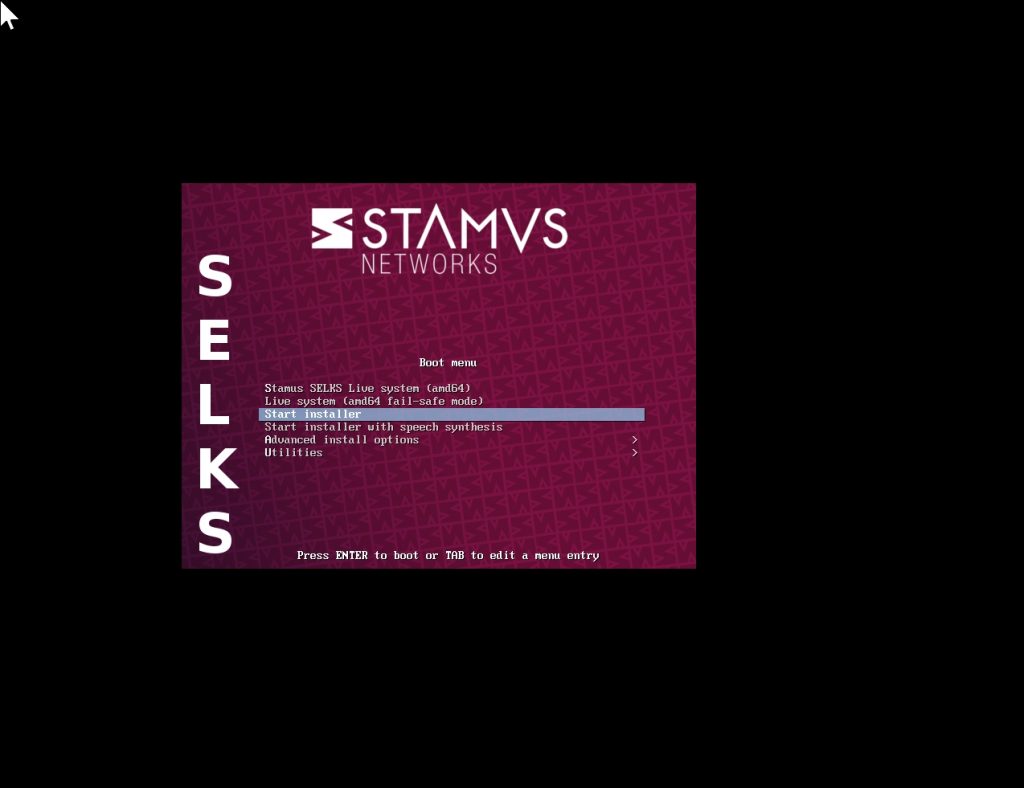
You will see the boot menu, make sure to select “Start Installer”
Press enter to boot
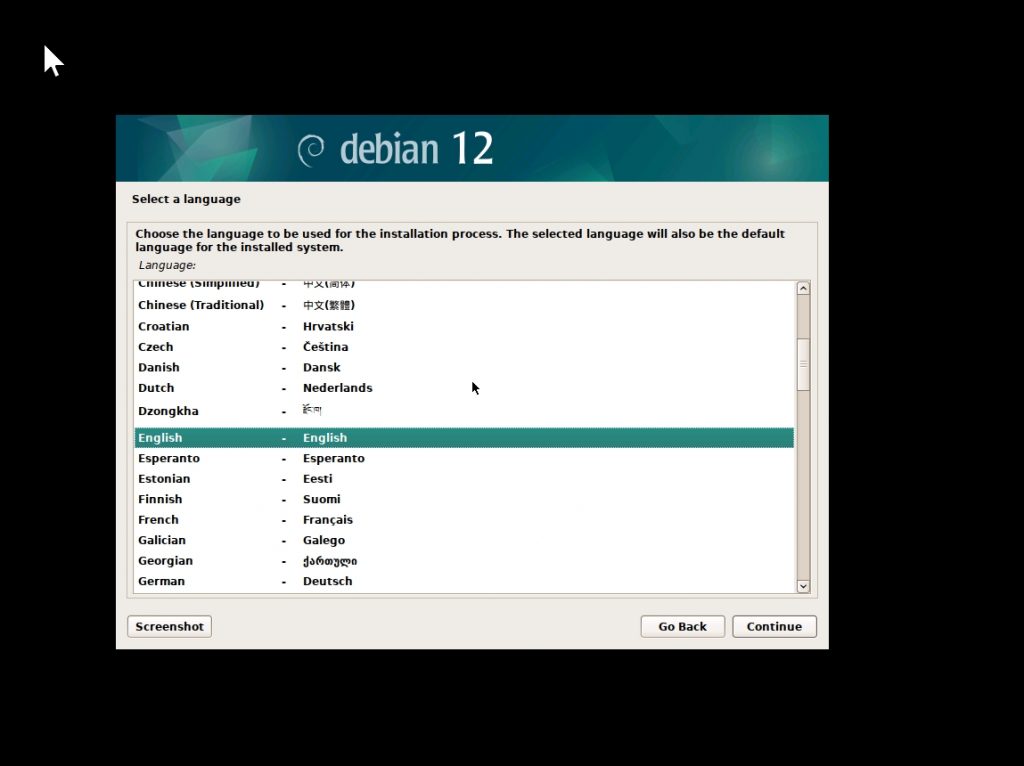
Choose Your preferred language
Click Continue
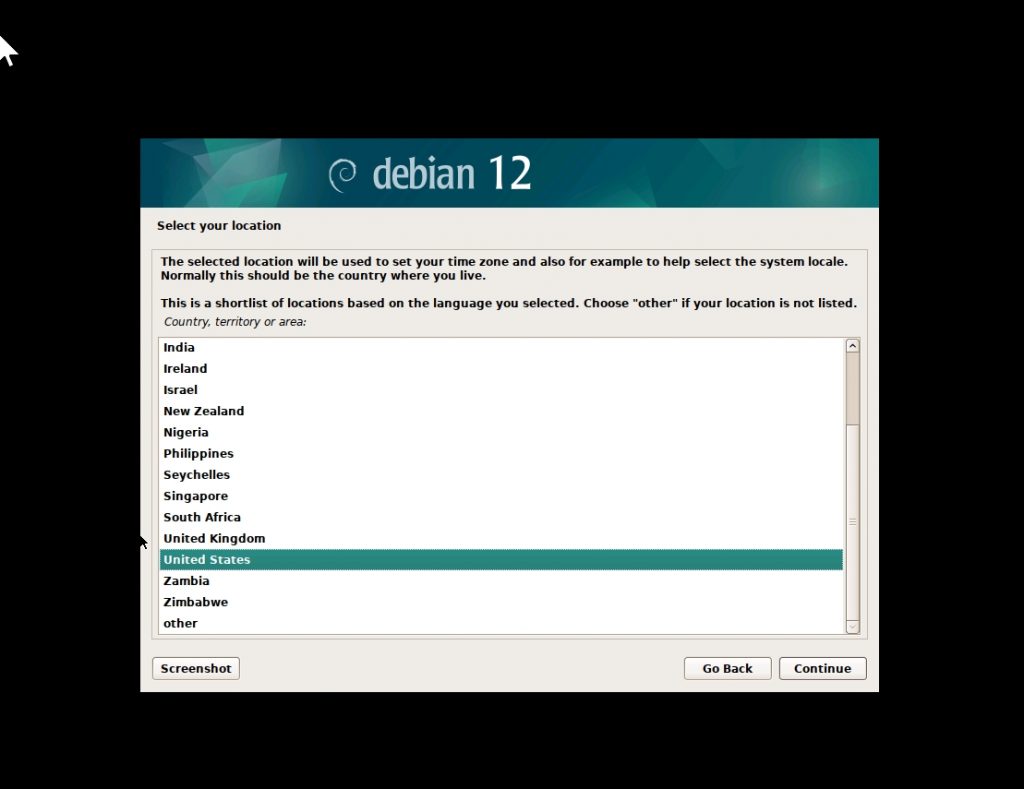
Select a location
Click Continue
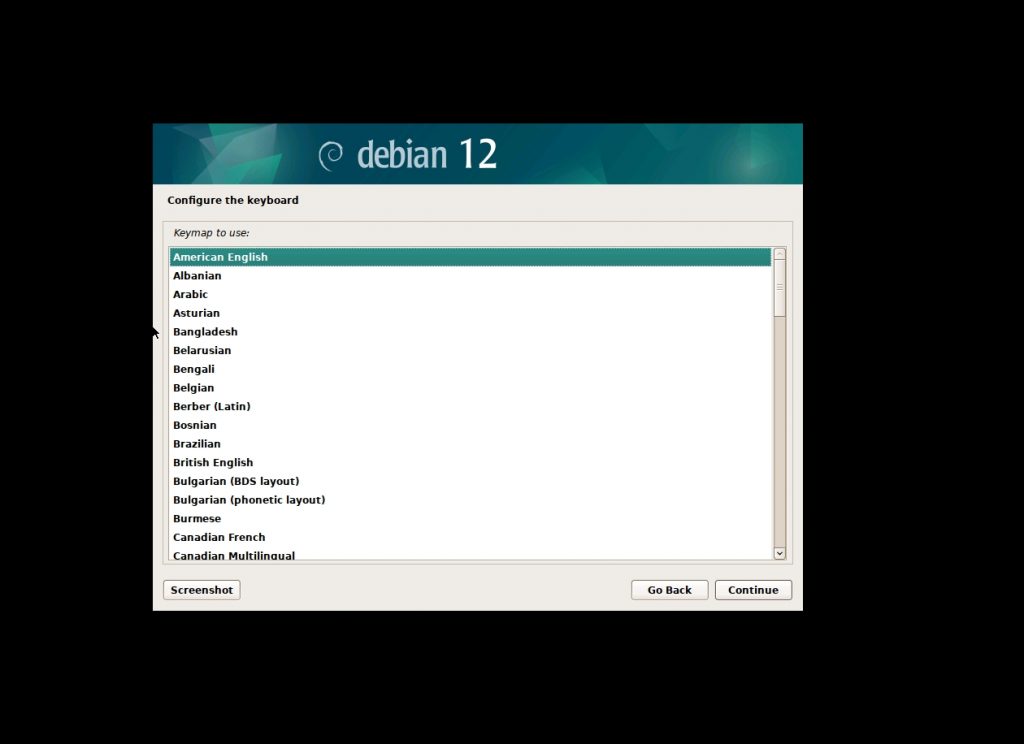
Configure a keyboard layout
Click Continue
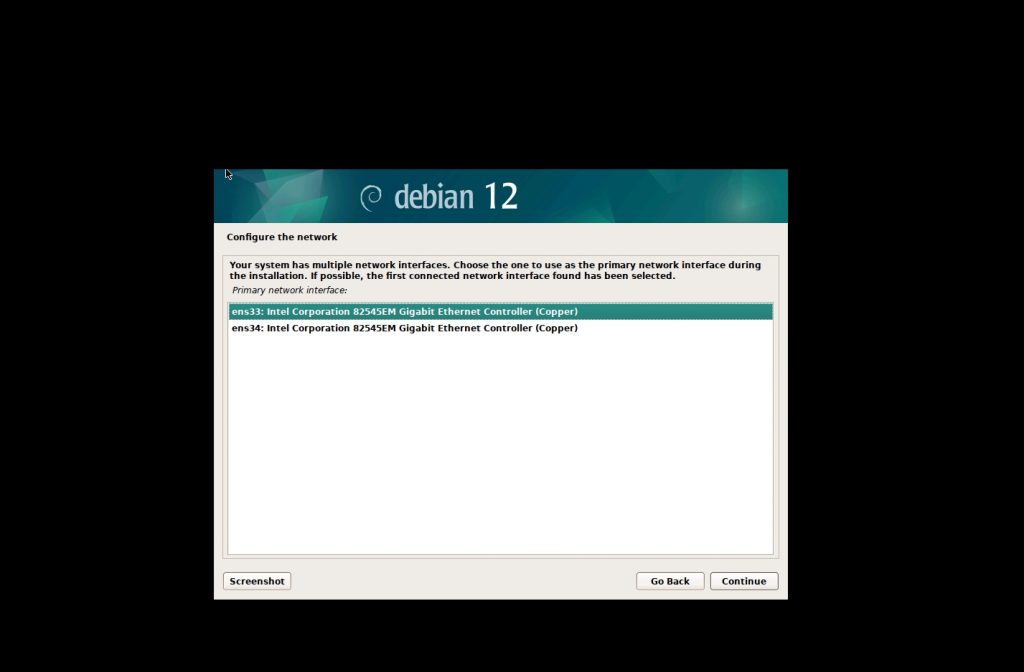
Configure the network:
This would be the adapter that will be used for internet access and IP of your SELKS, in my configuration ens33 is the adapter I am choosing, ens34 will be my listening interface.
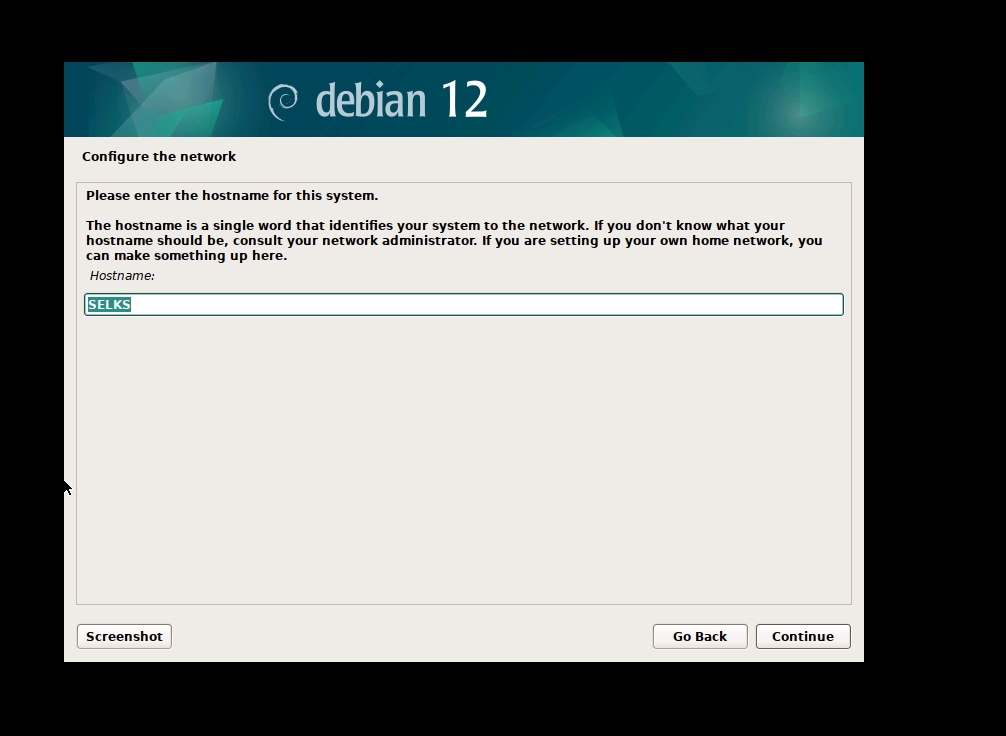
Enter your preferred hostname
Click Continue
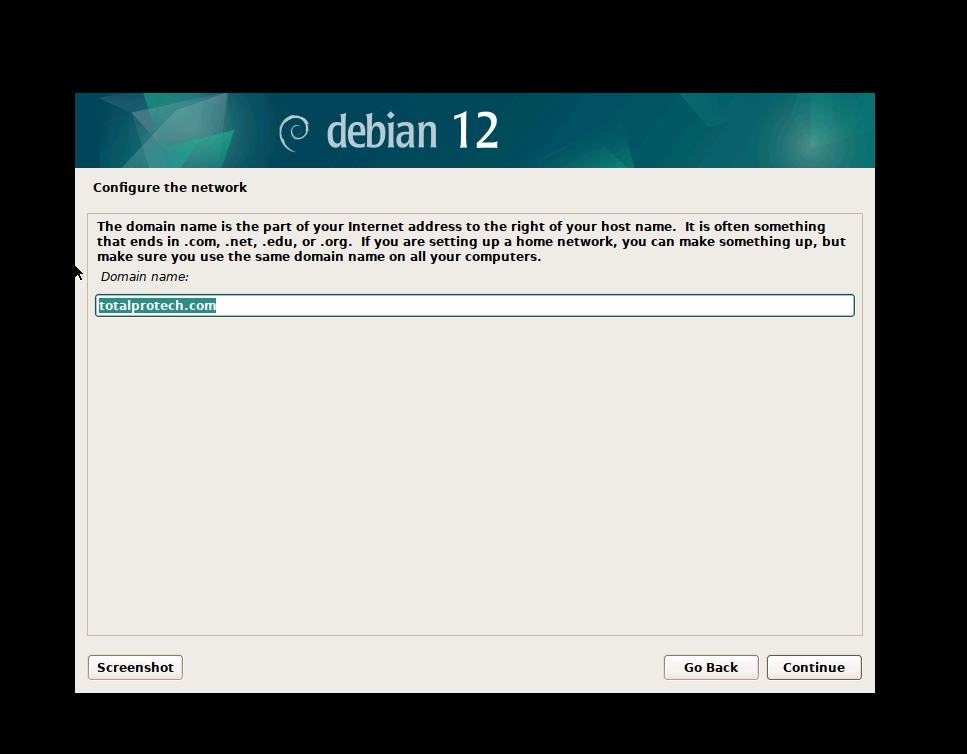
Configure domain name
Click continue
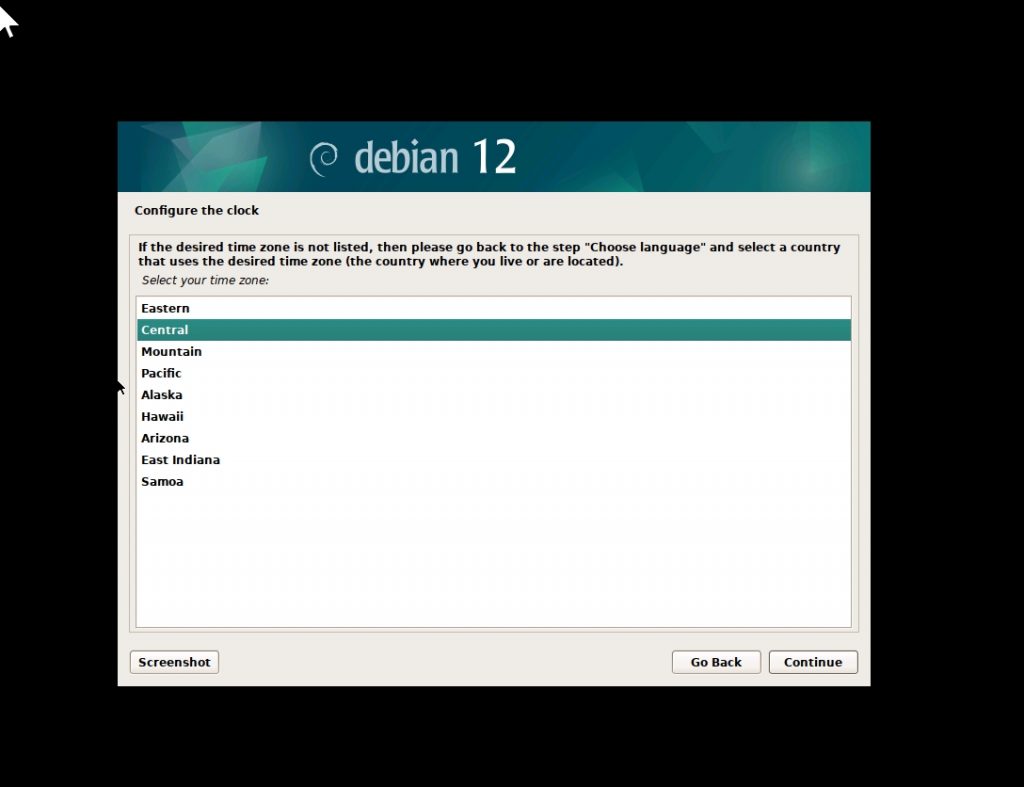
Configure Clock
Click continue
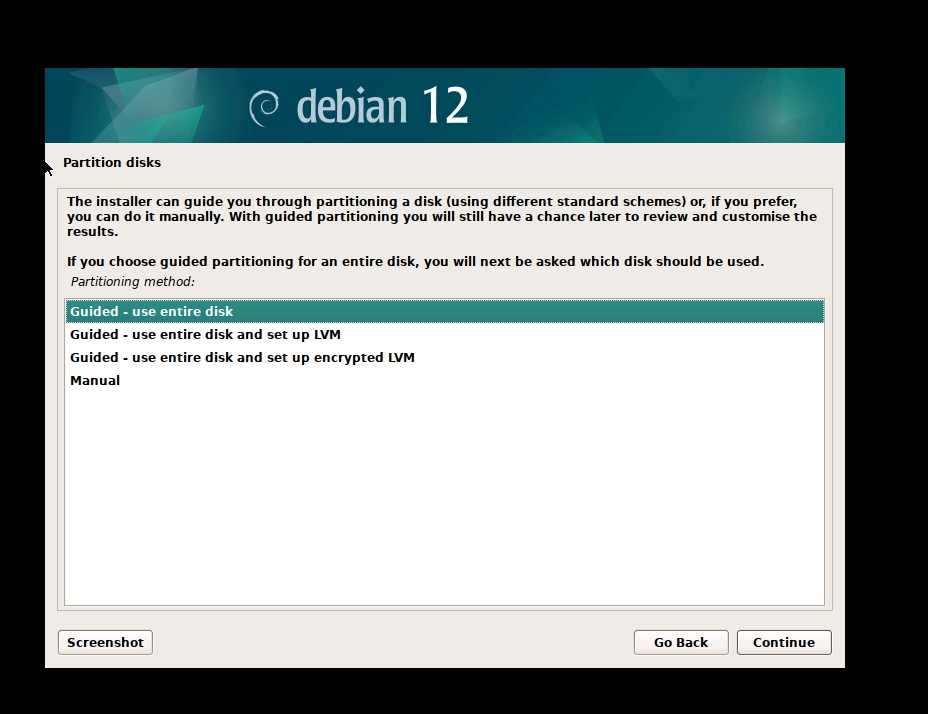
Partition Disks
Select Guided – use entire disk
Click Continue
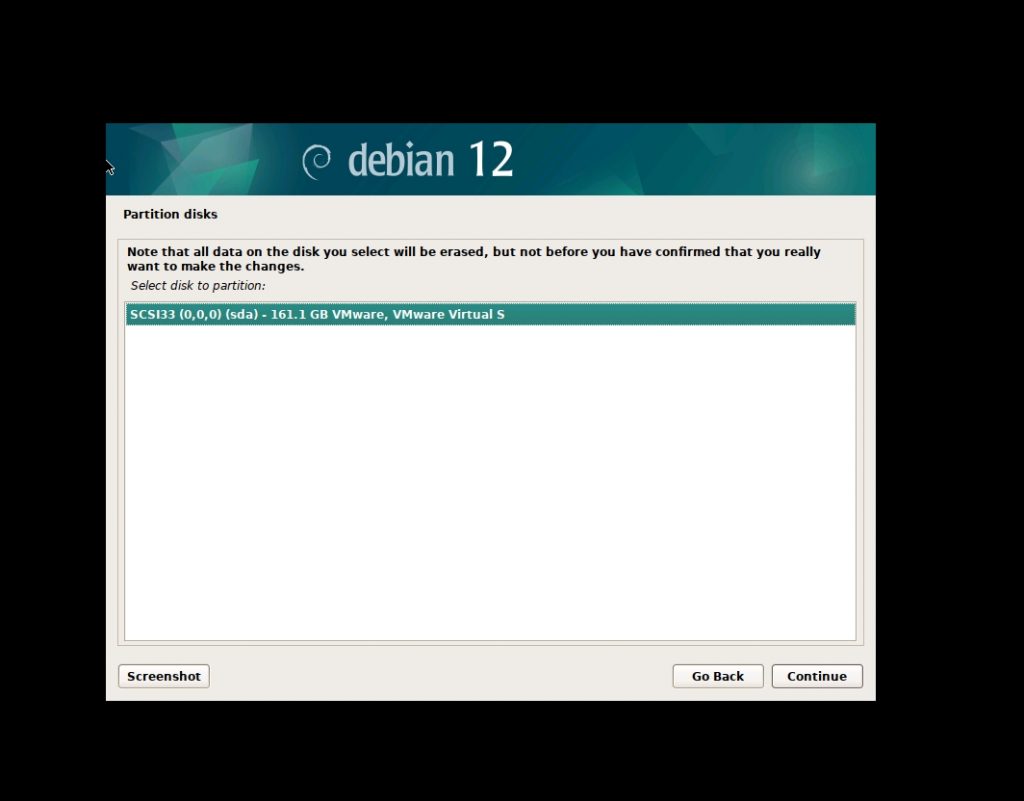
Select Disk to use
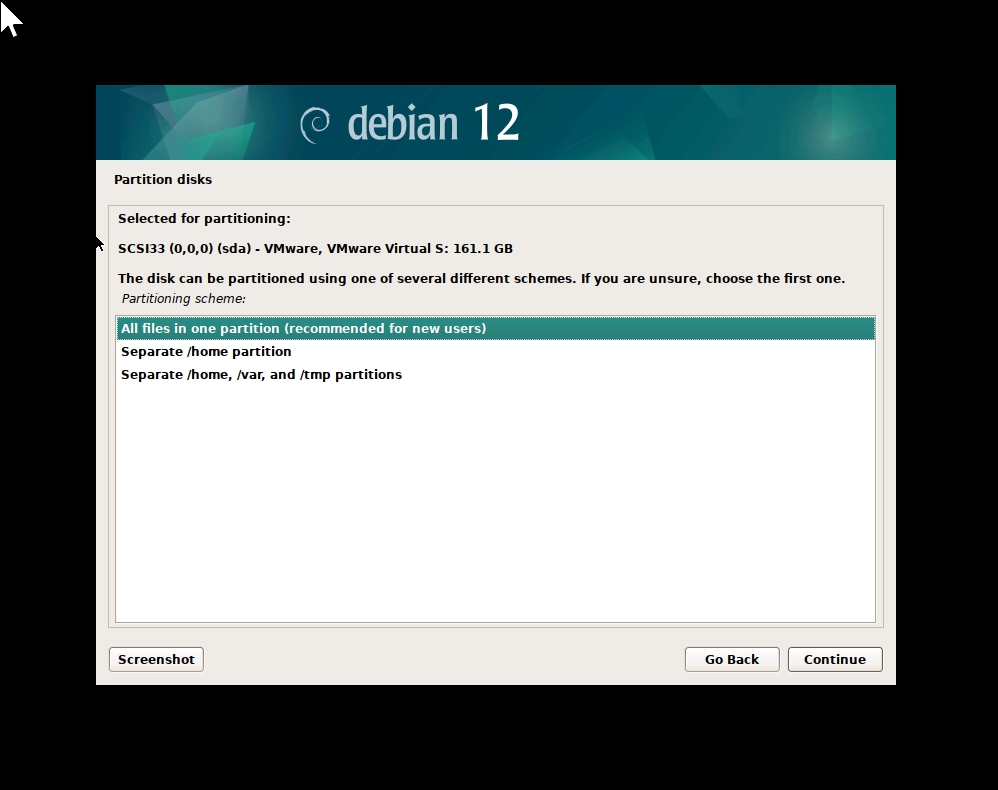
Partitioning disk
Select All files in one partition (recommended for new users)
Click Continue
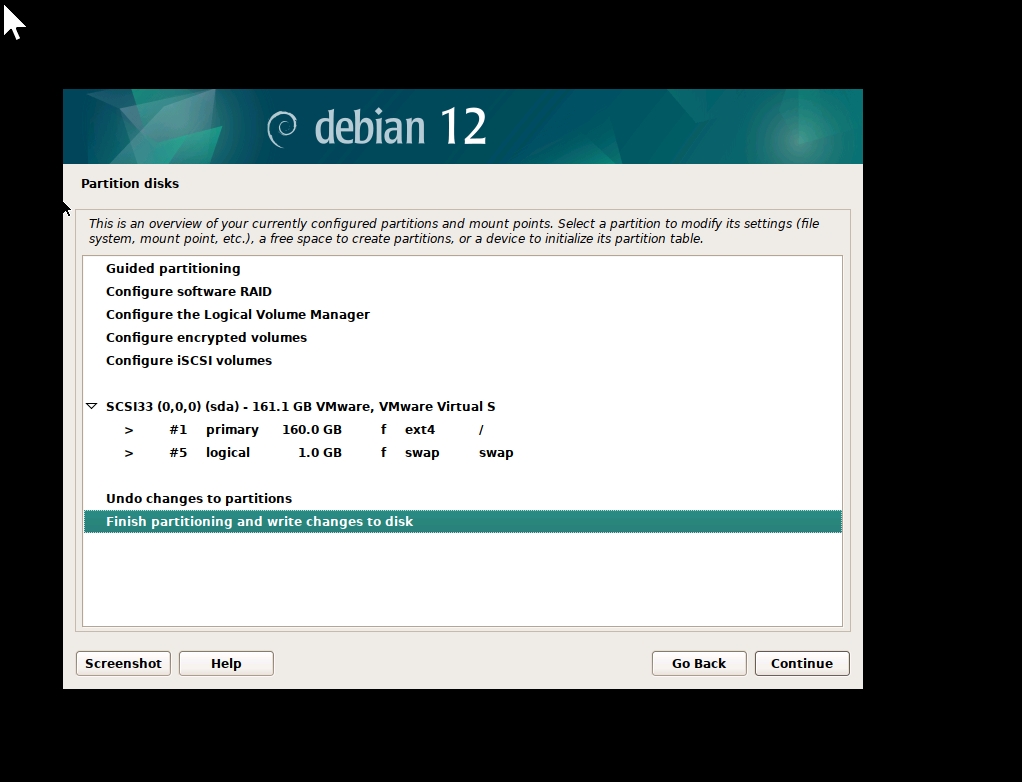
Click Finish portioning and write changes to disk
Click continue
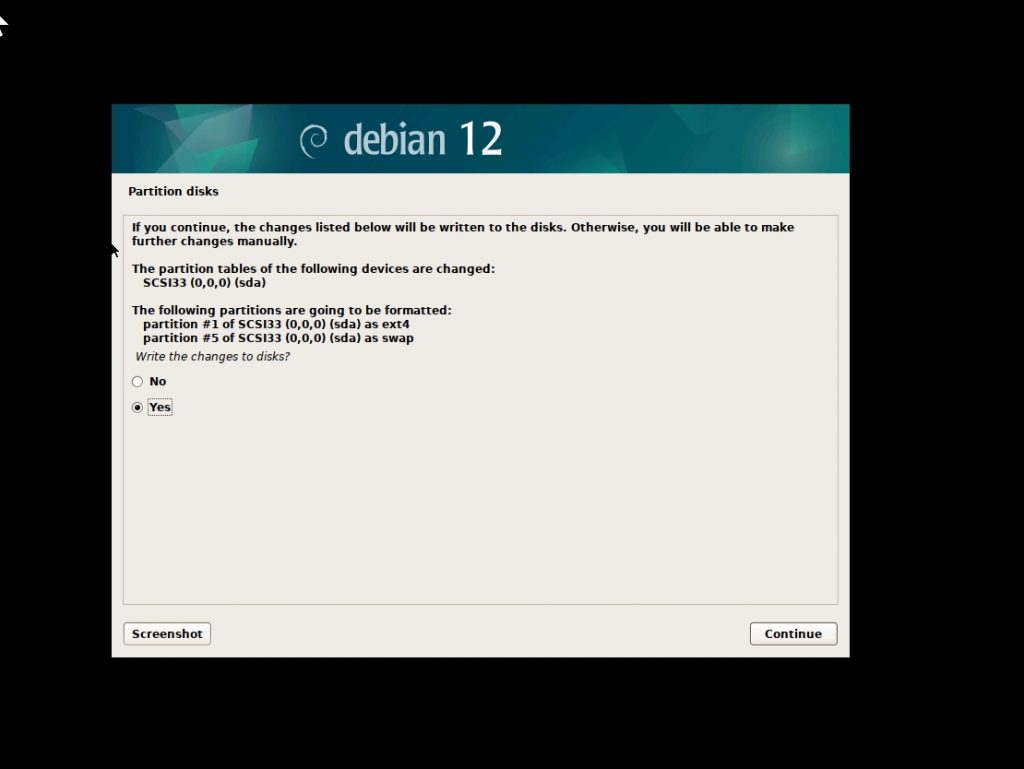
Write changes to Disks?
Select Yes
Click Continue
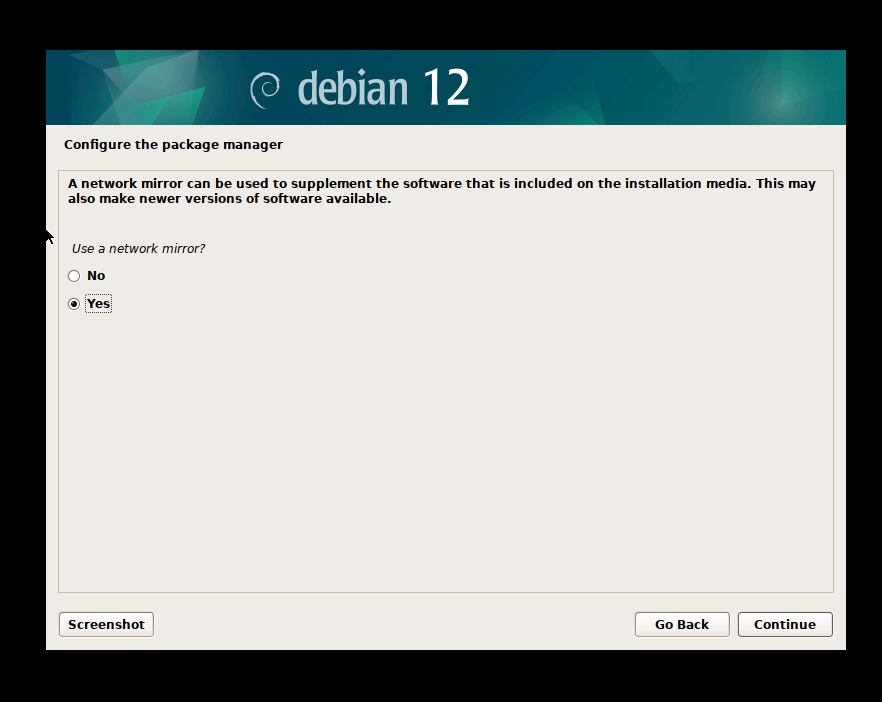
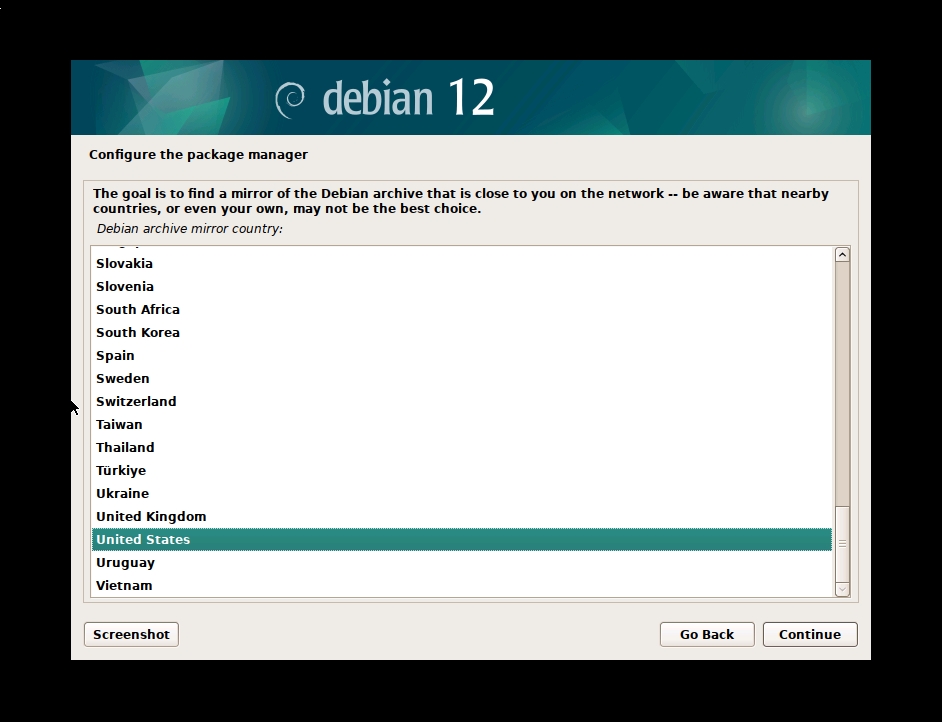
Configuring the package manager:
User a network mirror?
Select Yes
Click continue
Click the mirror closest to your location
Click continue
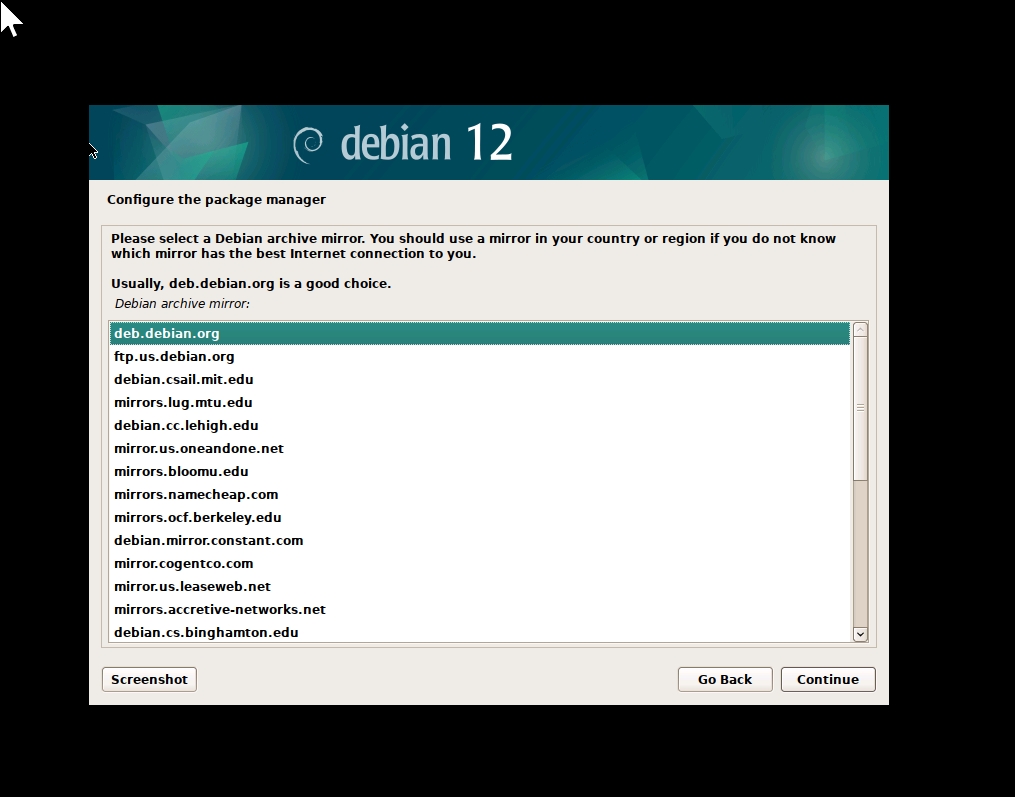
Choose a mirror (deb.debian.org)
Click continue
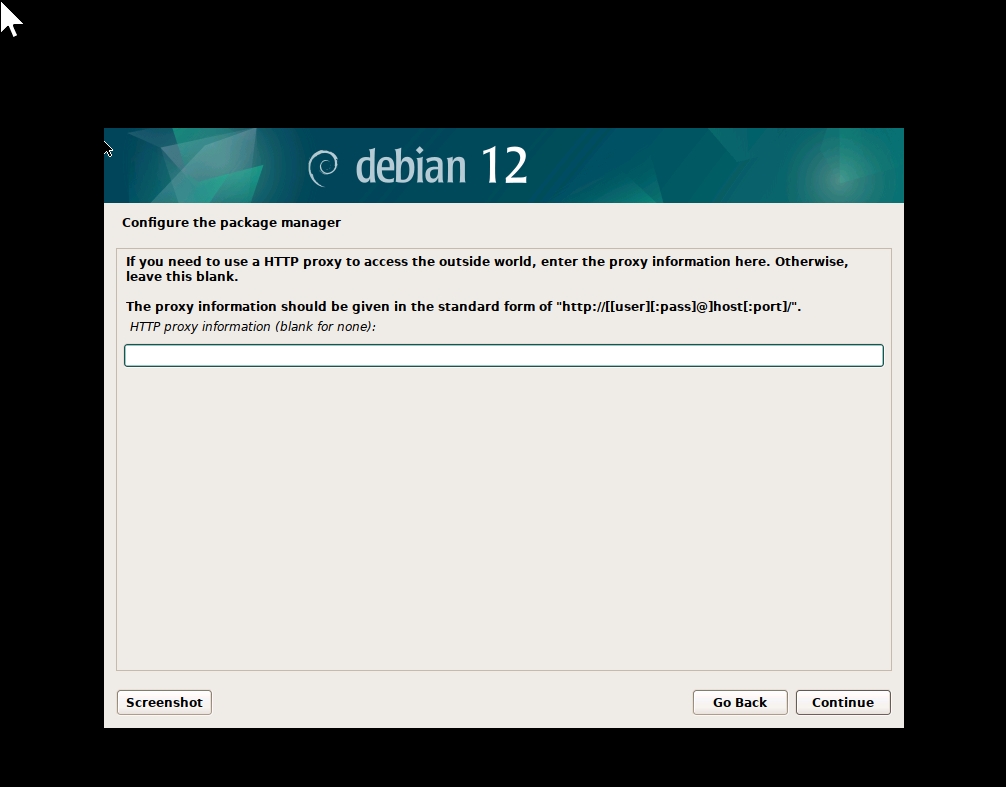
If using a proxy, enter proxy or leave blank
Click continue
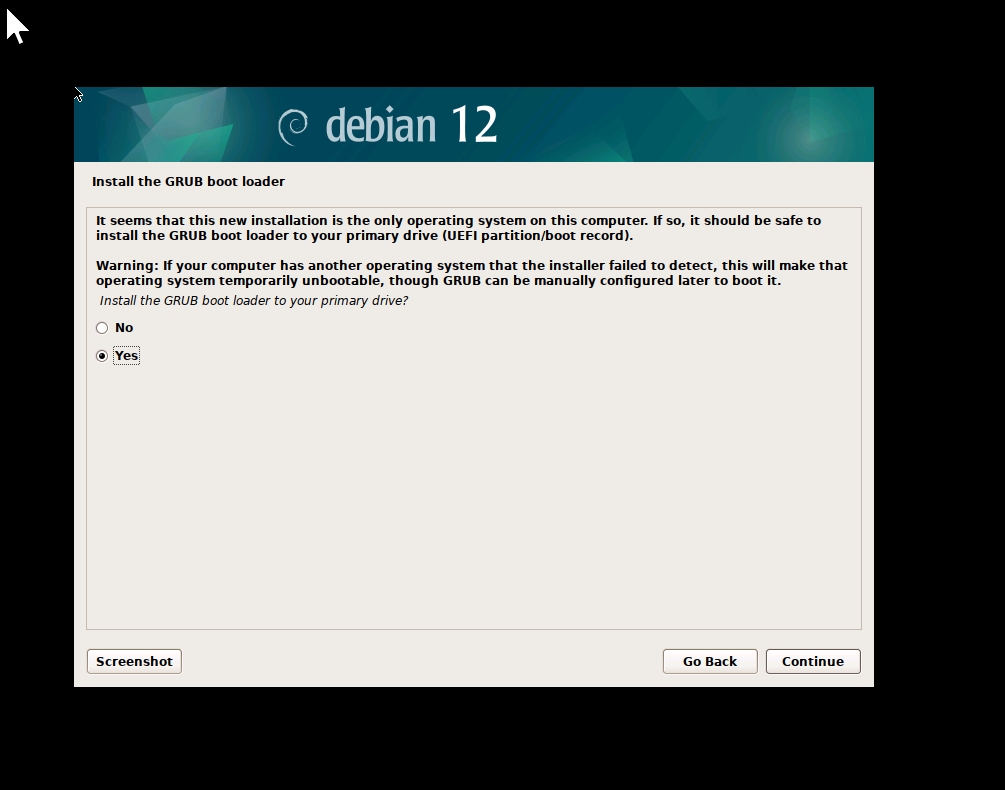
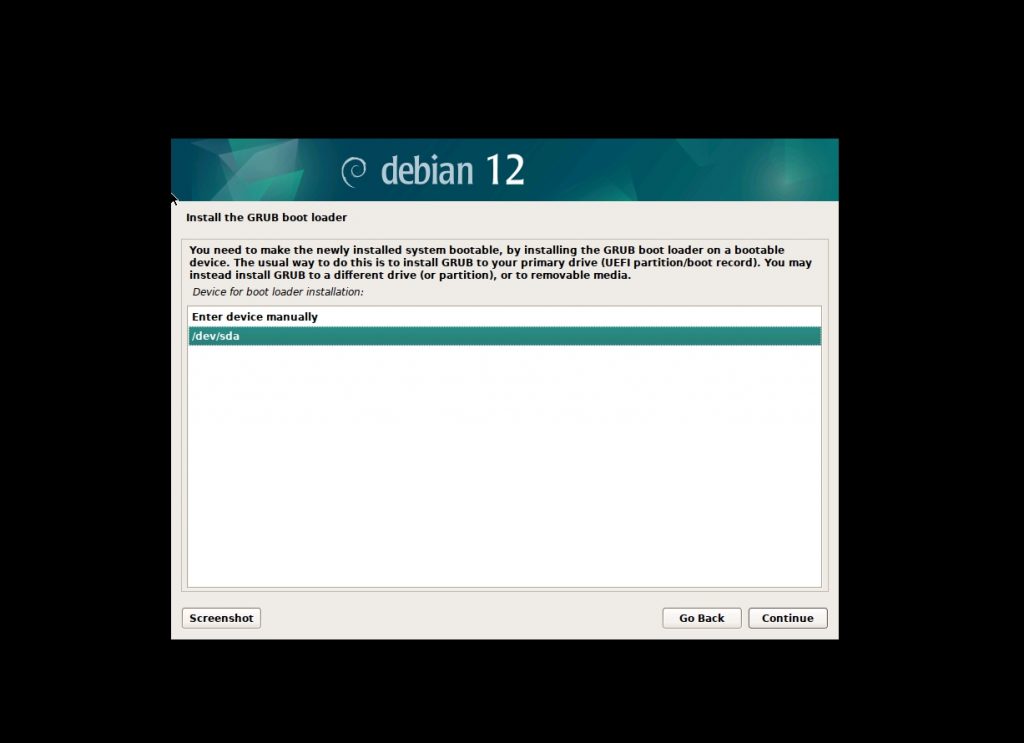
Install the Grub boot loader
Select Yes
Click Continue
Select the device to install grub boot loader on (/dev/sda)
Click continue
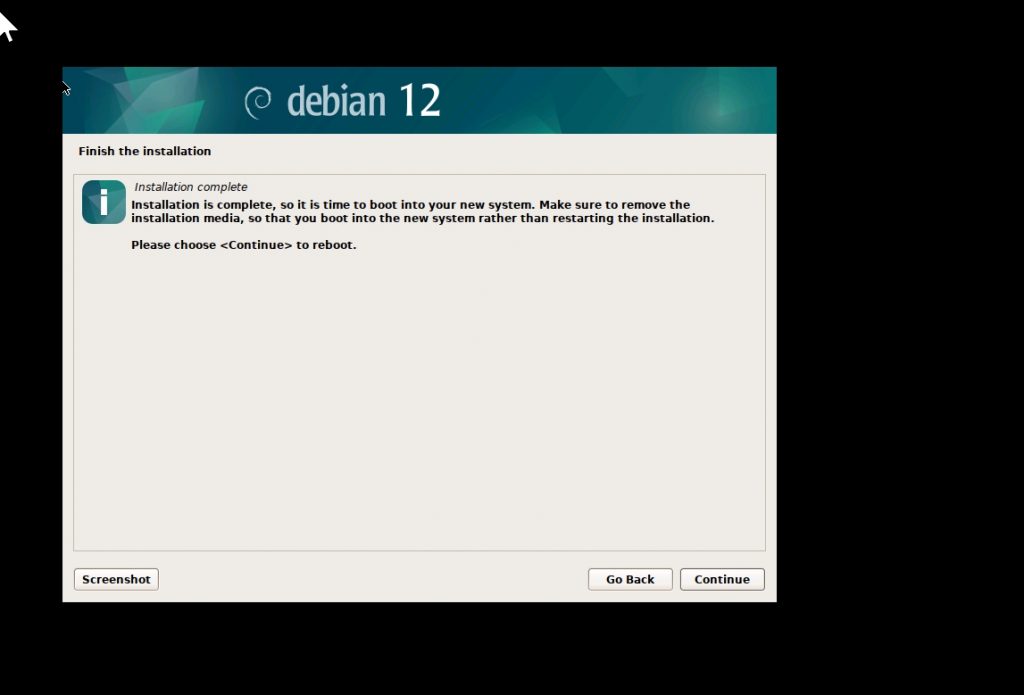
Finish the installation!
Click continue
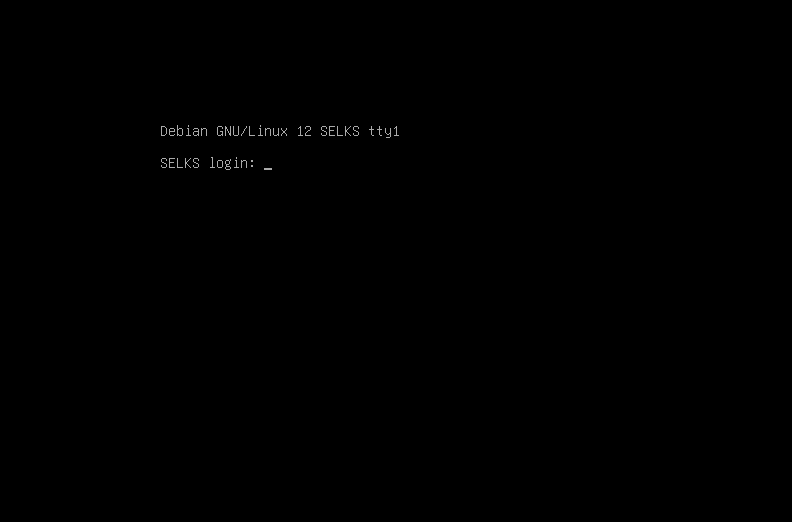
On successful reboot you will see the login screen:
Let’s login to grab the IP address and change that default password, after all this is a security tool:
Default username:password is selks-user:selks-user
In your terminal type in the following command:
ip a
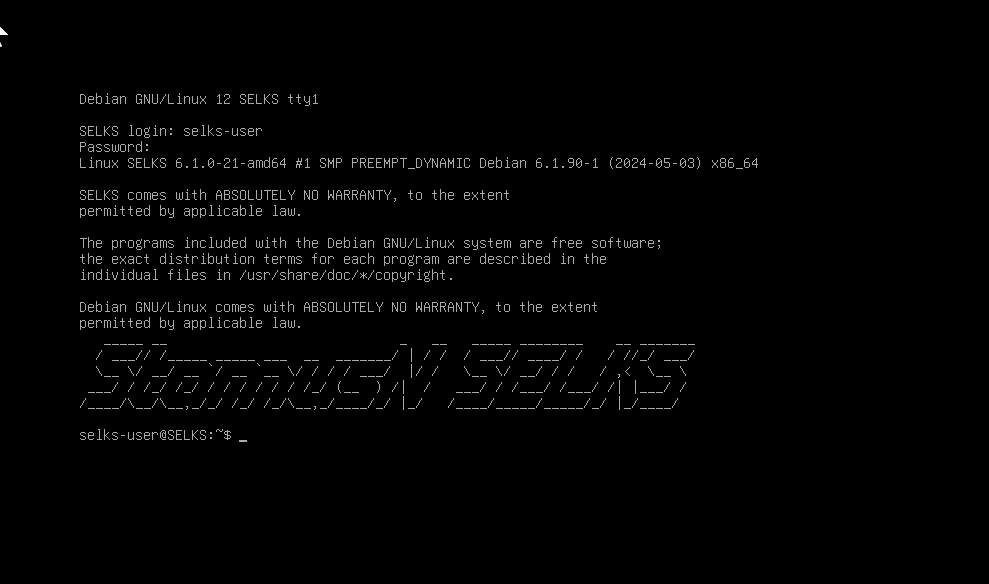
We will see both of our interfaces:
ens33 and ens34
Note down the interface IP address for ens33: 172.20.20.205
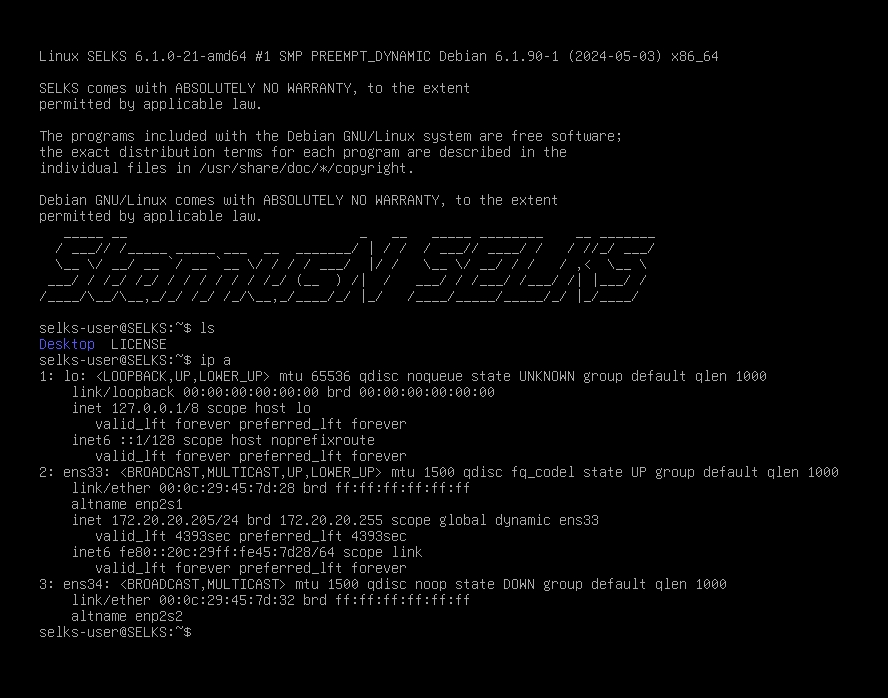
For ens34 we will see that it is down.
Lets go ahead and turn on promiscuous mode for this interface and bring this interface up.
In your terminal type in the follow commands:
sudo ip link set ens34 promisc on
sudo ip link set ens34 up
Now if we take a look at our interface we will see a change in ens34 status
Now lets change the password for selks-user:
In your terminal type the following command:
sudo passwd
enter new secure password and confirm.
This will not change the web interface selks-user password, this will only effect access to CLI and sudo
Lets move our work to powershell.
On your host machine open a new powershell window and type in the following command:
ssh [email protected] (your IP will vary)
This step does not have to be done, but it is much easier typing into a full size terminal rather than working directly in vmware.

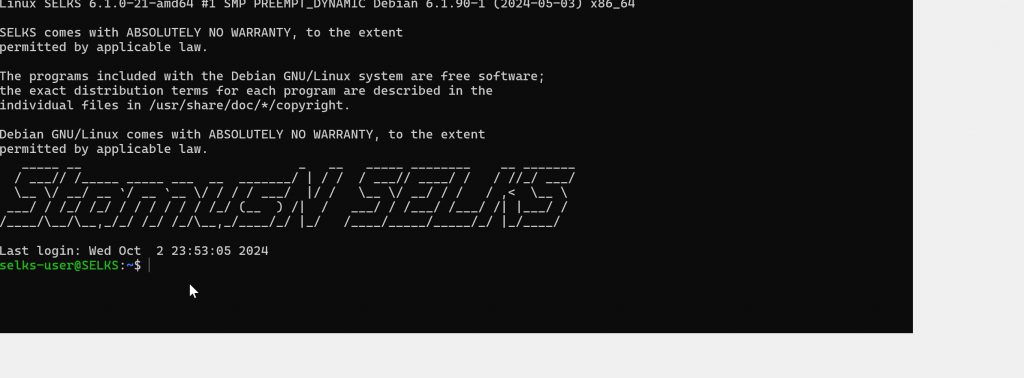
Once we are logged back in to the terminal, we can begin to install SELKS with a few commands, SELKS can be installed using docker, this is the easiest and quickest way to getting started.
Update and upgrade packages:
sudo apt update -y && sudo apt upgrade -y

Change directory to /opt/selksd/SELKS/docker
cd /opt/selksd/SELKS/docker
ls to view contents of docker directory

Run easy setup script:
sudo ./easy-setup.sh -i ens34 –es-memory 8G –iA –restart-mode always -n
break down of the script arguments:
-i (interface that suricata will listen on)
–es-memory (elastic search memory cap) you may want to set this lower depending on how much memory you configured your VM for.
–iA (install docker docker compose and portainer automatically if not installed on system)
–restart-mode (always restart containers on system reboot)
-n ( non-interactive mode for script, will not prompt you for any other options)

Once complete we can run the following docker commands:
sudo -E docker compose pull
sudo -E docker compose up -d –force-recreate
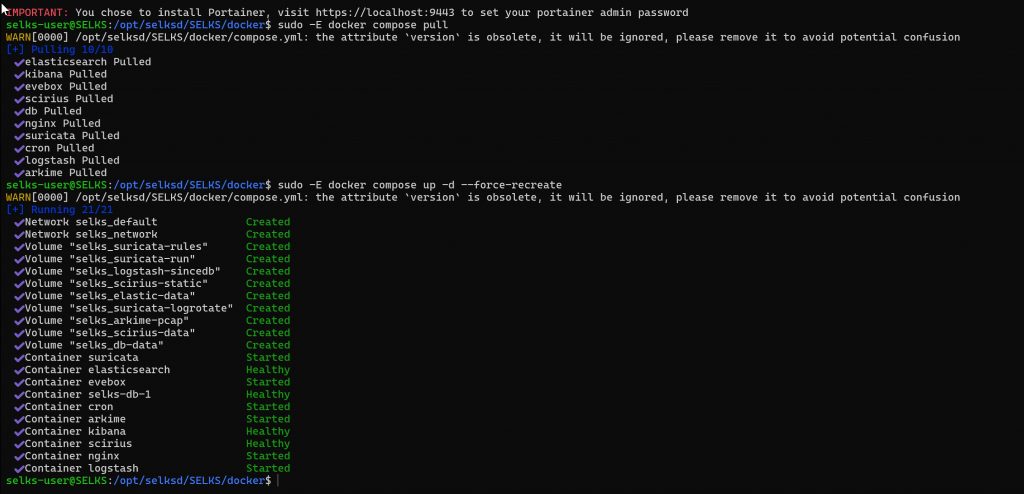
Now lets access selks web interface!
In your preferred browser type in the ens33 interface IP address that we noted down
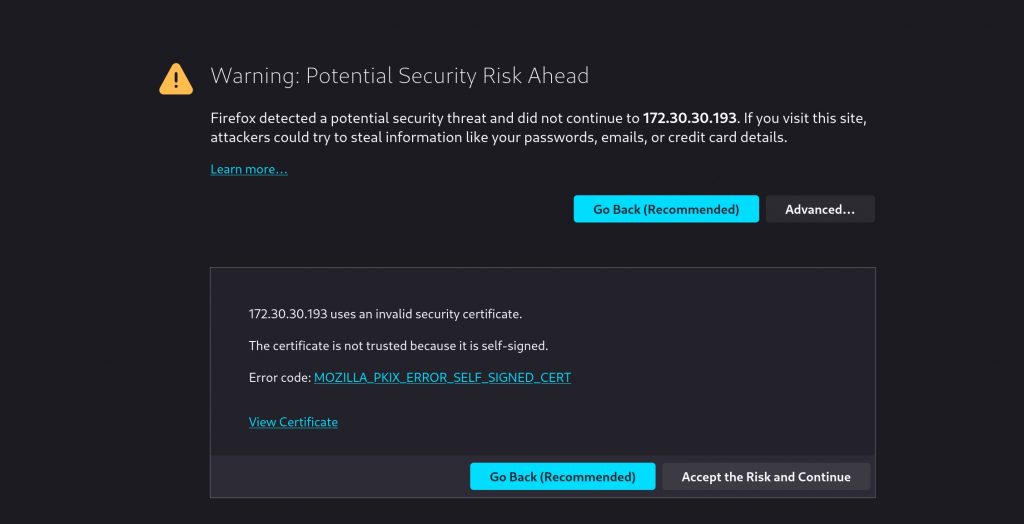
Note depending on the browser you will see a certificate warning:
In firefox you click Advanced > Accept the risk and Continue
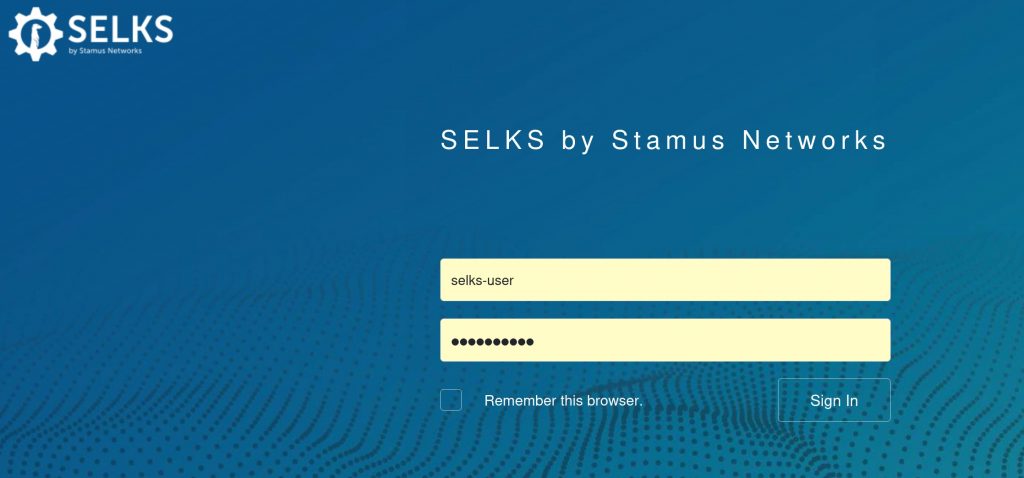
Login in with username:password selks-user:selks-user
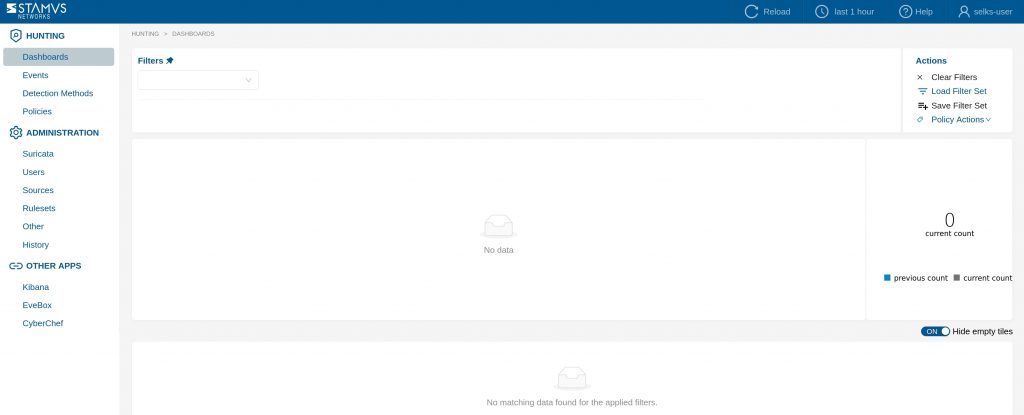
Welcome to the Selks Dashboard!
Please see my SELKS configuration guide to test and configure SELKS.
